When I first tried a chimichanga, I was instantly hooked. The crispy, golden-brown tortilla filled with savory, spiced chicken and gooey cheese was pure perfection. It seemed like a dish that only restaurants could master, but I soon discovered that making them at home is much easier than it looks.
This Easy Chicken Chimichangas Recipe is perfect for beginners because it requires minimal prep, simple ingredients, and offers flexibility—whether you want to bake them for a healthier option or fry them for a crispy indulgence. Plus, it’s a great way to transform leftover chicken into something exciting and delicious. Let’s get started!
Why This Recipe is Special
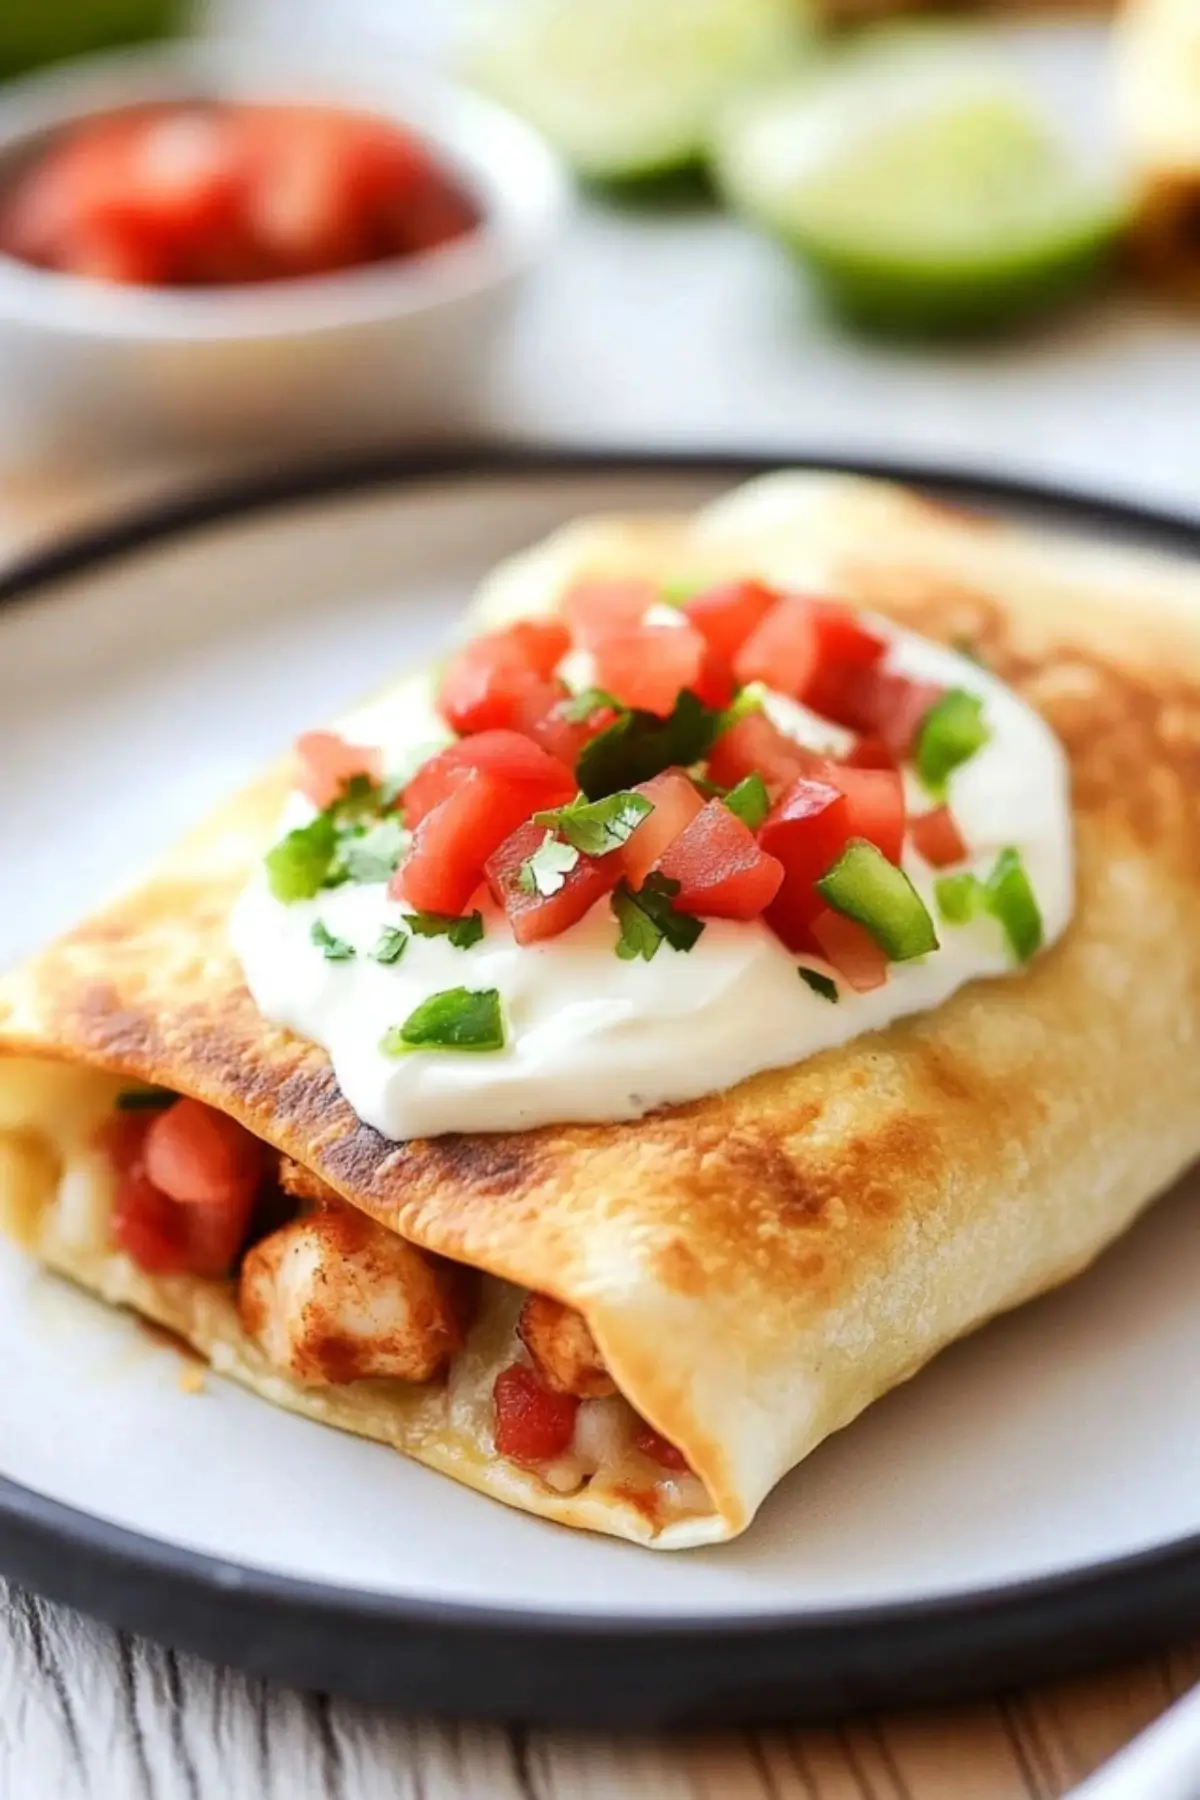
Chicken chimichangas are a beloved Tex-Mex dish, blending Mexican flavors with an irresistible crunch. What makes this recipe stand out is its versatility. You can customize the filling, choose between baking or frying, and top them with your favorite sauces and garnishes. It’s also a fantastic meal-prep option—make a batch, store extras, and enjoy them later. Whether you’re cooking for your family or meal prepping for the week, this recipe will quickly become a favorite in your kitchen.
Ingredients and Preparation
Essential Ingredients:
- Flour Tortillas – The base of the chimichanga, providing a soft and pliable wrap that crisps up beautifully.
- Shredded Chicken – A great way to use up leftover chicken or rotisserie chicken for convenience.
- Monterey Jack Cheese – Melts beautifully, adding a creamy and mild flavor.
- Onion and Garlic – Enhances the filling with a savory aroma and depth of flavor.
- Chili Powder, Oregano, and Cumin – Essential Tex-Mex spices that give the chicken a warm, smoky taste.
- Green Chilies – Adds a subtle heat and tanginess to the filling.
- Vegetable Oil – Used for frying or brushing on for baking.
Alternative Ingredients:
- Protein Swap – Instead of chicken, try shredded beef, ground turkey, or even a vegetarian filling with black beans and sautéed bell peppers.
- Cheese Variations – Cheddar, Colby Jack, or Pepper Jack for a spicier kick.
- Flour Tortillas Alternative – If you prefer a slightly different texture, try whole wheat tortillas or even low-carb wraps.
Step-by-Step Instructions
Step 1: Prepare the Chicken Filling
Heat 2 tablespoons of vegetable oil in a skillet over medium-high heat. Add diced onion and sauté until softened. Stir in minced garlic, chili powder, oregano, and cumin, cooking for about a minute until fragrant. Add shredded chicken, salt, pepper, and green chilies. Stir and cook for another 5 minutes until everything is well combined. Remove from heat.
Step 2: Warm the Tortillas
To make them easier to fold, warm the tortillas in the microwave for about 15 seconds or in a dry skillet for a few seconds on each side.
Step 3: Assemble the Chimichangas
Lay a tortilla flat and spoon about ½ cup of the chicken filling into the center. Sprinkle with Monterey Jack cheese. Fold in the sides of the tortilla, then fold the bottom over the filling and roll tightly to seal.
Step 4: Choose Your Cooking Method
Fried Version:
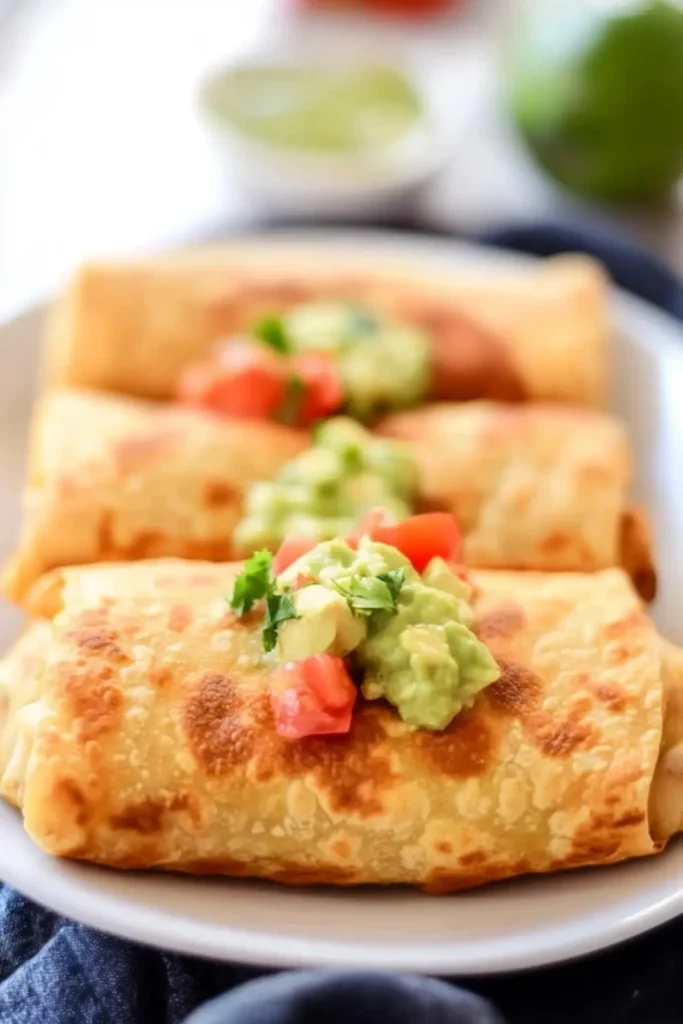
Heat about 2 inches of vegetable oil in a heavy-bottomed skillet to 375°F. Using tongs, place the chimichanga seam-side down in the oil, holding it for a few seconds to keep it sealed. Fry until golden brown on all sides (about 1-2 minutes per side). Transfer to a paper towel-lined plate to drain excess oil.
Baked Version:
Preheat your oven to 375°F. Place the assembled chimichangas on a greased baking sheet. Lightly spray or brush the tops with oil for crispiness. Bake for 20-30 minutes, flipping halfway through, until golden brown.
Beginner Tips and Notes
- How to Prevent Filling from Leaking: Make sure to fold and roll the chimichangas tightly. If frying, hold them in place with tongs for a few seconds until they seal.
- How to Know When They’re Done: Fried chimichangas will turn golden brown quickly. If baking, look for a crisp, slightly puffed-up tortilla.
- Healthier Alternative: Baking instead of frying significantly reduces the calorie count without sacrificing too much of the crunch.
- Make-Ahead Tip: Prepare the filling in advance and store it in the fridge for up to 3 days. You can assemble and cook the chimichangas when ready.
Serving Suggestions
- Toppings: Serve with fresh pico de gallo, guacamole, sour cream, shredded lettuce, or salsa for added flavor.
- Side Dishes: Pair your chimichangas with Mexican rice, black beans, or a fresh corn salad for a well-rounded meal.
- Leftover Storage: Store any leftover chimichangas in an airtight container in the refrigerator for up to 3 days. Reheat in the oven at 350°F to maintain crispiness.
Conclusion
This Easy Chicken Chimichangas Recipe is a beginner-friendly, restaurant-quality meal that you can make at home with simple ingredients. Whether you bake or fry them, they come out deliciously crispy on the outside and perfectly flavorful on the inside. Give it a try and let me know how it turns out in the comments. Happy cooking!
FAQ About Chicken Chimichangas
Can I make chicken chimichangas ahead of time?
Yes! You can assemble the chimichangas and store them in the fridge for up to 24 hours before baking or frying. For longer storage, freeze them for up to 3 months and cook from frozen with slight adjustments in cooking time.
What’s the best way to reheat leftovers?
Reheat chimichangas in a 350°F oven for about 10 minutes to maintain their crispiness. Avoid microwaving, as it can make them soggy. An air fryer is another great option, reheating at 375°F for about 5 minutes.
Can I use corn tortillas instead of flour tortillas?
Corn tortillas are not recommended for this recipe, as they tend to break when folded and don’t crisp up as well as flour tortillas. If you prefer corn tortillas, consider making flautas instead.
More Relevant Recipes
Print
Chicken Chimichangas
- Total Time: 40 minutes
- Yield: 8 servings 1x
Description
Crispy, golden-brown chicken chimichangas are a Tex-Mex favorite, filled with seasoned shredded chicken, melty Monterey Jack cheese, and a hint of spice. Whether baked for a lighter option or fried for extra crunch, this easy recipe delivers restaurant-quality results right at home.
Ingredients
Chicken Filling
- 2 tablespoons vegetable oil
- ½ cup diced white onion
- 2 teaspoons minced garlic
- ½ tablespoon chili powder
- ¼ teaspoon oregano
- ½ teaspoon ground cumin
- 4 cups cooked, shredded chicken (rotisserie works great)
- 1 teaspoon salt
- ½ teaspoon pepper
- 1 can (4 ounces) diced green chilies
Chimichangas
- 8 burrito-sized flour tortillas
- 2 cups shredded Monterey Jack cheese
- 1 to 2 cups vegetable oil (for frying)
Toppings (Optional)
- Salsa
- Guacamole
- Sour cream
- Pico de gallo
- Shredded lettuce
Instructions
- Prepare the Chicken Filling: Heat 2 tablespoons of vegetable oil in a skillet over medium-high heat. Add the diced onion and cook until softened, about 3 minutes. Stir in the minced garlic, chili powder, oregano, and cumin, cooking for another minute until fragrant. Add the shredded chicken, salt, and pepper, stirring to combine. Mix in the diced green chilies and cook for another 5 minutes until the filling is heated through. Remove from heat.
- Warm the Tortillas: To make them easier to roll, warm the flour tortillas in a dry skillet for a few seconds on each side or microwave them in a damp paper towel for 15 seconds.
- Assemble the Chimichangas: Lay a tortilla flat and spoon about ½ cup of the chicken mixture into the center. Sprinkle with 3 tablespoons of shredded Monterey Jack cheese. Fold in the sides, then fold the bottom over the filling and roll tightly to seal. Repeat with the remaining tortillas.
- Fry the Chimichangas (Traditional Method): Heat about 2 inches of vegetable oil in a heavy-bottomed skillet to 375°F. Place the chimichangas seam-side down in the oil and fry until golden brown on all sides, about 1-2 minutes per side. Use tongs to transfer them to a paper towel-lined plate to drain excess oil.
- Bake the Chimichangas (Healthier Option): Preheat the oven to 375°F and grease a baking sheet. Place the rolled chimichangas seam-side down on the sheet and lightly spray or brush them with oil. Bake for 20-30 minutes, flipping halfway through, until golden brown and crispy.
- Serve and Enjoy: Top with your favorite garnishes like salsa, guacamole, sour cream, or shredded lettuce. Serve immediately for the best texture and flavor.
Notes
- For extra crispy baked chimichangas, brush them lightly with melted butter before baking.
- Make it spicier by adding chopped jalapeños or using Pepper Jack cheese instead of Monterey Jack.
- Use different proteins like shredded beef, pork, or sautéed mushrooms for a vegetarian option.
- Store leftovers in an airtight container in the fridge for up to 3 days or freeze for up to 3 months.
- Prep Time: 15 minutes
- Cook Time: 25 minutes
- Category: Main Course
- Method: Frying or Baking
- Cuisine: Tex-Mex
Nutrition
- Serving Size: 1 chimichanga
- Calories: 420
- Sugar: 2g
- Sodium: 620mg
- Fat: 23g
- Saturated Fat: 8g
- Unsaturated Fat: 13g
- Trans Fat: 0g
- Carbohydrates: 32g
- Fiber: 3g
- Protein: 25g
- Cholesterol: 60mg

