There’s something incredibly comforting about the aroma of fresh bread wafting from the oven. It instantly brings back memories of Sunday family dinners at my grandmother’s house, where a warm breadbasket was always at the center of the table. These sourdough breadsticks are my way of recreating that magic, but with a modern twist. If you’re new to bread baking, this Easy Sourdough Breadsticks recipe is the perfect starting point. It’s simple, hands-on, and flexible, and it teaches you the basics of working with sourdough while delivering buttery, garlicky results that taste like they came from your favorite Italian restaurant. Plus, it’s a healthier option thanks to natural fermentation and minimal ingredients.
Why This Recipe is Special
These sourdough breadsticks are not just a delicious side—they’re a foundational recipe for anyone looking to dip their toes into the world of sourdough baking. Unlike other bread recipes that require commercial yeast or intensive kneading, these are beginner-friendly and forgiving. Here’s what makes them truly special:
- Long Fermentation: Helps with digestion and creates deeper flavor.
- Healthier Ingredients: No preservatives, just real, wholesome components.
- Hands-Off Time: Most of the time required is passive, so you can prep in the morning and enjoy by dinner.
- Incredibly Versatile: Great for dinner, dipping, or even turning into garlic knots.
Ingredients and Preparation
Water
The base liquid for activating gluten in the dough. It also helps distribute the sourdough starter and other ingredients evenly. Filtered water is best to avoid chlorine interference.
Sourdough Starter (Active and Bubbly)
This is the heart of the breadsticks. It naturally ferments the dough, develops tangy flavor, and supports gut health. Use a well-fed starter for the best rise and flavor.
Honey or Sugar
Adds a slight sweetness to balance the sour notes of the starter and help the crust brown nicely.
Butter
Used in both the dough and as a finishing touch. It gives richness and softness to the texture. Olive oil can be used for a dairy-free alternative.
All-Purpose or Bread Flour
This is the structure of your breadstick. Bread flour gives a chewier texture, while all-purpose results in a softer bite. Choose based on your preference.
Salt
Essential for enhancing the flavor and helping to control fermentation.
Garlic Powder and Dried Herbs (like oregano, basil, rosemary, parsley)
These seasonings infuse the breadsticks with savory, Italian-inspired notes. Use your favorite herb blend to personalize the flavor.
Alternative Ingredients:
- Swap butter with ghee or plant-based margarine for dairy-free.
- Add shredded cheese inside the dough for cheesy breadsticks.
- Use whole wheat flour for added fiber, though you may need to adjust hydration slightly.
Step-by-Step Instructions
Step 1
Feed your sourdough starter at least 8–12 hours before beginning the dough. It should be bubbly and active when used.
Step 2
In a large mixing bowl or stand mixer, combine water, starter, honey (or sugar), melted butter, salt, and flour. If mixing by hand, knead for 10 minutes until smooth. If using a mixer, use the dough hook on low-medium speed.
Step 3
Knead the dough until it passes the “windowpane test”—when stretched, it should be translucent and not tear. This ensures good gluten development.
Step 4
Cover the bowl with a damp towel or lid. Let the dough rest at room temperature until it has risen (but not quite doubled). This could take several hours. Alternatively, refrigerate overnight for a slower rise.
Step 5
Once risen, turn the dough onto a floured surface. Use a bench scraper or knife to divide the dough into equal portions (a kitchen scale helps if you want uniformity). Roll each portion into long breadstick shapes.
Step 6
Place breadsticks on a parchment-lined baking sheet. Cover with a clean towel and let rise for another 1–2 hours.
Step 7
Preheat your oven to 400°F (200°C). Bake the breadsticks for about 20 minutes, or until lightly golden on top.
Step 8
While baking, melt butter and mix in garlic powder, salt, and herbs.
Step 9
Brush the garlic herb butter over the hot breadsticks as soon as they come out of the oven for maximum flavor absorption.
Beginner Tips and Notes
- Overproofing? If your breadsticks spread too much or look flat, they may have over-risen. Try shortening the final proofing time next time.
- No Stand Mixer? No problem! Just use your hands and do 3–4 sets of stretch-and-folds over a 2-hour period instead.
- Sticky Dough? Add a small amount of flour during kneading, but be careful not to add too much or the breadsticks will turn dry.
- Make-Ahead Option: The dough can be refrigerated overnight after mixing to bake fresh the next day.
Serving Suggestions
- Pair with a classic marinara or homemade Alfredo for dipping.
- Serve alongside creamy soups like tomato basil or potato leek.
- Use them as a side to grilled chicken or pasta dishes.
- Leftovers? Store in an airtight container for up to 3 days at room temperature, or freeze for up to a month. Reheat in the oven for that fresh-baked texture.
Conclusion
If you’ve always wanted to try baking with sourdough but felt intimidated, these Easy Sourdough Breadsticks are your perfect entry point. They’re forgiving, flavorful, and fun to make—ideal for family dinners or casual entertaining. Let your kitchen be filled with the warmth of homemade bread, and don’t forget to share your baking triumphs in the comments. We’d love to hear how they turned out for you!
FAQ About Easy Sourdough Breadsticks
Can I make these breadsticks without a sourdough starter?
This recipe is specifically designed for use with an active sourdough starter. If you don’t have one, you can substitute with commercial yeast, but the flavor and texture will differ significantly, and fermentation time will be shorter.
Why didn’t my breadsticks rise properly?
There could be a few reasons: your starter might not be active enough, the dough may not have had enough time to ferment, or your kitchen might have been too cold. Make sure your starter is bubbly and your dough rests in a warm, draft-free spot.
Can I freeze the dough or finished breadsticks?
Yes, both options work well. Freeze the shaped, unbaked breadsticks for later use (thaw and allow to rise before baking) or freeze fully baked breadsticks in an airtight bag. Reheat at 350°F for 10 minutes to restore texture.
More Relevant Recipes
Print
Easy Sourdough Breadsticks – Sarah Jean Melito Blog
- Total Time: ~10 hours (including fermentation)
- Yield: 12 breadsticks 1x
- Diet: Vegetarian
Description
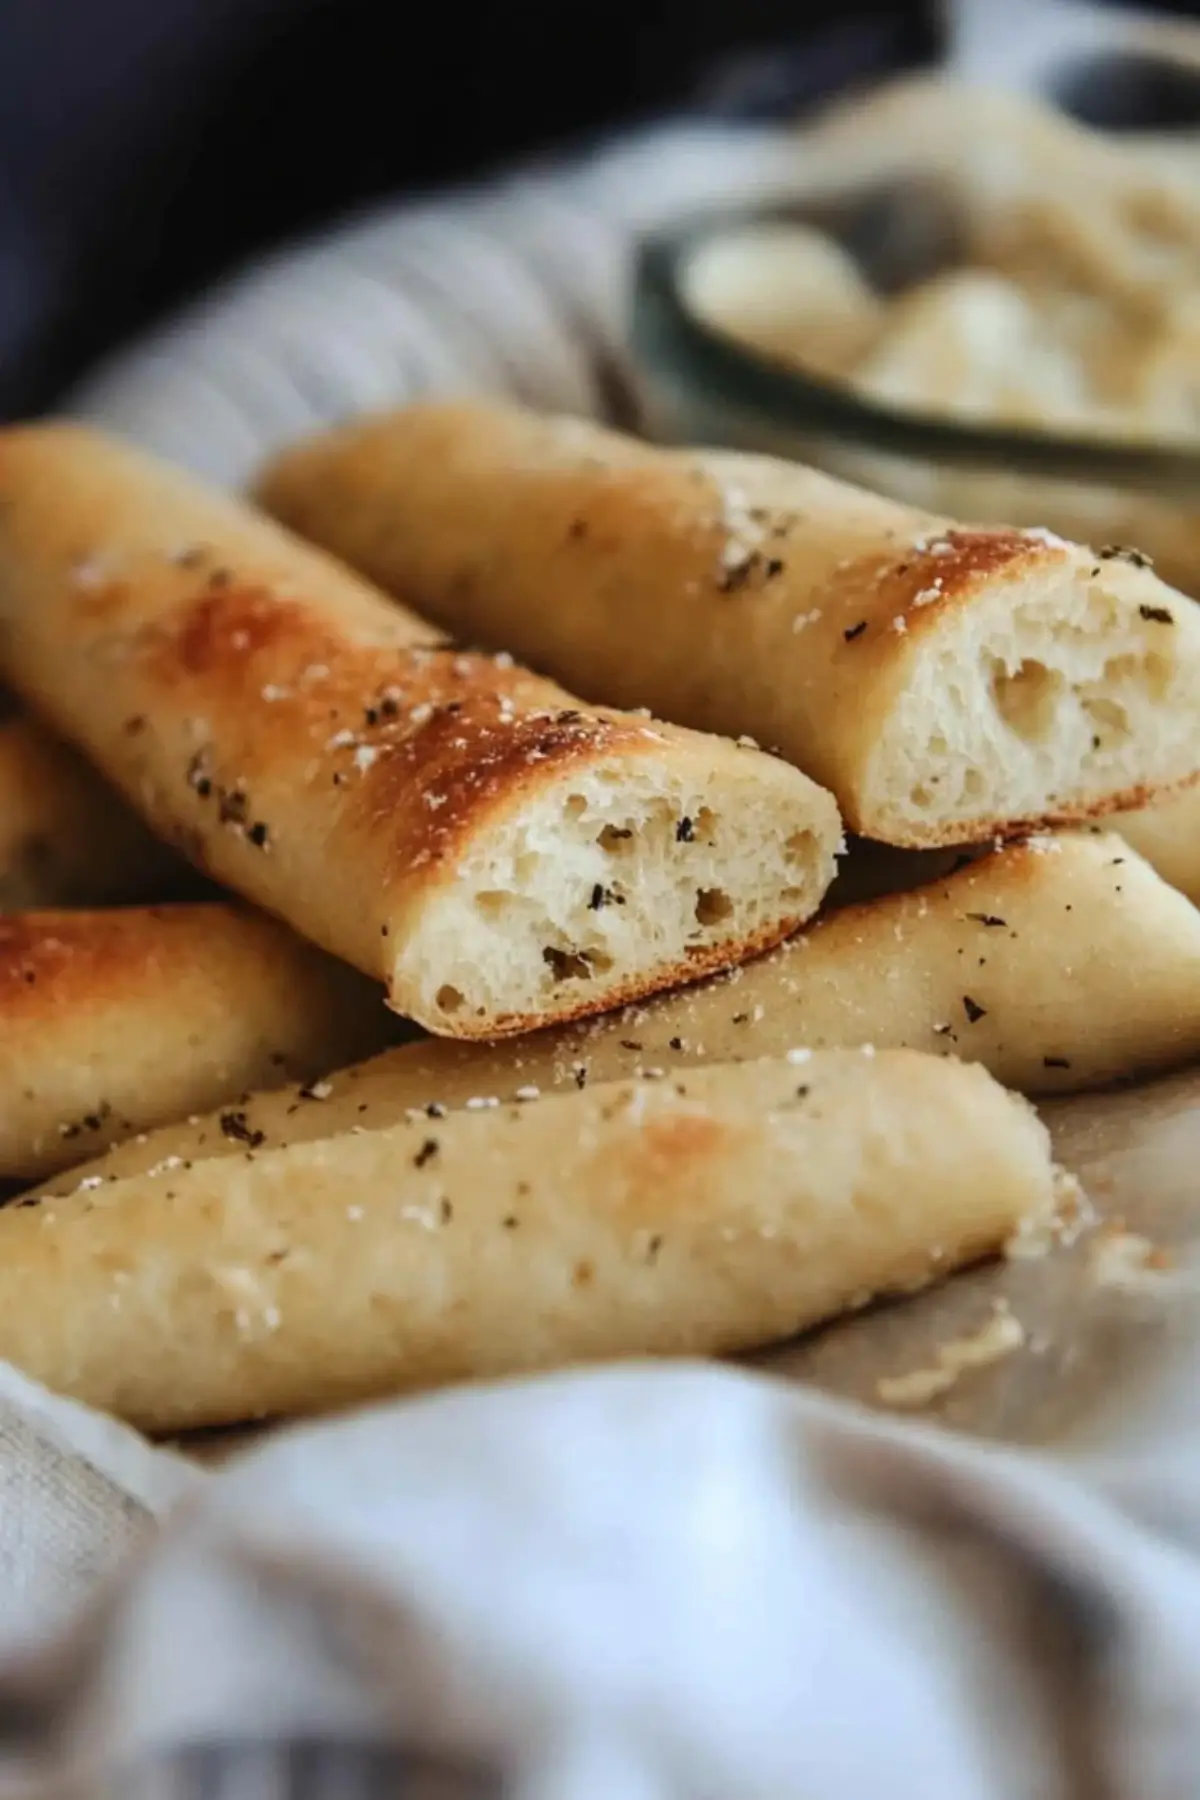
These buttery Easy Sourdough Breadsticks are soft, chewy, and full of garlicky-herb flavor. Perfect for dipping or as a side, they’re a beginner-friendly bake made with an active sourdough starter and long fermentation for deep flavor and digestive benefits.
Ingredients
Dough:
- 1 cup water (240 g)
- 1/2 cup active sourdough starter (110 g)
- 2 tablespoons honey or sugar (42 g)
- 4 tablespoons melted butter (56 g)
- 2 teaspoons sea salt (10 g)
- 3 cups all-purpose or bread flour (360 g)
Topping:
- 3 tablespoons melted butter or olive oil
- 1/4 teaspoon salt
- 1/2 teaspoon garlic powder
- 1 tablespoon dried herbs (Italian blend)
Instructions
- Feed the Starter Ahead of Time: Make sure your sourdough starter is well-fed 8 to 12 hours before you plan to bake. It should be bubbly and active for the best results.
- Mix the Dough: In a large bowl or stand mixer, combine the water, starter, honey, butter, salt, and flour. If mixing by hand, knead for 10 minutes until the dough is smooth and elastic. If using a mixer, use the dough hook at low to medium speed.
- Check for Windowpane Test: Continue kneading until the dough is stretchy and passes the windowpane test. This means you can stretch a small piece of dough thin enough to see light through without tearing.
- First Rise: Cover the bowl with a damp towel or plastic wrap. Let the dough rest at room temperature for several hours until it has risen noticeably but hasn’t quite doubled in size. Alternatively, refrigerate overnight for a slow ferment.
- Shape the Breadsticks: Lightly flour your work surface. Turn the dough out and divide it into 10 to 12 equal pieces using a bench scraper or knife. Roll each piece into a long rope shape, about the thickness of your finger.
- Second Rise: Place the shaped breadsticks onto a parchment-lined baking sheet. Cover them with a clean towel and allow to rise again for 1 to 2 hours until slightly puffed.
- Bake the Breadsticks: Preheat the oven to 400°F (200°C). Bake the breadsticks for about 20 minutes or until lightly golden on top.
- Make the Garlic Butter: While the breadsticks bake, melt the butter and stir in garlic powder, salt, and herbs. Once the breadsticks come out of the oven, immediately brush them with the garlic herb butter for maximum flavor.
Notes
- To make them extra cheesy, sprinkle grated Parmesan on top before baking. These also make fantastic garlic knots—simply twist the dough before the second rise.
- Store leftovers in an airtight container for up to 3 days, or freeze and reheat to enjoy later.
- Prep Time: 20 minutes
- Cook Time: 20 minutes
- Category: Bread
- Method: Baking
- Cuisine: American, Italian-inspired
Nutrition
- Serving Size: 1 breadstick
- Calories: 180
- Sugar: 2g
- Sodium: 280mg
- Fat: 6g
- Saturated Fat: 3g
- Unsaturated Fat: 3g
- Trans Fat: 0g
- Carbohydrates: 24g
- Fiber: 1g
- Protein: 3g
- Cholesterol: 15mg