There’s something undeniably magical about soup served in a bread bowl. I remember the first time I had one—it was a chilly autumn afternoon, and my mom ladled creamy potato soup into a golden, crusty bowl that she’d baked that morning. The aroma of warm bread filled the kitchen, and the thrill of eating the “bowl” made dinner feel like an event. Since then, homemade bread bowls have become one of my favorite ways to elevate a simple meal. And the best part? They’re surprisingly beginner-friendly.
This Homemade Bread Bowls is perfect for those new to baking. It uses simple pantry staples, requires no complicated techniques, and fills your kitchen with the irresistible smell of fresh bread. Whether you’re looking to impress dinner guests or just want to level up your next soup night, this recipe offers the perfect blend of practicality and comfort. Plus, it’s freezer-friendly and adaptable, making it ideal for quick and healthy meals all year round.
Why This Recipe is Special
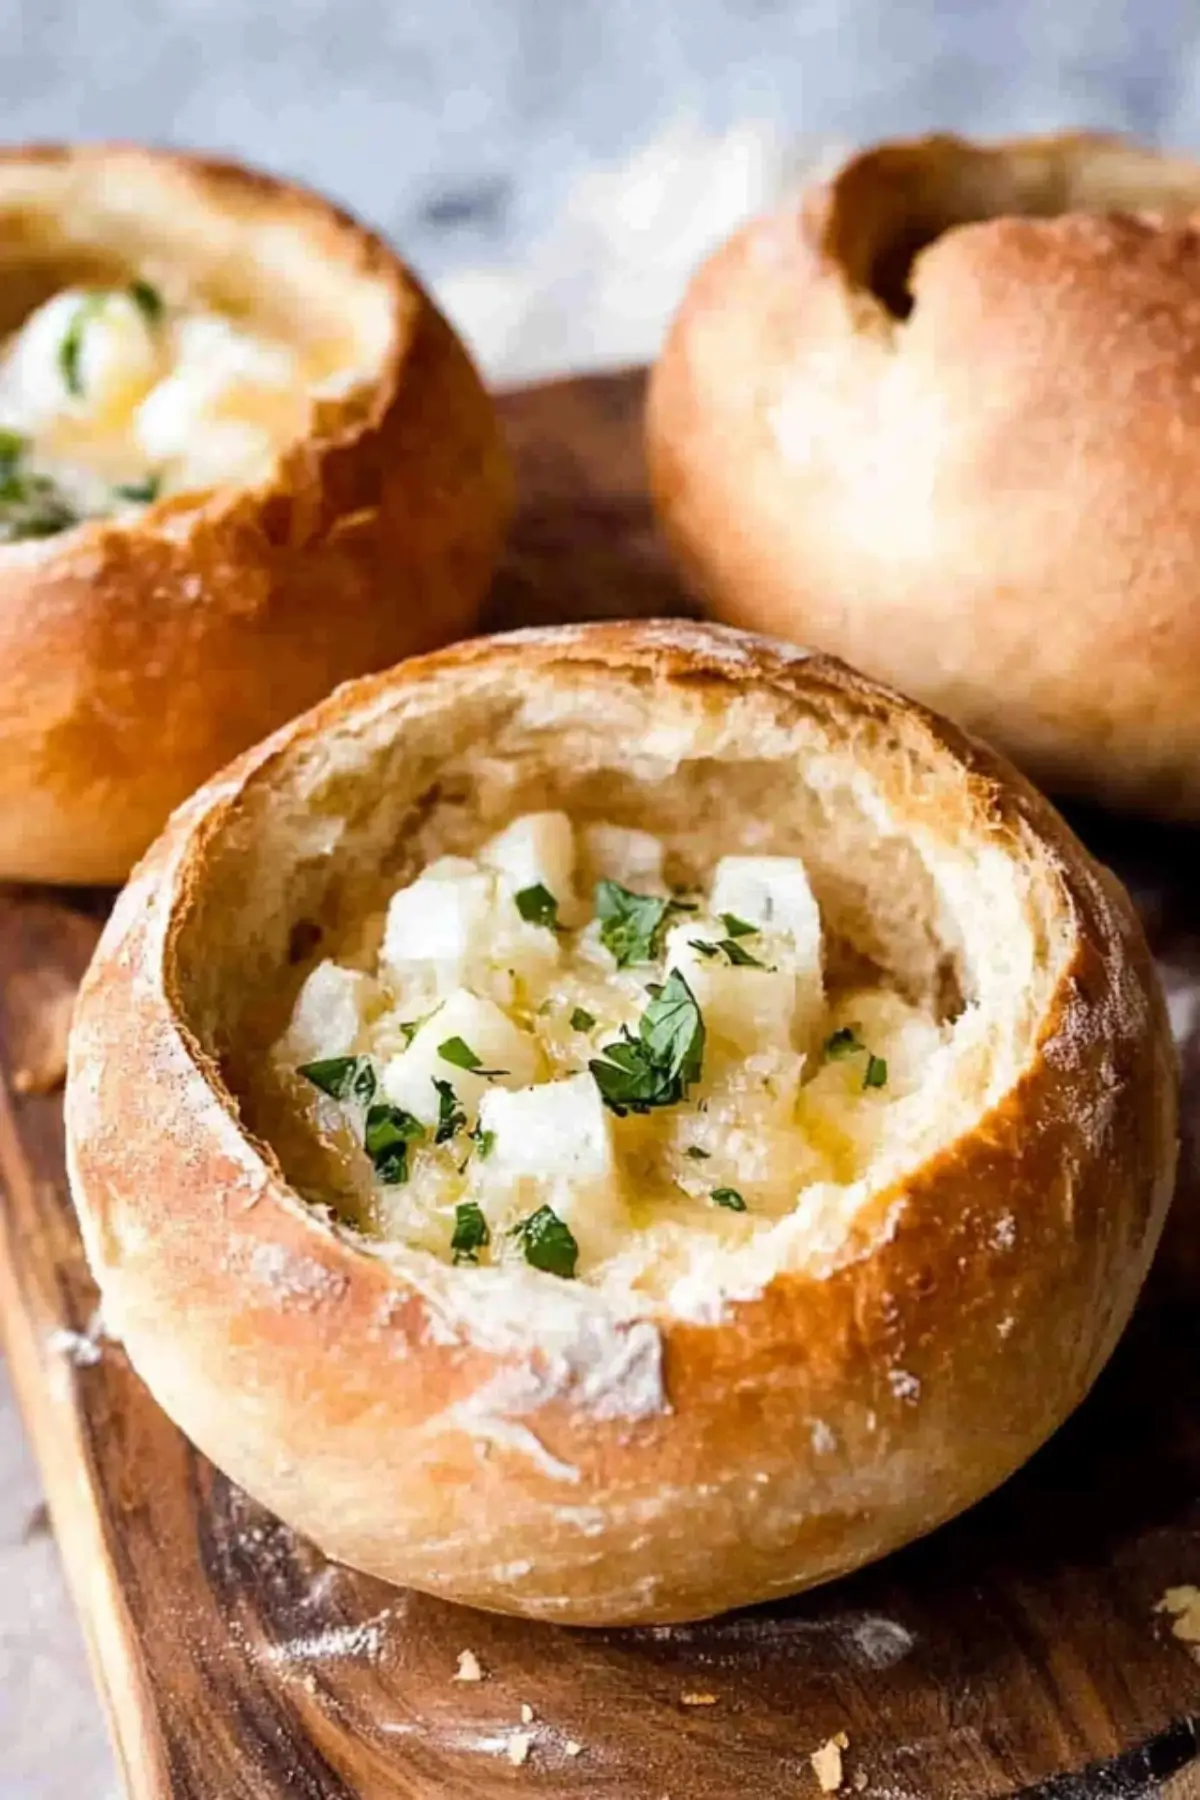
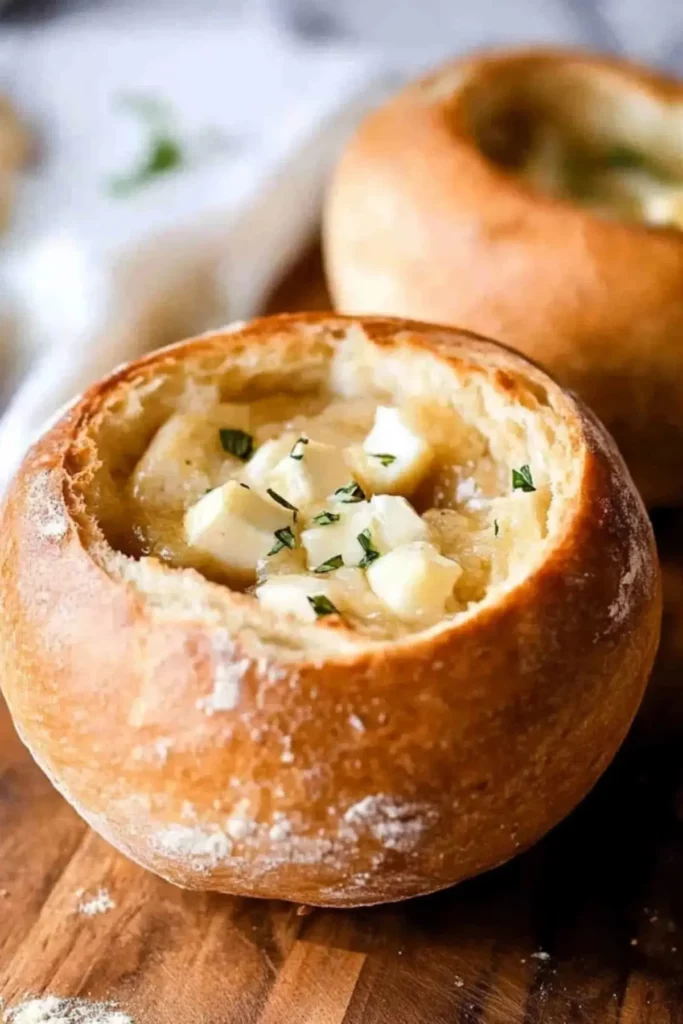
These homemade bread bowls are more than just a clever way to serve soup—they’re soft on the inside, beautifully golden on the outside, and sturdy enough to hold everything from creamy chowders to cheesy dips. Unlike store-bought versions, these bowls have a fresh, chewy texture that soaks up just enough soup without falling apart. They’re also freezer-friendly, meaning you can make a batch ahead of time and defrost when needed. For beginner cooks, this recipe is a low-risk, high-reward introduction to yeast baking.
Ingredients and Preparation
Warm Water
Helps activate the yeast to start the dough rising. The right temperature is key—it should feel like warm bath water (around 110°F). Too hot, and it can kill the yeast.
Active Dry Yeast
The leavening agent that makes the bread rise. When mixed with warm water and sugar, it gets bubbly and foamy—your sign that it’s ready to work.
Sugar
Feeds the yeast and encourages it to activate. A small amount goes a long way.
Salt
Balances the flavor so the bread doesn’t taste bland.
Olive Oil
Adds moisture and subtle richness to the dough. It also makes the bread easier to work with and slightly tender inside.
Bread Flour
Gives the bread its chewy texture and helps the dough form a strong structure. You can use all-purpose flour in a pinch, but the bread may be a bit softer and less sturdy.
Egg and Milk (for Egg Wash)
Brushed on before baking to create that beautiful, shiny golden crust.
Alternative Ingredients:
- Use all-purpose flour if bread flour isn’t available.
- Swap olive oil with melted butter for a richer flavor.
- Add a teaspoon of garlic powder or rosemary for an herbed twist.
Step-by-Step Instructions
Step 1
In a large bowl or stand mixer, combine warm water, yeast, and sugar. Let it sit for about 5 to 10 minutes until you see bubbles forming. This means your yeast is alive and ready to go.
Step 2
Add salt, olive oil, and about two cups of flour. Mix everything together, then gradually add more flour one cup at a time. Switch to a dough hook (if using a mixer) once it starts to come together. You’re looking for a soft dough that pulls away from the sides of the bowl but is still slightly tacky.
Step 3
Knead the dough for about 5–6 minutes in the mixer, or 10–12 minutes by hand, until it’s smooth and elastic. It should spring back slightly when pressed.
Step 4
Place the dough in a greased bowl, cover it with plastic wrap, and let it rise in a warm area for about 45 minutes or until it doubles in size.
Step 5
Punch down the dough to release air bubbles, then divide it into 6–8 equal pieces depending on your preferred size. Roll each piece into a ball and place them on a parchment-lined baking sheet, spaced apart.
Step 6
Cover the dough balls loosely with plastic wrap and let them rise again for 30–45 minutes. Meanwhile, preheat your oven to 400°F.
Step 7
In a small bowl, whisk together the egg and milk. Brush this egg wash over each risen dough ball to get that golden finish.
Step 8
Bake the bread bowls for 22–26 minutes until the tops are deeply golden and sound hollow when tapped. Let them cool for 10–15 minutes before slicing off the tops and scooping out some of the inside to make space for your soup or dip.
Beginner Tips and Notes
If your dough is too sticky
Add extra flour one tablespoon at a time. Be careful not to add too much, or your bread will be dense.
If your kitchen is cold
Let the dough rise in a slightly warm (but turned off) oven with the light on. This creates a cozy environment for the yeast to do its thing.
For perfectly round bowls
Shape the dough into tight balls by pulling the edges underneath and pinching them together at the base.
To check doneness
Tap the bottom of a baked bowl—it should sound hollow. If it feels too soft, bake for a few more minutes.
Tool substitutes
Don’t have a stand mixer? No problem—just mix and knead by hand. No pastry brush? Use a spoon to drizzle on the egg wash.
Serving Suggestions
Soup Pairings
- Broccoli cheddar, creamy tomato, potato leek, or chowder-style soups work beautifully.
- For a heartier option, try chili or creamy wild rice soup.
Dip Ideas
- Spinach and artichoke dip, buffalo chicken dip, or even cold hummus for parties.
Sides
Serve with a crisp green salad or roasted vegetables for a full, balanced meal.
Storage Tips
Store leftover bread bowls in a ziplock bag at room temperature for up to five days. For longer storage, freeze the baked bowls or unbaked dough balls. Thaw and bake or reheat in the oven as needed.
Conclusion
Making your own homemade bread bowls is one of those kitchen wins that feels way more impressive than it is difficult. Once you try this easy bread bowl recipe, you’ll find yourself looking for excuses to make soup just so you can serve it in one. I’d love to hear how it turns out for you—drop a comment below with your favorite soup pairing or share your photos. Let’s turn everyday meals into something memorable, one bowl at a time.
FAQ About Homemade Bread Bowls
1. Can I make the dough ahead of time?
Yes! You can make the dough, let it rise once, shape it into balls, and freeze it. When you’re ready to bake, let it thaw and rise again before baking as usual.
2. What’s the best flour to use for bread bowls?
Bread flour is ideal because it has a higher protein content, which gives the bread a chewy texture and helps the bowls hold their shape. All-purpose flour works in a pinch but may result in softer bowls.
3. How do I know when the bread bowls are done baking?
They should be golden brown and sound hollow when tapped on the bottom. You can also insert a thermometer—bread is done when the internal temp reaches 190°F–200°F.
More Relevant Recipes
Print
Homemade Bread Bowls
- Total Time: 2 hours 30 minutes (includes rising time)
- Yield: 6–8 bread bowls 1x
- Diet: Vegetarian
Description
These homemade bread bowls are crusty on the outside, soft inside, and perfect for serving creamy soups or party dips. Beginner-friendly and freezer-ready.
Ingredients
- 2 1/2 cups warm water (110°F–115°F)
- 1 1/2 tablespoons active dry yeast
- 2 teaspoons granulated sugar
- 2 teaspoons salt
- 2 tablespoons olive oil
- 6–7 cups bread flour (plus extra for shaping)
- 1 large egg (for egg wash)
- 1 tablespoon milk (for egg wash)
Instructions
- In a large bowl or stand mixer, combine warm water, yeast, and sugar. Let it sit for 5–10 minutes until foamy.
- Add salt, olive oil, and 2 cups of flour. Mix, then gradually add the remaining flour 1 cup at a time until a soft dough forms.
- Knead the dough for 5–6 minutes in a stand mixer or 10–12 minutes by hand until smooth and elastic.
- Place dough in a greased bowl, cover, and let rise in a warm area for 45 minutes or until doubled in size.
- Punch down the dough, divide into 6–8 equal pieces, and shape into balls. Place on parchment-lined baking sheets.
- Cover loosely with plastic wrap and let rise again for 30–45 minutes.
- Preheat oven to 400°F. Whisk egg and milk together for egg wash and brush over the dough balls.
- Bake for 22–26 minutes until golden brown and hollow-sounding when tapped. Cool for 15 minutes.
- Slice off the tops and remove some of the interior bread to create space for filling.
Notes
- If dough is sticky, add flour 1 tablespoon at a time during kneading.
- All-purpose flour can be used but will result in a softer texture.
- Dough can be frozen after shaping or after baking for later use.
- Tap bottom of baked bowls to check doneness—they should sound hollow.
- Use creamy soups or dips to prevent sogginess.
- Prep Time: 20 minutes
- Cook Time: 25 minutes
- Category: Bread
- Method: Baking
- Cuisine: American
Nutrition
- Serving Size: 1 bread bowl
- Calories: 320
- Sugar: 1g
- Sodium: 400mg
- Fat: 4g
- Saturated Fat: 1g
- Unsaturated Fat: 2.5g
- Trans Fat: 0g
- Carbohydrates: 60g
- Fiber: 2g
- Protein: 9g
- Cholesterol: 15mg


