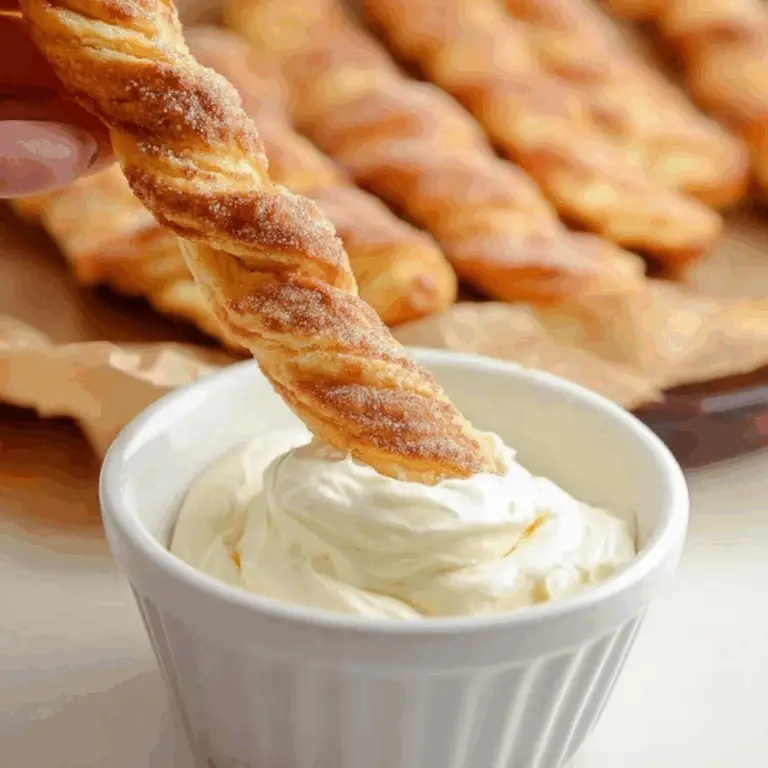
Looking for a quick and delicious holiday treat that will impress your guests? These Oreo Pinecones are the perfect addition to your Christmas or winter celebrations. With just a few simple ingredients, this festive dessert brings the cozy charm of the holidays right to your table. They’re easy to make, fun for the whole family, and absolutely irresistible! Whether you’re hosting a party or looking for a creative gift idea, Oreo Pinecones are sure to be a hit.

Table of Contents
Why Oreo Pinecones Are the Ultimate Holiday Treat
Oreo Pinecones are not only beautiful to look at, but they also combine the perfect balance of rich chocolate flavor with a satisfying crunch. They’re ideal for those who want to whip up a treat that’s quick, no-bake, and guaranteed to please a crowd. These edible pinecones are perfect for a family activity during the holidays, making it an interactive dessert that both kids and adults will enjoy.
Ingredients
For these snowy Oreo Pinecones, you’ll need only a few ingredients, each adding its own special touch to this delicious dessert:
- Oreos: The foundation of this recipe. Oreos bring that classic chocolate-cookie crunch and sweetness that forms the base of these pinecones.
- Cream Cheese: A key ingredient for binding the Oreo crumbs together. It adds a smooth texture and richness to the mixture, making it easier to shape.
- Coco Pops Chocos: These chocolate cereal pieces are used to give the pinecones their signature “scales.” They add both texture and a chocolatey flavor. You can also use other cereals like Nequik Choco Waves or even Cinnamon Toast Crunch for a fun twist.
- Icing Sugar: A light dusting of icing sugar at the end adds a snowy effect, making your Oreo Pinecones look like they’ve been dusted by winter’s first snowfall.
Alternative Ingredient Suggestions
If you’re looking to switch things up or accommodate dietary preferences, here are a few suggestions:
- Gluten-Free Option: Use gluten-free Oreos and gluten-free chocolate cereal to make this treat suitable for those with dietary restrictions.
- Dairy-Free: Opt for a dairy-free cream cheese substitute to make this recipe vegan-friendly.
- Different Cereal: For a more grown-up version, you could replace the chocolate cereal with slivered almonds, adding a sophisticated crunch to the pinecones.
Step-by-Step Instructions
Now that you have all the ingredients, let’s dive into making these fun and festive Oreo Pinecones!
- Prepare Your Tray: Line a baking tray with parchment paper to prevent the pinecones from sticking. This step makes cleanup a breeze.
- Crush the Oreos: Place two packs of Oreos (308g) into a food processor or high-powered blender and blend until fine crumbs form. If you don’t have a food processor, simply place the cookies in a plastic bag and crush them with a rolling pin. The finer the crumbs, the easier they will be to shape.
- Mix the Cream Cheese: In a bowl, combine the Oreo crumbs with 150g of cream cheese. Stir until the mixture starts to stick together. If needed, use your hands to form the mixture into a large ball.
- Shape the Pinecones: Divide the mixture into 6 even pieces. Roll each into a ball, then shape each ball into a pear-like cone shape with your fingers. Place them on the prepared tray.
- Add the Cereal: Take your Coco Pops Chocos and start pressing them gently into the pinecone shapes, beginning at the base and working your way up. Overlap the pieces slightly for a fuller, more realistic look. Be patient—it may take some time, but the result will be worth it.
- Final Touch: Once your pinecones are covered with cereal, lightly dust them with icing sugar to create a snowy effect. Now your Oreo Pinecones are ready to serve!
Tips & Tricks
- Firm Up the Mixture: If your Oreo mixture feels too sticky or soft to shape, chill it in the fridge for 15–20 minutes. This will make the mixture firmer and easier to handle.
- Keep It Neat: To prevent any crumbs or mess when forming the pinecones, use a spoon or a cookie scoop to portion out the mixture evenly before shaping.
- Enhance the Look: Add some edible glitter for an extra festive touch, making these pinecones sparkle like they’ve just come from a winter wonderland.
Pairing Ideas and Variations
Oreo Pinecones are versatile and can be enjoyed in various ways:
- Gift Idea: Place these adorable pinecones into small cellophane bags with ribbons for a charming homemade holiday gift.
- Serve with Hot Chocolate: These pinecones pair perfectly with a warm mug of hot chocolate. Their crunchy texture and rich chocolate flavor complement the creamy beverage beautifully.
- Add a Touch of Mint: For a refreshing twist, mix some crushed peppermint into the Oreo and cream cheese mixture. This adds a minty freshness that pairs well with the chocolatey pinecones.
Storing and Making Ahead
These Oreo Pinecones can be stored in an airtight container in the fridge for up to 5 days, making them a great make-ahead treat. If you’re planning to prepare them in advance for a party, simply keep them in the fridge until you’re ready to serve.
If you want to keep them longer, you can freeze the pinecones for up to 2 months. To thaw, place them in the fridge overnight or let them sit at room temperature for a few hours.
Conclusion
Oreo Pinecones are a festive, easy-to-make treat that will bring joy to your holiday celebrations. With only a few ingredients and simple steps, you can create a beautiful, delicious dessert that everyone will love. Whether you’re making them for a party, as a gift, or just as a fun family activity, these snowy pinecones are sure to become a holiday favorite. Enjoy!
FAQ
Can I use a different flavor of Oreo for the pinecones?
Absolutely! While vanilla Oreos are the most commonly used for this recipe, feel free to get creative. Peppermint Oreos can add a refreshing twist, perfect for the holidays. You can also try chocolate or even a seasonal flavor like pumpkin spice or gingerbread.
How do I store leftover Oreo Pinecones?
To store your Oreo Pinecones, simply place them in an airtight container and keep them in the fridge for up to 5 days. They’ll stay fresh and maintain their texture. If you want to store them longer, freezing is a great option—just make sure they’re sealed tightly in an airtight container.
Can I freeze Oreo Pinecones?
Yes, Oreo Pinecones freeze well! To freeze, place them in an airtight container and store them for up to 2 months. When you’re ready to enjoy them, let them defrost in the fridge overnight or at room temperature for a couple of hours.
More Relevant Recipes
- Portuguese Orange Cake: A Delicious, Citrus-Infused Dessert
- Lemon Thyme Cake: A Refreshing Twist on Classic Cake Recipes
- Mini Cherry Cheesecakes Recipe: Bite-Sized Dessert Perfection

Oreo Pinecones
- Total Time: 20 minutes
- Yield: 6 pinecones 1x
- Diet: Vegetarian
Description
These Oreo Pinecones are a fun and festive holiday treat made with just a few simple ingredients. Combining the rich flavor of Oreos with cream cheese and chocolate cereal, these pinecones are the perfect no-bake dessert for Christmas parties, gifts, or a fun family activity during the holiday season.
Ingredients
- 2 packs of Oreos (308g)
- 150g full-fat cream cheese
- 55g Coco Pops Chocos cereal (or any other chocolate shell cereal)
- Icing sugar (for dusting)
Instructions
- Line a baking tray with parchment paper to prevent sticking.
- Crush the Oreos into fine crumbs using a food processor or blender.
- Mix the Oreo crumbs with the cream cheese in a large bowl until the mixture begins to come together. Use your hands to press it into a ball.
- Divide the mixture into 6 equal pieces and roll each piece into a ball, then shape into a pear-like cone. Place them on the prepared tray.
- Press the Coco Pops Chocos cereal into the pinecone shapes, starting from the base and working up. Overlap the pieces for a full effect.
- Dust with icing sugar to give the pinecones a snowy appearance. Serve and enjoy!
Notes
- If the mixture is too sticky, chill it in the fridge for 15-20 minutes before shaping.
- For a more grown-up flavor, use slivered almonds instead of cereal.
- You can store these in an airtight container in the fridge for up to 5 days.
- These pinecones can be frozen for up to 2 months. Thaw in the fridge overnight or at room temperature.
- Prep Time: 20 minutes
- Cook Time: 0 minutes
- Category: Dessert, Holiday Treat
- Method: No-bake
- Cuisine: American
Nutrition
- Serving Size: 1 pinecone
- Calories: 368
- Sugar: 25g
- Sodium: 218mg
- Fat: 18g
- Saturated Fat: 8g
- Unsaturated Fat: 7g
- Trans Fat: 0g
- Carbohydrates: 47g
- Fiber: 2g
- Protein: 6g
- Cholesterol: 30mg


