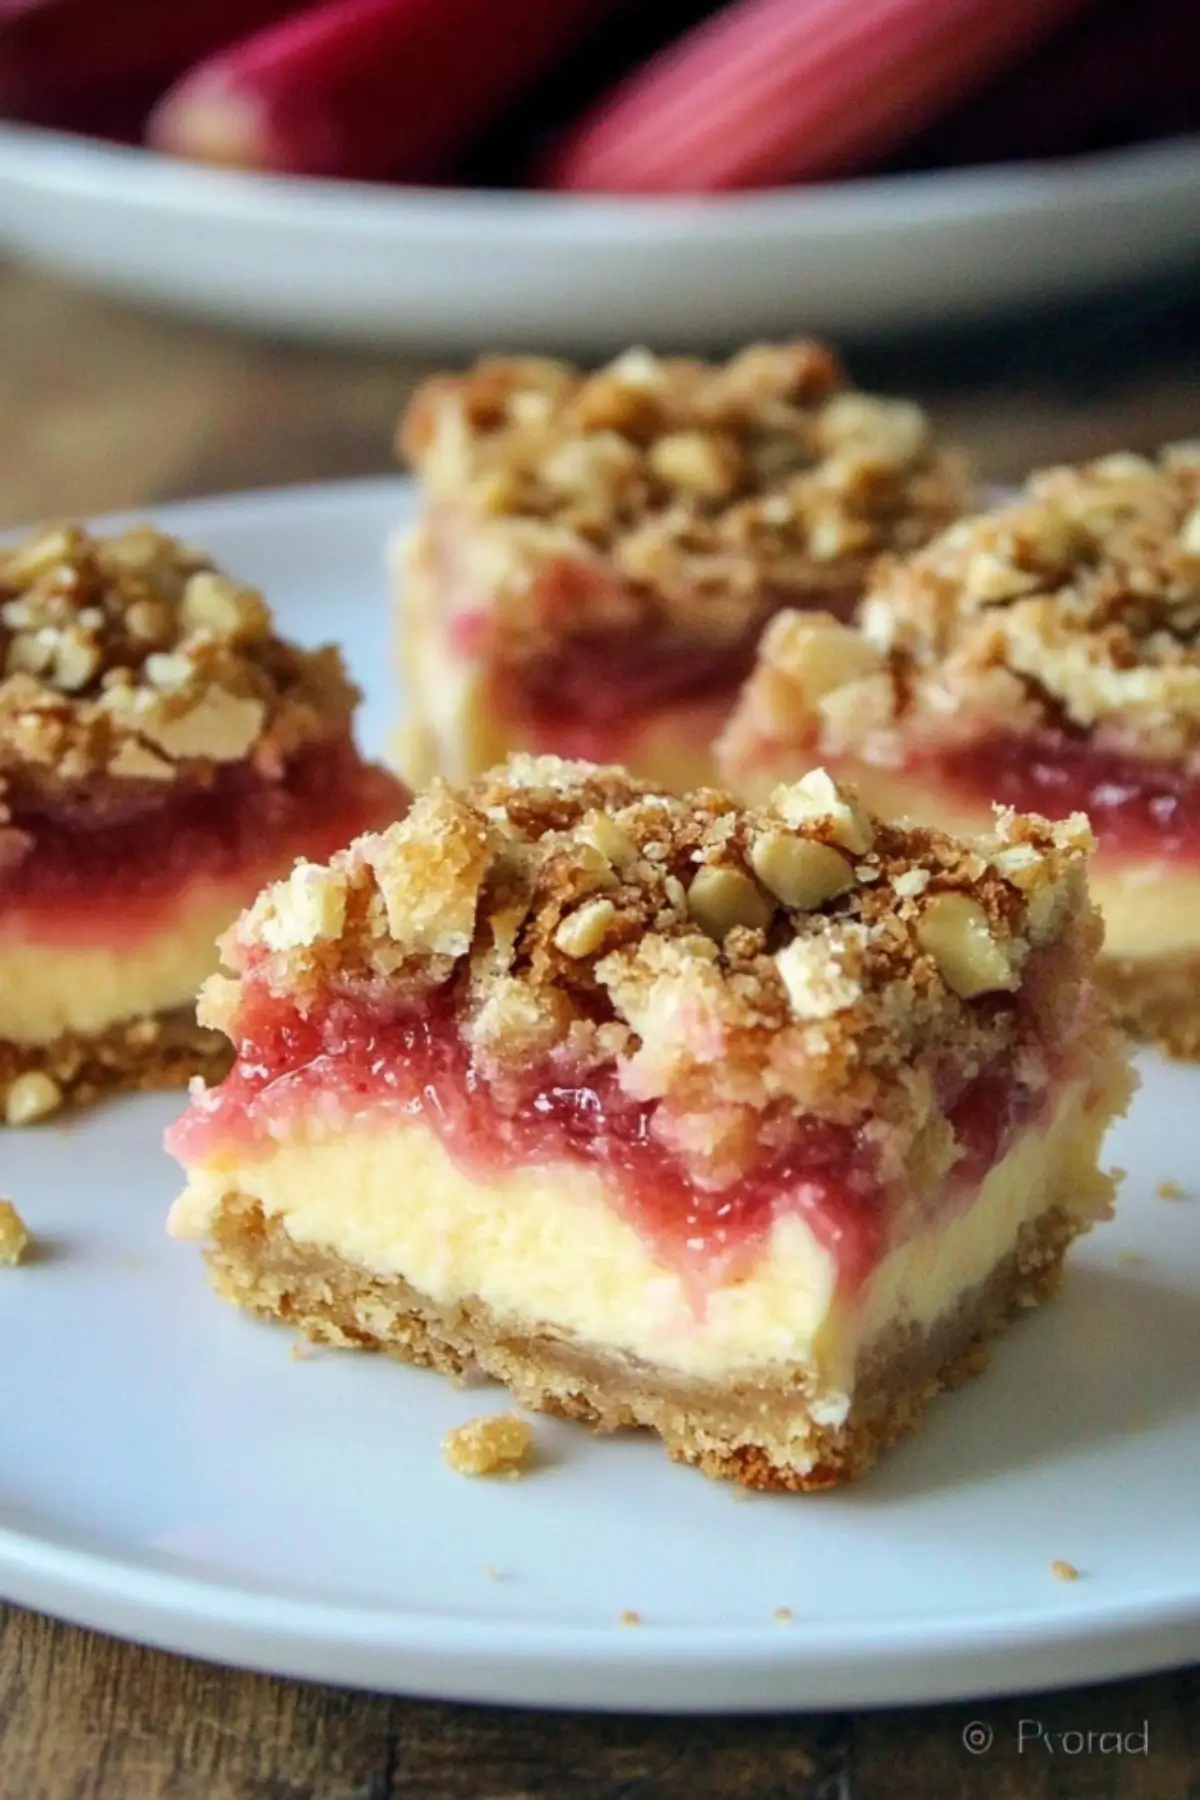
The first time I made rhubarb cheesecake squares was during a bustling Saturday morning when my neighbor handed me a big bundle of freshly picked rhubarb. I had never cooked with it before, but a quick search led me to this delightfully simple dessert that changed my perspective on baking. The tart rhubarb, silky cheesecake, and buttery oat crumble all worked together like magic. From that first bite, I knew this was a keeper—especially for beginner bakers who want to impress without the stress.
This Rhubarb Cheesecake Squares easy sheet pan dessert not only satisfies a sweet tooth but also comes together quickly and stores well, making it ideal for family gatherings or weekday treats. Packed with texture, vibrant flavor, and health-conscious ingredients, this rhubarb cheesecake recipe offers a fun and foolproof introduction to baking for novices.
Why This Recipe is Special
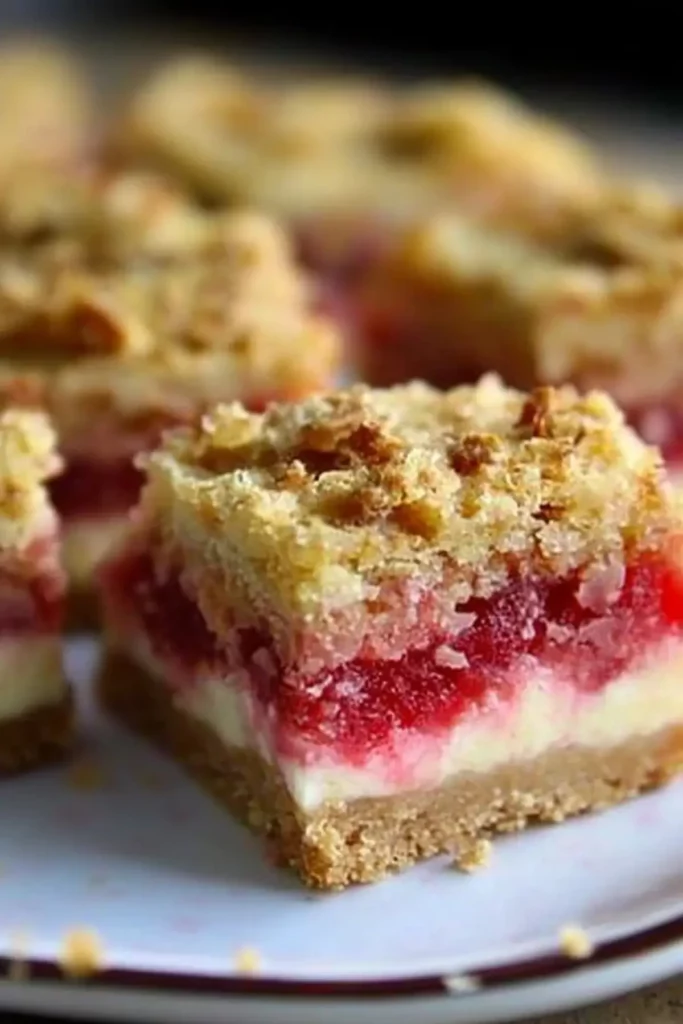
Rhubarb often gets overlooked in favor of flashier fruits, but in this recipe, it takes center stage and proves its worth. Combined with a creamy cheesecake layer and a crumbly oat crust, the tart rhubarb becomes sweet, rich, and deeply satisfying. What makes this dish even more special is its balance of taste and texture—soft, crisp, tangy, and smooth all at once.
Unlike traditional cheesecakes, these Rhubarb Cheesecake Squares require no water bath, no springform pans, and no intimidation. This quick and healthy meal-style dessert is also highly adaptable. With under an hour of prep and bake time, it’s a go-to for last-minute desserts or weekend baking fun.
Ingredients and Preparation
Rhubarb: The main attraction brings a tart brightness that cuts through the sweetness. If fresh isn’t available, frozen rhubarb works just fine—just cook it longer and drain excess liquid. Strawberries or raspberries are great substitutes or additions.
Sugar (white and brown): White sugar sweetens the rhubarb, while brown sugar adds caramel-like depth to the oat layers.
Cornstarch: Thickens the rhubarb mixture to a jam-like consistency. If you’re out, all-purpose flour is a workable substitute.
Cream Cheese: Provides that signature cheesecake richness. Use full-fat for best results, but light versions can also work.
Icing Sugar: Also known as powdered sugar, it creates a silky-smooth cheesecake mixture. If needed, regular granulated sugar can be blended into a powdery consistency.
Egg: Binds the cheesecake layer. For egg allergies, try applesauce or a commercial egg replacer.
Butter: Essential for creating the rich, crumbly texture of the base and topping. Coconut oil or margarine are potential substitutes for dairy-free needs.
Oats: Offer nutty flavor and texture. Use quick oats for a softer crumble or old-fashioned oats for more bite.
Flour: Forms the base structure of the crust and topping. Gluten-free blends can be used if needed.
Walnuts: Provide crunch and earthiness. Pecans, almonds, or even sunflower seeds are suitable alternatives—or skip them entirely for nut-free versions.
Salt: Just a pinch enhances all the other flavors, balancing sweet and sour.
Step-by-Step Instructions
Step 1 Preheat your oven to 350°F (175°C) and line a 9×13-inch baking pan with parchment paper to prevent sticking and make removal easy.
Step 2 Start with the rhubarb layer. In a medium saucepan, combine chopped rhubarb, white sugar, and a splash of water. Cook over medium heat for 8 minutes until the rhubarb softens. Stir in cornstarch and cook for 2 more minutes until thickened. Set aside to cool.
Step 3 For the cheesecake layer, beat softened cream cheese with icing sugar and an egg until smooth and creamy. Set this mixture aside.
Step 4 In a large mixing bowl, combine butter, flour, oats, brown sugar, and a pinch of salt. Use a pastry cutter, fork, or your hands to blend until the mixture resembles coarse crumbs.
Step 5 Press half of the crumb mixture into the prepared pan to form the base. Press it firmly to avoid crumbling when sliced.
Step 6 Stir chopped walnuts into the remaining crumb mixture and reserve for topping.
Step 7 Carefully dollop the cheesecake mixture over the base and spread gently with the back of a spoon or offset spatula to avoid pulling up the crust.
Step 8 Spread the cooled rhubarb mixture evenly over the cheesecake layer.
Step 9 Crumble the walnut-infused topping evenly over the rhubarb. Lightly press it down to ensure it holds during baking.
Step 10 Bake in the preheated oven for about 30 minutes or until the topping is golden and the cheesecake is set. Let it cool completely before cutting into squares. Store in the fridge for best texture.
Beginner Tips and Notes
If your rhubarb mixture clumps after adding cornstarch, dissolve the cornstarch in a small amount of cold water first to avoid lumps. You can also stir the sugar and cornstarch together before cooking.
If the topping browns too fast, loosely cover the pan with foil and continue baking. Always cool completely before cutting—cheesecake layers need time to set or they’ll be too gooey to slice cleanly.
For efficient prep, chop rhubarb in advance and store it in the freezer. Keep your butter slightly softened—not melted—for the perfect crumb texture.
A food processor can help with the crust if you’re short on time, but it’s perfectly manageable by hand.
Serving Suggestions
These Rhubarb Cheesecake Squares shine on their own, but a dollop of whipped cream or vanilla yogurt adds a creamy contrast. Serve with a cup of herbal tea for an afternoon treat or add fresh berries on the side for a pop of color.
To store leftovers, place in an airtight container in the fridge for up to 5 days. For longer storage, freeze individual bars between parchment paper layers for quick grab-and-go treats. Thaw in the fridge overnight before serving.
Conclusion
These Rhubarb Cheesecake Squares are everything beginner bakers dream of: simple, forgiving, and crowd-pleasing. Whether you’re new to baking or just short on time, this easy sheet pan dessert brings together comfort and creativity in every bite. Have fun experimenting with fruit combos or crust variations—and don’t forget to leave a comment if you try it. We’d love to hear how yours turn out!
FAQ About Rhubarb Cheesecake Squares
Q1: Can I use frozen rhubarb instead of fresh?
Yes, frozen rhubarb works well. Just cook it a bit longer and drain any excess liquid to avoid a watery filling.
Q2: What can I substitute for the egg in the cheesecake layer?
You can use 1/4 cup unsweetened applesauce or a commercial egg replacer for an egg-free version without affecting the texture much.
Q3: Can I make these Rhubarb Cheesecake Squares squares ahead of time?
Absolutely. They can be made 1–2 days in advance and stored in the fridge. The flavors often develop more fully overnight.
More Relevant Recipes
Print
Rhubarb Cheesecake Squares
- Total Time: 50 minutes
- Yield: 16 squares 1x
- Diet: Vegetarian
Description
These Rhubarb Cheesecake Squares combine tangy fruit, creamy cheesecake, and a buttery oat crumble. Easy, quick, and ideal for beginner bakers.
Ingredients
- 5 cups chopped rhubarb
- 3/4 cup white sugar
- 1 tablespoon water
- 3 teaspoons cornstarch
- 16 oz cream cheese (2 bricks), room temperature
- 1/2 cup icing sugar
- 1 egg
- 1 cup butter
- 1 3/4 cups all-purpose flour
- 1 cup oats
- 3/4 cup brown sugar
- Pinch of salt
- 1/2 cup chopped walnuts
Instructions
- Preheat oven to 350°F (175°C) and line a 9×13 inch baking pan with parchment paper.
- In a saucepan, combine chopped rhubarb, white sugar, and water. Cook over medium heat for 8 minutes until softened.
- Stir in cornstarch and cook for an additional 2 minutes until thickened. Set aside to cool.
- In a separate bowl, beat the cream cheese, icing sugar, and egg until smooth. Set aside.
- In a large bowl, mix butter, flour, oats, brown sugar, and salt until crumbly.
- Press half of the crumb mixture into the prepared pan to form the crust.
- Add chopped walnuts to the remaining crumb mixture and set aside for topping.
- Spoon the cheesecake mixture over the crust and gently spread it out evenly.
- Spread the cooled rhubarb mixture over the cheesecake layer.
- Sprinkle the remaining crumb topping over the rhubarb layer and press down lightly.
- Bake for about 30 minutes, until the top is golden and the cheesecake is set.
- Cool completely before slicing. Store in the refrigerator.
Notes
- Frozen rhubarb can be used; cook slightly longer and drain excess liquid.
- If cornstarch clumps, dissolve it in a small amount of cold water before adding.
- Substitute pecans or skip nuts entirely for a nut-free version.
- Let bars cool fully before slicing to ensure clean cuts.
- Prep Time: 20 minutes
- Cook Time: 30 minutes
- Category: Dessert
- Method: Baking
- Cuisine: American
Nutrition
- Serving Size: 1 square
- Calories: 280
- Sugar: 18g
- Sodium: 90mg
- Fat: 17g
- Saturated Fat: 10g
- Unsaturated Fat: 6g
- Trans Fat: 0g
- Carbohydrates: 28g
- Fiber: 1g
- Protein: 4g
- Cholesterol: 45mg