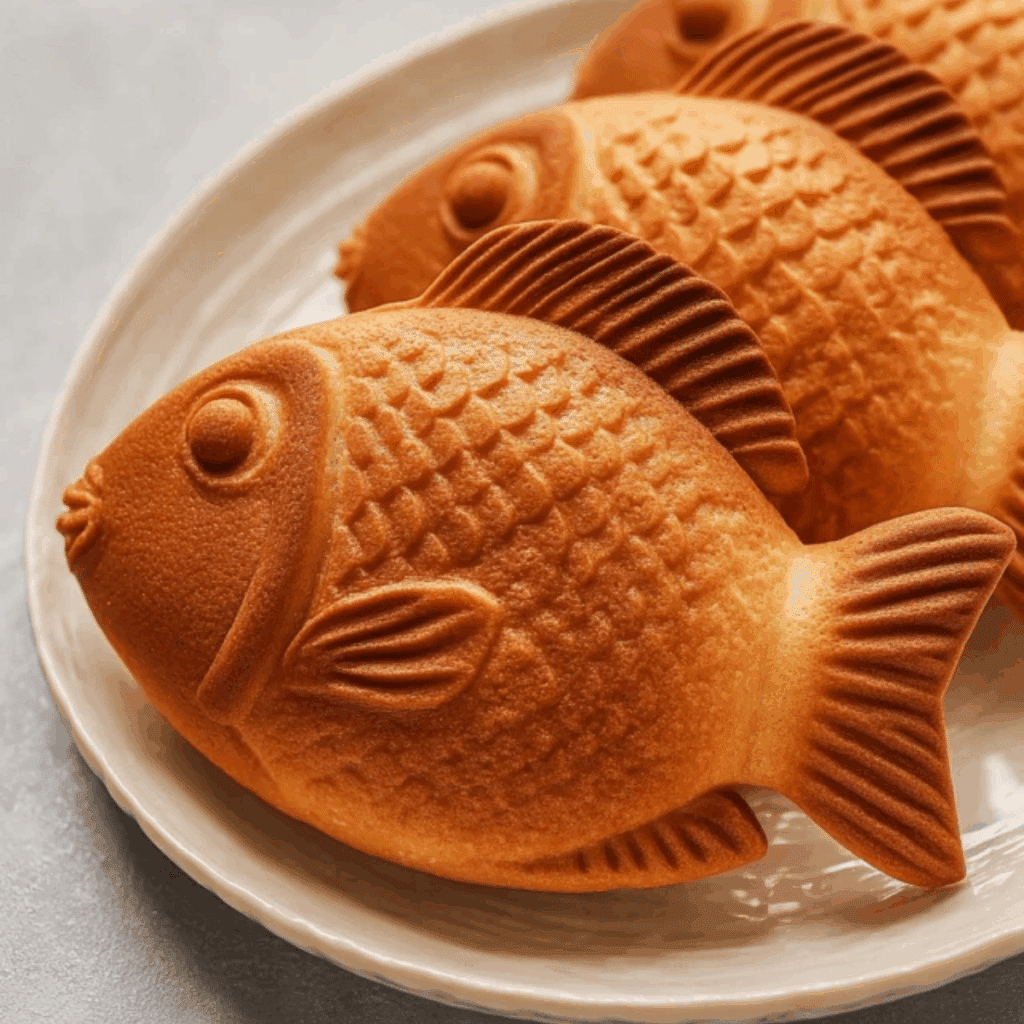
Taiyaki, a beloved Japanese street food, is a crispy fish-shaped pastry filled with a sweet treat that has captured the hearts of many worldwide. Whether you’re a fan of traditional red bean paste or prefer a modern twist like Nutella or custard, this Japanese fish dessert brings comfort and joy in every bite. Easy to make and endlessly customizable, Taiyaki is the perfect treat for any oc
casion. In this recipe, we’ll guide you through the steps to create these delightful fish-shaped cakes at home.
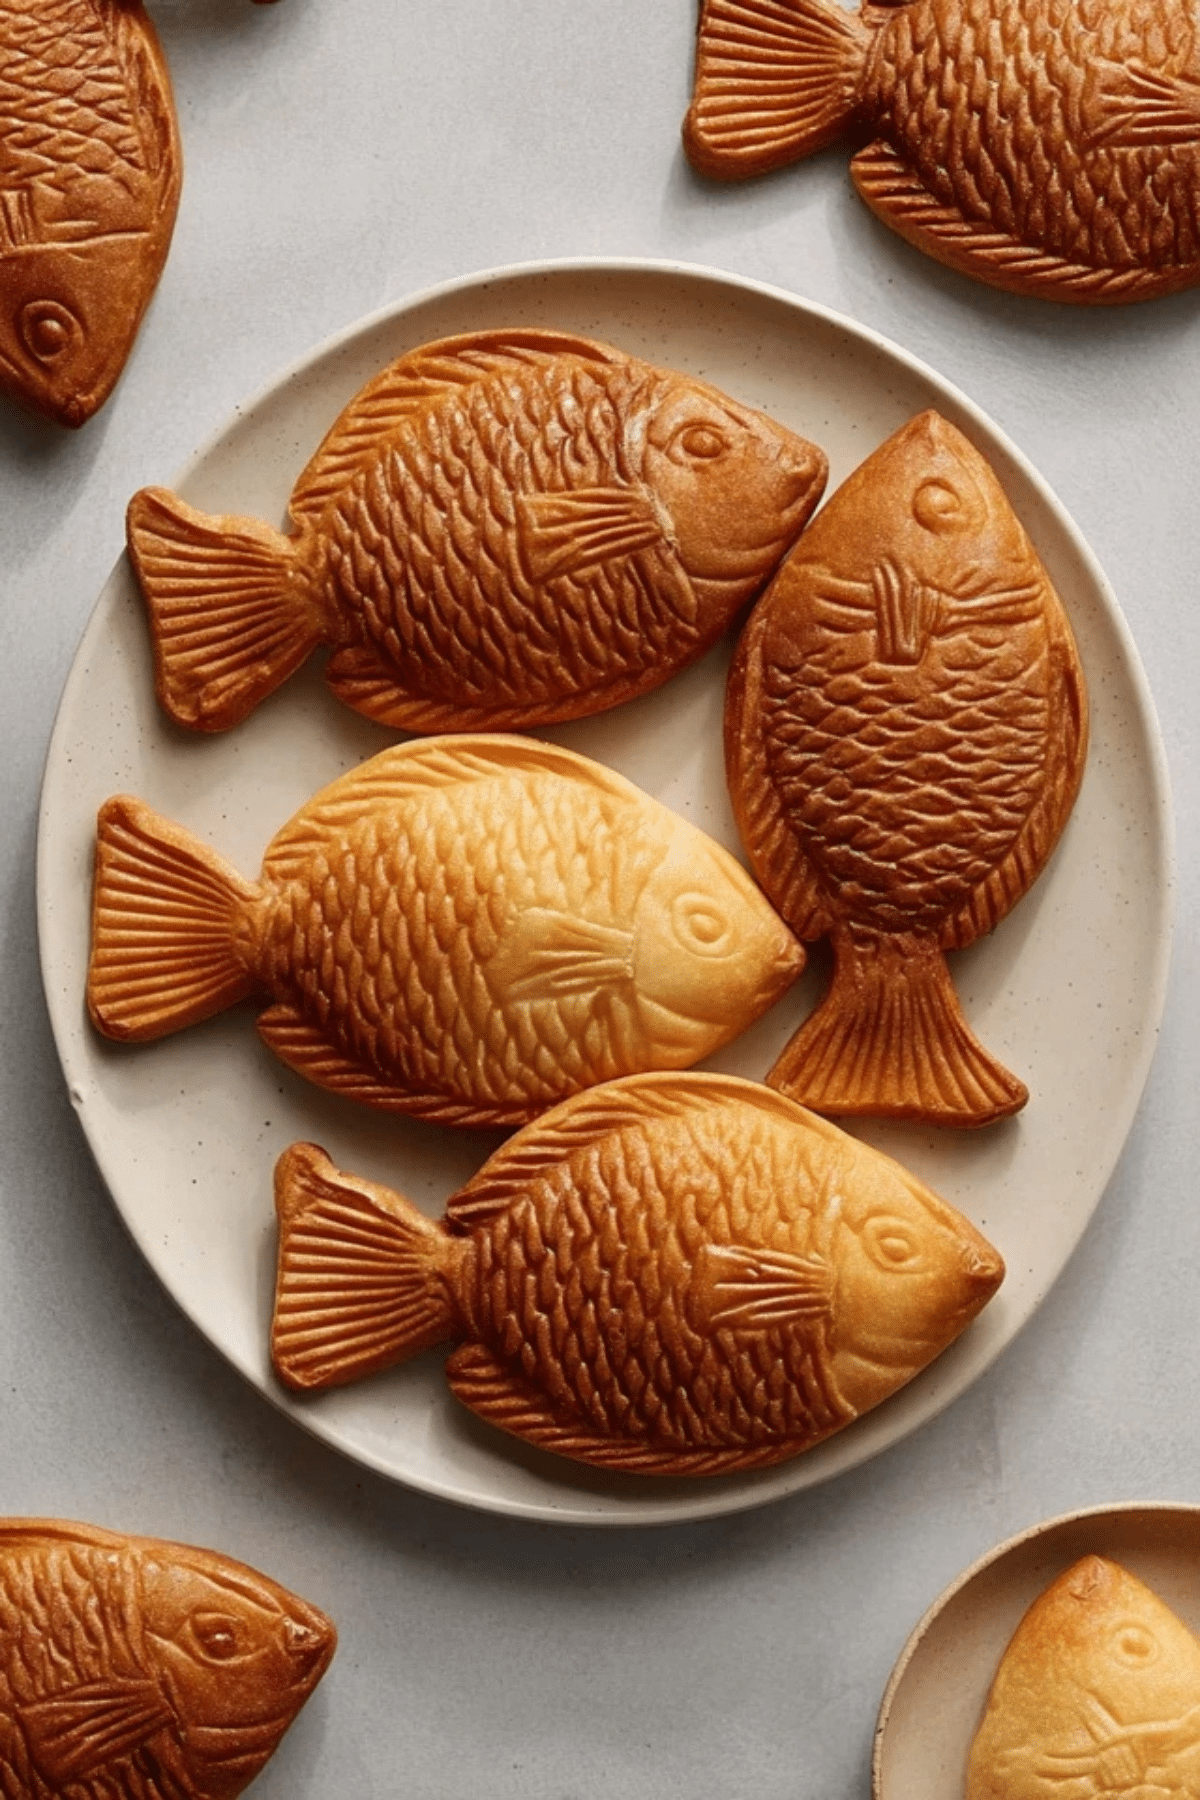
Table of Contents
Why You’ll Love This Taiyaki Recipe
Taiyaki is an irresistible dessert that perfectly balances a crispy exterior with a tender, fluffy interior. The best part? It’s incredibly versatile! Whether you’re craving the classic red bean paste filling, a smooth vanilla custard, or even chocolate hazelnut spread, Taiyaki can be tailored to fit your flavor preferences. Plus, the recipe is simple to follow, making it a fun baking project that anyone can enjoy. Whether you’re making it for a family gathering or as an afternoon snack, Taiyaki always impresses.
Ingredients
To make the perfect Taiyaki, gather the following ingredients. Each ingredient plays a vital role in creating the unique texture and flavor of this traditional Japanese dessert.
• Cake Flour: Ensures a soft and tender texture, perfect for Taiyaki’s fluffy interior.
• Granulated Sugar: Adds the sweetness that makes the pastry irresistible.
• Baking Powder & Baking Soda: These leavening agents work together to create a light, airy batter.
• Salt: Balances the sweetness and enhances the overall flavor.
• Egg: Acts as a binder and helps create a smooth batter.
• Whole Milk: Adds moisture and richness, making the pastry more decadent.
• Vegetable Oil: Contributes to a lighter texture compared to butter.
• Vanilla Extract: A subtle flavor enhancer that adds warmth to the batter.
• Filling: Choose from a variety of fillings like red bean paste, Nutella, or vanilla custard for a sweet surprise in every bite.
Alternative Ingredient Suggestions
If you’re looking to adjust this recipe to suit dietary preferences or if you’re missing an ingredient, here are some swaps:
• All-purpose Flour: Substitute cake flour with all-purpose flour for a firmer texture.
• Buttermilk: For a richer, tangy flavor, replace whole milk with buttermilk.
• Butter: If you prefer the richness of butter over vegetable oil, feel free to make this swap.
• Matcha or Ube Extract: Want a unique twist? Add matcha powder or ube extract to the batter for a vibrant and delicious flavor variation.
Step-by-Step Instructions
Follow these simple steps to make your Taiyaki from scratch. The process might take a few attempts to perfect, but with a little practice, you’ll master the art of making this delightful Japanese pastry.
- Prepare the Batter
Begin by sifting the cake flour, sugar, baking powder, baking soda, and salt into a large bowl. Mix well and set aside. In a separate bowl, combine the egg, whole milk, vegetable oil, and vanilla extract. Whisk until the mixture is smooth. - Combine the Wet and Dry Ingredients
Pour the wet mixture into the dry ingredients, gently whisking until just combined. Don’t over-mix; leaving a few clumps will ensure a fluffy, light texture. Cover the bowl and refrigerate for at least one hour to allow the batter to rest. - Prepare the Taiyaki Pan
Preheat the taiyaki pan over medium-low heat. Brush both sides of the pan with neutral oil and wipe away any excess with a paper towel to ensure an even, golden-brown finish. - Fill the Taiyaki Mold
Give the batter a quick mix and pour it into a measuring cup with a spout for easy pouring. Fill each mold about 60% full, leaving room for the fish tail. - Add the Filling
Choose your filling (such as red bean paste, Nutella, or custard) and pipe about a tablespoon into the center of each fish shape. Be sure to leave enough room around the filling to avoid overflow. - Seal and Cook
Cover the filling with more batter to fill the mold. Close the pan and immediately flip it so the batter spreads evenly across the mold. Cook for about 2-3 minutes on each side or until golden brown and crispy. - Cool and Serve
Once cooked, transfer your Taiyaki to a cooling rack. If there’s any excess batter, trim it off with scissors. Serve immediately while warm for the best texture and flavor.
Tips for the Best Taiyaki
• Rest the Batter: Letting the batter rest for at least an hour ensures a softer, fluffier texture.
• Don’t Overmix: A few clumps in the batter are essential for the perfect texture. Overmixing can lead to a dense pastry.
• Preheat the Pan: Ensuring the pan is hot before pouring in the batter gives Taiyaki its signature crispy crust.
• Use a Spout: For precise pouring and filling, transfer your batter into a measuring cup with a spout and use a piping bag for filling.
Pairing Ideas and Variations
Taiyaki is delicious on its own, but it also pairs wonderfully with a variety of sides and drinks. Here are some ideas to elevate your Taiyaki experience:
• Matcha Tea: Serve your Taiyaki with a cup of hot or iced matcha for a traditional Japanese pairing.
• Fruity Toppings: Try topping your Taiyaki with fresh berries or a drizzle of sweetened condensed milk for an added treat.
• Savory Variations: For a twist on the classic, try making a savory Taiyaki filled with cheese or ham and cheese.
Storage Instructions
While Taiyaki is best enjoyed immediately, leftovers can be stored in an airtight container in the refrigerator for up to three days. To reheat, place the pastries in an oven or toaster oven to regain their crispy texture. For longer storage, wrap each Taiyaki individually in plastic wrap and freeze for up to three months. Thaw overnight in the fridge before reheating.
Make-Ahead Tips
Preparing the filling in advance can save time when you’re ready to make your Taiyaki. You can also prepare the batter and refrigerate it for up to 24 hours before cooking. Just give it a quick stir before using.
Conclusion
Taiyaki is a fun and delicious way to enjoy Japanese street food at home. With its crispy exterior, soft interior, and customizable fillings, it’s a dessert that everyone can enjoy. Whether you’re making it for a special occasion or simply as a fun family baking project, Taiyaki is sure to be a hit. Try this recipe today and indulge in the warm, sweet goodness of this iconic Japanese treat!
Conclusion
Taiyaki is the perfect balance of crispy and soft, sweet and comforting, making it an irresistible treat for any occasion. Whether you stick with traditional red bean paste or get creative with Nutella, custard, or even cheese, Taiyaki’s versatility ensures it’s a crowd-pleaser. With this easy-to-follow recipe, you can now enjoy this beloved Japanese pastry in the comfort of your own kitchen. So, gather your ingredients, get your Taiyaki pan ready, and enjoy the magic of this iconic dessert. Don’t forget to share your creations with friends and family—Taiyaki is best when shared!
Frequently Asked Questions
1. What is Taiyaki made of?
Taiyaki is a Japanese fish-shaped cake made with a light, fluffy batter typically consisting of cake flour, sugar, baking powder, egg, milk, and a touch of vanilla. It’s filled with a sweet or savory filling like red bean paste, custard, Nutella, or even cheese.
2. How do I keep Taiyaki crispy?
To maintain the crispy texture of Taiyaki, it’s best to enjoy it fresh. If you need to store leftovers, place them in an airtight container for up to 3 days and reheat in a toaster oven. For longer storage, freeze them individually wrapped in plastic wrap and reheat them from frozen.
3. Can I make Taiyaki with different fillings?
Absolutely! While the traditional fillings for Taiyaki are red bean paste and custard, you can easily customize it with other fillings like Nutella, chocolate ganache, sweet potato, matcha, or even savory options like cheese or ham and cheese.
More Relevant Recipes
- Apple Cider Cupcakes with Spiced Buttercream Frosting
- Easy Mochi Recipe That Will Delight You
- Peach Pie Cruffins: The Best Easy Breakfast Treat You’ll Ever Make

Taiyaki
- Total Time: 1 hour 30 minutes
- Yield: 8 servings 1x
- Diet: Vegetarian
Description
Taiyaki is a popular Japanese fish-shaped dessert with a crispy exterior and a soft, tender interior. Filled with a variety of sweet fillings such as red bean paste, custard, Nutella, or even cheese, this Japanese fish waffle is the perfect treat for any occasion. Easy to make and highly customizable, Taiyaki is a fun recipe for baking enthusiasts of all levels.
Ingredients
- 1 ¼ cup (150 g) cake flour
- ¼ cup (50 g) granulated sugar
- 1 teaspoon (5 g) baking powder
- 1 teaspoon (5 g) baking soda
- ¼ teaspoon salt
- 1 large egg
- ¾ cup whole milk
- 1 tablespoon (15 g) vegetable oil
- ½ teaspoon vanilla extract
- ¾ cup filling (red bean paste, Nutella, custard, or cheese)
Instructions
- Sift dry ingredients: In a large mixing bowl, sift the cake flour, sugar, baking powder, baking soda, and salt. Whisk to combine and set aside.
- Combine wet ingredients: In a medium mixing bowl, add the egg, milk, vegetable oil, and vanilla extract. Mix until smooth.
- Combine: Pour the wet ingredients into the dry ingredients and whisk until just combined, leaving a few clumps. Cover and refrigerate for at least one hour.
- Preheat the Taiyaki pan: Heat the Taiyaki pan over medium-low heat and lightly grease both sides with neutral oil. Wipe away excess oil with a paper towel.
- Fill the mold: Mix the batter quickly and transfer it into a measuring cup with a spout. Fill each mold about 60% full, leaving room for the fishtail.
- Add filling: Pipe about 1 tablespoon of your chosen filling (Nutella, red bean paste, etc.) into the center of the fish shape.
- Cover with batter: Add more batter over the filling until the mold is full. Close the pan and flip it immediately so the batter spreads evenly.
- Cook and cool: Cook for 2-3 minutes on each side until golden brown and crispy. Transfer to a rack to cool slightly before serving.
- Serve: Enjoy your Taiyaki while it’s warm for the best texture and flavor.
Notes
- Do not overmix the batter. A few clumps are essential for a light, fluffy texture.
- Resting the batter for at least one hour is crucial to relax the gluten and achieve a soft interior.
- Preheat your Taiyaki pan to ensure a crispy exterior.
- Adjust the amount of filling based on your preference, but make sure it doesn’t overflow.
- If you don’t have a Taiyaki pan, you can use a regular waffle iron for a different shape.
- Prep Time: 5 minutes
- Cook Time: 25 minutes
- Category: Dessert
- Method: Pan-frying
- Cuisine: Japanese
Nutrition
- Serving Size: 1 Taiyaki
- Calories: 162 kcal
- Sugar: 11 g
- Sodium: 295 mg
- Fat: 3 g
- Saturated Fat: 1 g
- Unsaturated Fat: 1 g
- Trans Fat: 0.01 g
- Carbohydrates: 29 g
- Fiber: 1 g
- Protein: 4 g
- Cholesterol: 23 mg