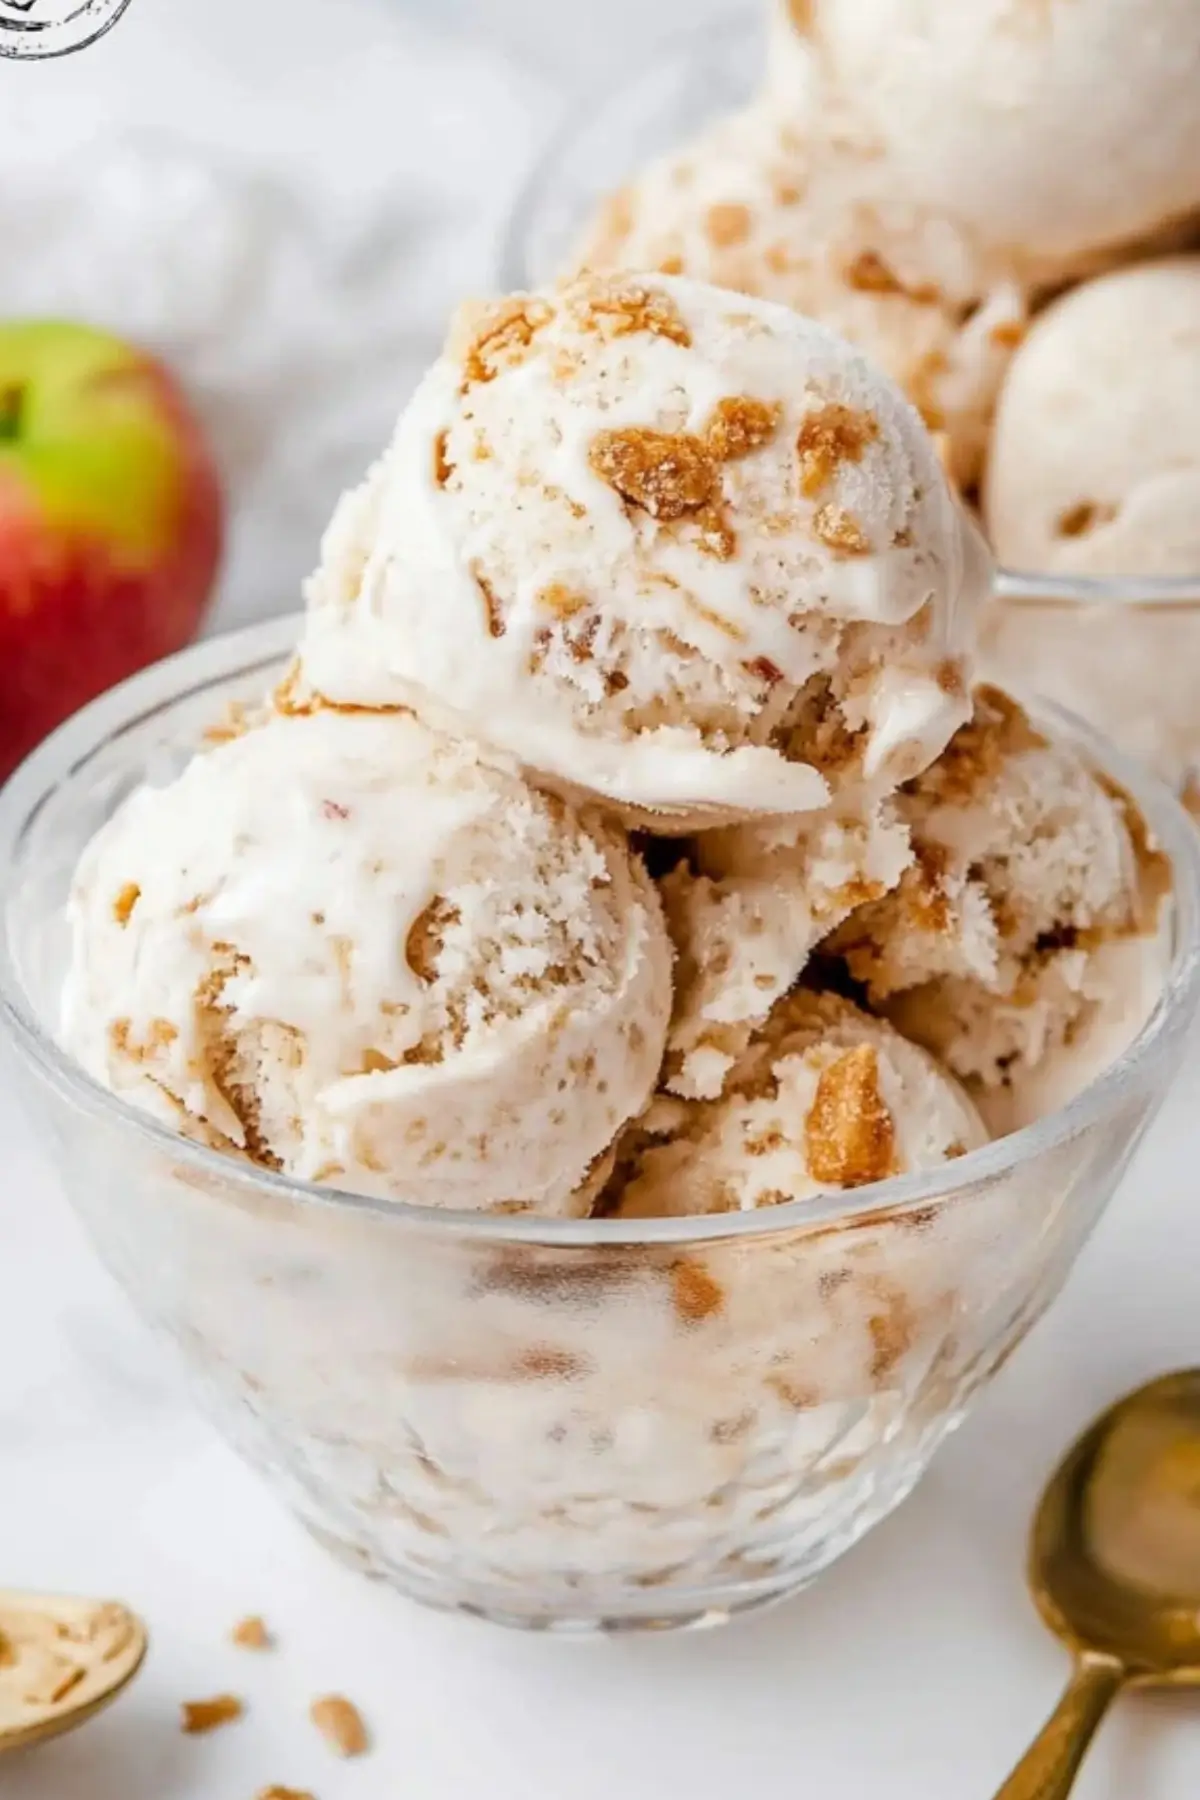
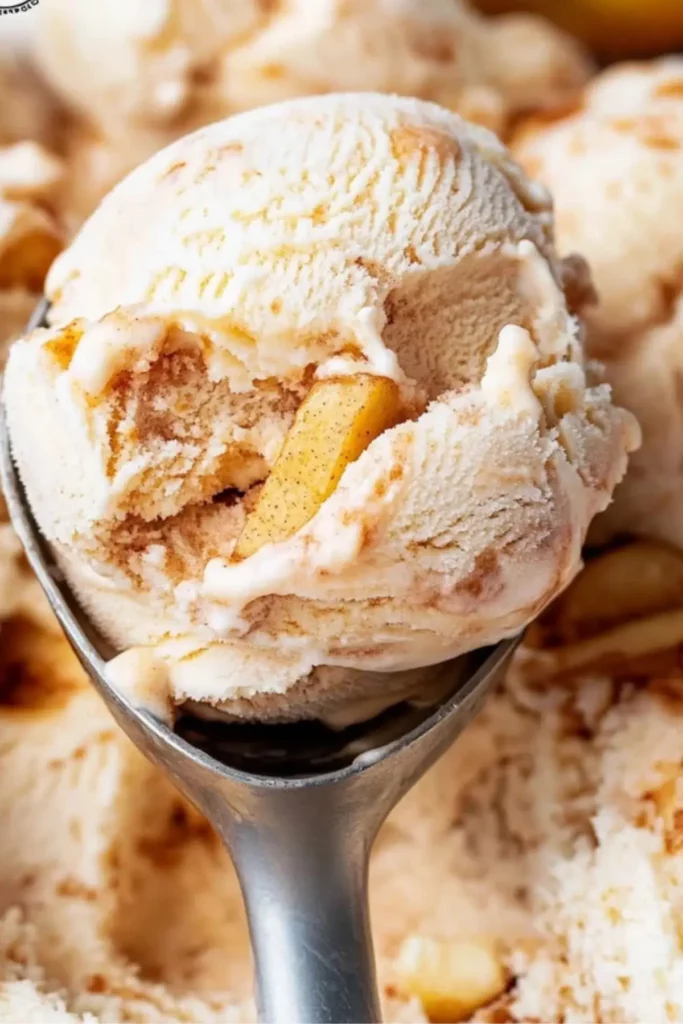
There’s something undeniably comforting about a scoop of ice cream that combines the warmth of home-baked apple pie with the creamy texture of homemade frozen goodness. This Apple Pie Ice Cream is a delightful way to bring together the nostalgic flavors of autumn, even on the hottest days of summer. Imagine the sweet, cinnamon-kissed apples paired with the delicate crunch of snickerdoodle cookies, all enveloped in a creamy, smooth ice cream base. It’s a perfect treat for beginners who are looking to experiment with making homemade ice cream while keeping things simple, quick, and absolutely delicious.
Why This Recipe is Special
What sets this Apple Pie Ice Cream apart is not only the flavor but also the texture combination. The warm, caramelized apples bring a delightful softness to the ice cream, while the snickerdoodle cookies add the perfect amount of crunch and spice. This recipe uses Honeycrisp apples, known for their crisp texture and sweet-tart flavor, making them ideal for both baking and freezing. Plus, this ice cream doesn’t require eggs, which simplifies the process, while still achieving a creamy and indulgent result. It’s an elegant twist on the classic apple pie, minus the oven!
Ingredients and Preparation
Here are the ingredients you’ll need for this delicious Apple Pie Ice Cream, along with a breakdown of each component’s role in the recipe:
- Butter: Adds a rich, creamy base for the caramelized apples, helping to bind the flavors together.
- Brown Sugar: This adds a warm, toasty sweetness to the caramelized apples, enhancing their natural flavor.
- Honeycrisp Apples: These apples hold up well when cooked, maintaining a firm texture that contrasts beautifully with the creamy ice cream.
- Ground Cinnamon: This spice is a key player in bringing out the cozy, comforting apple pie flavor, creating that familiar, spiced sweetness.
- Heavy Cream and Whole Milk: Together, they form the base of the ice cream, providing that rich, smooth, and creamy texture that everyone loves.
- Granulated Sugar: For sweetness and to help achieve the ideal creamy consistency.
- Kosher Salt: Balances out the sweetness, making each bite even more flavorful.
- Snickerdoodles: These homemade cookies (or store-bought if you prefer) add a bit of crunch and a subtle cinnamon flavor, mimicking the crust of a pie.
Step-by-Step Instructions
Step 1: Begin by preparing the apple mixture. In a medium saucepan, combine the butter and brown sugar. Cook over medium heat, stirring until the butter melts and the sugar is well combined. Add the diced Honeycrisp apples and one teaspoon of ground cinnamon. Stir to coat the apples in the sugary mixture and cook for 10-15 minutes, or until the apples become tender. Once cooked, remove from heat and allow the apple mixture to cool. Place it in the refrigerator to chill.
Step 2: While the apples are chilling, prepare the ice cream base. In a large bowl, whisk together the heavy cream, whole milk, granulated sugar, kosher salt, and the remaining teaspoon of ground cinnamon. Continue whisking for 2-3 minutes, until the sugar fully dissolves into the mixture, leaving no gritty texture when you rub a small amount between your fingers.
Step 3: Once the ice cream base is well-mixed, pour it into your ice cream maker. Churn according to your manufacturer’s instructions, typically for about 25 minutes or until it reaches a soft-serve consistency.
Step 4: In the final two minutes of churning, add the chopped snickerdoodle cookies. Allow them to incorporate evenly into the ice cream.
Step 5: Once the ice cream is churned to the right consistency, spoon half of the ice cream into a shallow container or loaf pan. Top with half of the chilled apple mixture. Repeat with the remaining ice cream and apples. Use a knife to swirl the apple mixture into the ice cream base.
Step 6: Press plastic wrap or wax paper directly onto the surface of the ice cream to prevent ice crystals from forming. Freeze the ice cream for at least 4 hours, or until it is solid. Let it sit at room temperature for about 5 minutes before serving to make scooping easier.
Beginner Tips and Notes
- Chill your ingredients: It’s important that both your ice cream base and the apple mixture are thoroughly chilled before churning. This helps the ice cream achieve the right texture and prevents it from becoming icy.
- Apple chopping: When dicing the apples, keep the pieces no larger than ¼ inch cubes. Larger chunks may affect the texture of the final product and make it harder to scoop.
- Dealing with ice crystals: If your ice cream develops ice crystals, it’s likely because it was not kept cold enough during churning. Make sure to chill both the bowl of your ice cream maker and the base mixture thoroughly before starting the process.
Serving Suggestions
Apple Pie Ice Cream is a dessert that stands wonderfully on its own, but you can elevate it by pairing it with a drizzle of warm caramel sauce or a dollop of whipped cream. For a complete dessert experience, serve it alongside a slice of warm apple pie or cinnamon rolls.
Storage Tips: If you have leftovers, store the ice cream in an airtight container in the freezer. It will keep for up to one month, but be sure to press wax paper onto the surface before sealing the container to prevent freezer burn.
Conclusion
This Apple Pie Ice Cream is an easy, indulgent treat that brings the flavors of fall into every bite. Perfect for beginner cooks, it’s a recipe that’s simple to follow and rewarding to make. The combination of warm cinnamon apples, rich ice cream, and crunchy snickerdoodles is a guaranteed crowd-pleaser. Try it out today, and share your experience in the comments below – we’d love to hear how your homemade apple pie ice cream turned out!
FAQ About Apple Pie Ice Cream
1. Can I make this Apple Pie Ice Cream without an ice cream maker?
Yes! If you don’t have an ice cream maker, you can make a no-churn version. After mixing the ingredients, pour them into a loaf pan and freeze for 3-4 hours, stirring every 30 minutes during the first 2 hours to help incorporate air and prevent ice crystals from forming.
2. Can I substitute the Honeycrisp apples with another variety?
Yes, you can substitute Honeycrisp apples with other varieties like Granny Smith for a more tart flavor, or Gala apples for a sweeter, softer texture. Just make sure to cut them into small, ¼-inch cubes for the best texture.
3. How long will this Apple Pie Ice Cream last in the freezer?
This ice cream will stay fresh for up to one month if stored properly in an airtight container. Be sure to cover the surface of the ice cream with wax paper or plastic wrap to prevent ice crystals from forming.
More Relevant Recipes
Print
Apple Pie Ice Cream
- Total Time: 4 hours 45 minutes
- Yield: 6 servings 1x
- Diet: Vegetarian
Description
This Apple Pie Ice Cream recipe blends caramelized apples, snickerdoodle cookies, and a rich cream base for a perfect homemade treat that’s both comforting and delicious.
Ingredients
- 2 tablespoons butter
- 1/3 cup brown sugar
- 2 cups Honeycrisp apples, peeled and diced into ¼ inch cubes
- 2 teaspoons ground cinnamon, divided
- 2 cups heavy cream
- 1 cup whole milk
- 3/4 cup granulated sugar
- 1/4 tsp kosher salt
- 1 ½ cups snickerdoodles, chopped
Instructions
- In a medium saucepan, melt the butter with brown sugar, then add diced apples and 1 teaspoon of cinnamon. Cook until apples are tender and then refrigerate to chill.
- In a large bowl, whisk together heavy cream, whole milk, granulated sugar, salt, and the remaining cinnamon until the sugar dissolves completely.
- Churn the mixture in your ice cream maker until it reaches a soft-serve consistency (about 25 minutes).
- In the last two minutes, add the chopped snickerdoodle cookies and churn until evenly distributed.
- Spoon half of the ice cream into a shallow container, layer with half the apple mixture, and repeat with the remaining ice cream and apples. Swirl together with a knife.
- Cover with wax paper or plastic wrap and freeze for at least 4 hours until solid. Let it sit at room temperature for 5 minutes before serving for easy scooping.
Notes
- Ensure both the apple mixture and ice cream base are thoroughly chilled before churning to achieve the best texture.
- Use high-quality cream and milk for a rich and smooth ice cream.
- For a no-churn version, freeze the ice cream mixture in a loaf pan and stir every 30 minutes for the first 2 hours.
- Chop the apples into small cubes no larger than ¼ inch for the best consistency in the ice cream.
- Prep Time: 30 minutes
- Cook Time: 15 minutes
- Category: Dessert
- Method: Ice Cream Maker
- Cuisine: American
Nutrition
- Serving Size: 1
- Calories: 735
- Sugar: 61g
- Sodium: 279mg
- Fat: 46g
- Saturated Fat: 27g
- Unsaturated Fat: 15g
- Trans Fat: 1g
- Carbohydrates: 79g
- Fiber: 2g
- Protein: 6g
- Cholesterol: 142mg