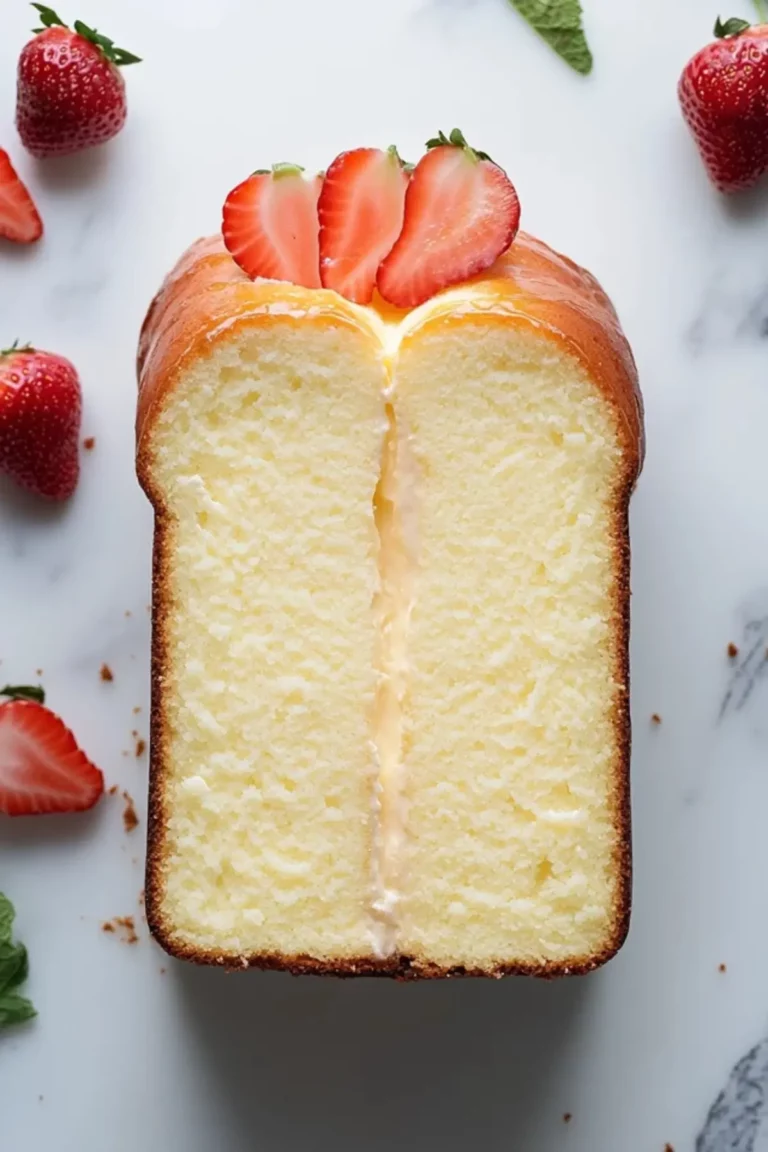
M&M Nutella Cookie Cups are the perfect combination of soft sugar cookie dough, creamy chocolate-hazelnut spread, and colorful candy topping. These bite-sized desserts are simple to make yet incredibly impressive for parties, holidays, or family gatherings. With a buttery cookie base shaped into mini cups and filled with rich Nutella, every bite delivers a balance of sweetness, texture, and chocolate flavor.
What makes M&M Nutella Cookie Cups so special is their versatility. They work beautifully for Easter desserts, birthday parties, bake sales, or weekend baking with kids. The soft sugar cookie cup holds a smooth Nutella filling that melts slightly into the warm cookie base, while crunchy M&M candies add color and a satisfying bite. If you love Nutella desserts, cookie cups, or fun mini treats, this recipe is guaranteed to become a favorite.
These M&M Nutella Cookie Cups also require only a few basic pantry ingredients, making them ideal when you need a quick yet crowd-pleasing dessert. Whether you’re an experienced baker or just starting out, the simple steps and reliable results make this recipe easy to master.

Table of Contents
Why These M&M Nutella Cookie Cups Are So Popular
There are many cookie recipes out there, but M&M Nutella Cookie Cups stand out because they combine several beloved dessert elements into one easy treat. They offer the comforting taste of homemade sugar cookies while adding the indulgent richness of Nutella and the playful crunch of chocolate candies.
One of the best things about M&M Nutella Cookie Cups is their texture. The cookie base is soft and buttery with lightly crisp edges, while the center stays tender. When filled with Nutella, the cookie cups become creamy and decadent, creating a dessert that feels both homemade and bakery-quality.
Another reason people love M&M Nutella Cookie Cups is how customizable they are. You can switch the color of the M&M candies depending on the season or celebration. Pastel candies are perfect for spring and Easter, red and green work great for Christmas, and classic rainbow colors make them fun for birthdays.
These cookie cups are also incredibly convenient to serve. Because they are already portioned into mini desserts, they are easy to bring to gatherings, pack into lunchboxes, or display on dessert trays.
Ingredients for M&M Nutella Cookie Cups
The ingredients used to make M&M Nutella Cookie Cups are simple and easy to find. Each one plays an important role in creating the perfect cookie cup texture and flavor.
• Unsalted Butter: Provides richness and helps create the soft, tender texture of the sugar cookie base.
• Granulated Sugar: Sweetens the cookie dough and contributes to the light crisp edges.
• All-Purpose Flour: Forms the structure of the cookie cups and gives them their classic sugar cookie consistency.
• Vanilla Extract: Adds warm aroma and enhances the sweetness of the cookie dough.
• Salt: Balances the sweetness and enhances all the flavors in the cookies.
• Nutella: The creamy chocolate-hazelnut spread used to fill the cookie cups, providing a rich and indulgent center.
• M&M Candies: Adds crunch, chocolate flavor, and bright color that makes the dessert visually appealing.
These simple ingredients combine to create delicious M&M Nutella Cookie Cups with minimal effort and maximum flavor.
Ingredient Substitutions and Variations
If you need to adapt the recipe, there are several easy substitutions that still keep the delicious flavor of M&M Nutella Cookie Cups.
Chocolate spread alternatives can be used if Nutella isn’t available. Chocolate frosting, hazelnut spread, or even peanut butter spread can work as a filling.
If you want a deeper cookie flavor, brown sugar can replace part of the granulated sugar. This will create a slightly chewier cookie cup with caramel notes.
For a gluten-free version of M&M Nutella Cookie Cups, substitute the all-purpose flour with a gluten-free baking flour blend designed for cookies.
You can also experiment with different candies. Peanut butter M&M candies, mini chocolate chips, or chopped chocolate bars can all add exciting variations to this cookie cup dessert.
Step-by-Step Instructions for M&M Nutella Cookie Cups
Making M&M Nutella Cookie Cups is straightforward and beginner-friendly. Follow these steps carefully to achieve perfectly shaped cookie cups with creamy Nutella filling.
- Start by preheating your oven to a low baking temperature and preparing a mini muffin pan. Lightly grease each cavity of the pan so the cookie cups release easily after baking.
- In a mixing bowl or stand mixer, cream the softened butter and sugar together until the mixture becomes light and fluffy. This step helps create the soft texture that makes M&M Nutella Cookie Cups so irresistible.
- Add the vanilla extract and salt to the butter mixture and blend until evenly combined. The vanilla enhances the sweetness and gives the cookie cups a warm bakery-style aroma.
- Gradually add the all-purpose flour while mixing. Continue blending until a soft sugar cookie dough forms. The dough should be smooth and slightly firm but easy to shape.
- Take a portion of dough and roll it into small balls. Each dough ball should be slightly larger than a ping pong ball to properly fill the mini muffin cups.
- Place each dough ball into the prepared muffin pan. Press gently with your thumb or the back of a spoon to create a small well in the center. This indentation will hold the Nutella filling later.
- Bake the cookie cups until they are set and lightly golden around the edges. Avoid overbaking so the cookies remain soft and tender.
- Once baked, remove the pan from the oven and allow the cookie cups to cool completely on a wire rack. Cooling helps them firm up so they can be removed easily.
- Carefully remove each cookie cup from the pan. If needed, use a small knife to gently loosen the edges.
- Spoon Nutella into the center of each cookie cup, filling the indentation created during baking.
- Finish by placing several M&M candies on top of the Nutella filling. The candies add color, crunch, and extra chocolate flavor.
Your homemade M&M Nutella Cookie Cups are now ready to serve.
Tips for Perfect M&M Nutella Cookie Cups
Even though M&M Nutella Cookie Cups are easy to prepare, a few baking tips can help you achieve the best results every time.
Always start with softened butter rather than melted butter. Soft butter allows the dough to cream properly with sugar, giving the cookies a light and fluffy texture.
When shaping the cookie cups, make sure the dough is evenly distributed in the muffin pan. This ensures each cookie cup bakes evenly and holds the Nutella filling properly.
If the centers puff up slightly during baking, gently press them down again with the back of a spoon while the cookies are still warm. This keeps the wells deep enough for the Nutella.
Let the cookie cups cool completely before adding Nutella. Adding the filling too early may cause it to melt and become runny.
Store leftover M&M Nutella Cookie Cups in an airtight container to maintain their soft texture and fresh flavor.
Serving Ideas and Flavor Variations
M&M Nutella Cookie Cups are incredibly versatile and can be customized for many occasions.
For holiday desserts, simply change the color of the M&M candies. Pastel candies make beautiful spring desserts, while red and green candies transform these cookie cups into festive Christmas treats.
You can also add toppings to make the M&M Nutella Cookie Cups even more indulgent. A drizzle of melted chocolate, caramel sauce, or white chocolate can elevate the presentation.
Another delicious option is adding chopped nuts such as hazelnuts or almonds on top of the Nutella filling. This enhances the nutty flavor and adds extra crunch.
If you want a richer dessert, place a small chocolate truffle or mini peanut butter cup on top of the Nutella before adding the M&M candies.
These cookie cups also pair well with ice cream. Serve M&M Nutella Cookie Cups with vanilla ice cream or chocolate gelato for an easy dessert platter.
Storage and Make-Ahead Tips
One of the great things about M&M Nutella Cookie Cups is that they store very well. This makes them perfect for preparing ahead of time for parties or events.
Once baked and filled, the cookie cups can be stored in an airtight container at room temperature for several days. Keeping them sealed prevents the cookies from drying out.
If you want to make M&M Nutella Cookie Cups in advance, you can bake the cookie cups a day or two before serving and add the Nutella filling later. This keeps the centers fresh and creamy.
The cookie dough itself can also be prepared ahead of time and stored in the refrigerator. Chilling the dough slightly can even enhance the flavor and help the cookies maintain their shape while baking.
For longer storage, the baked cookie cups can be frozen without the Nutella filling. Simply thaw them at room temperature and add the filling and candies before serving.
When to Serve M&M Nutella Cookie Cups
M&M Nutella Cookie Cups are ideal for a wide range of occasions. Their colorful appearance and bite-sized design make them perfect for celebrations and gatherings.
They are especially popular for Easter desserts because pastel M&M candies give them a festive spring look. However, they work equally well for birthday parties, bake sales, potlucks, and holiday dessert trays.
Because M&M Nutella Cookie Cups are easy to transport and serve, they are a great option when bringing a dessert to events or sharing treats with friends and coworkers.
Kids also love these cookie cups because of the fun candy topping and the creamy Nutella center. They make a great baking project for families who want to spend time in the kitchen together.
Whether served at a holiday gathering or enjoyed as an everyday sweet treat, M&M Nutella Cookie Cups are guaranteed to impress anyone who takes a bite.
Conclusion
M&M Nutella Cookie Cups are the kind of dessert that instantly brings smiles to the table. With their buttery sugar cookie base, creamy Nutella center, and colorful M&M topping, these mini treats combine texture, flavor, and visual appeal in every bite. They are simple enough for beginner bakers yet impressive enough to serve at celebrations and special occasions.
One of the best things about M&M Nutella Cookie Cups is how adaptable they are. You can easily change the candy colors for different holidays, experiment with chocolate variations, or even add crunchy toppings like nuts. Whether you are baking for Easter, a birthday party, a school event, or a casual weekend treat, these cookie cups fit the occasion perfectly.
Another reason these M&M Nutella Cookie Cups are so loved is their convenience. They are portioned into small individual servings, easy to transport, and quick to prepare with basic pantry ingredients. The combination of soft cookie dough, rich chocolate-hazelnut spread, and crunchy candy makes them a dessert that both kids and adults enjoy.
If you are looking for a fun, colorful, and crowd-pleasing dessert, M&M Nutella Cookie Cups are an excellent choice. Once you make them, they will likely become a regular addition to your dessert rotation.
Frequently Asked Questions About M&M Nutella Cookie Cups
Can I make M&M Nutella Cookie Cups ahead of time?
Yes, M&M Nutella Cookie Cups are great for preparing ahead of time. You can bake the cookie cups a day or two in advance and store them in an airtight container at room temperature. When you are ready to serve, simply fill the centers with Nutella and top them with M&M candies. This method keeps the cookies fresh while maintaining the creamy texture of the filling.
How do I prevent the cookie cups from sticking to the pan?
To ensure your M&M Nutella Cookie Cups release easily, always grease the mini muffin pan well before adding the dough. You can use butter, nonstick spray, or baking spray. Allow the cookie cups to cool completely before removing them from the pan. If needed, gently loosen the edges with a small knife.
Can I use other fillings instead of Nutella?
Absolutely. While Nutella gives M&M Nutella Cookie Cups their signature chocolate-hazelnut flavor, you can easily substitute other fillings. Chocolate frosting, peanut butter, cookie butter, or even caramel spread can work well. Each option creates a slightly different flavor while still keeping the cookie cups delicious.
More Relevant Recipes
Print
Herby Lemon Garlic Chicken and Potatoes
- Total Time: 55 minutes
- Yield: 4 servings 1x
- Diet: Gluten Free
Description
Herby Lemon Garlic Chicken and Potatoes is a bright and flavorful sheet pan dinner made with juicy chicken thighs, roasted potatoes, fresh lemon, garlic, and aromatic herbs. Everything cooks together in one pan with a zesty marinade, creating tender chicken, crispy potatoes, and caramelized lemon slices. This easy Mediterranean-inspired recipe is perfect for weeknight dinners, meal prep, or a wholesome family meal.
Ingredients
- 1 1/2 pounds boneless skinless chicken thighs
- 1 pound fingerling potatoes, halved lengthwise
- 1 yellow onion, cut into large chunks
- 1 lemon, thinly sliced
- 1/3 cup extra virgin olive oil
- 1 lemon, zested
- 1/2 cup fresh lemon juice (about 2 lemons)
- 6 garlic cloves, minced
- 1 teaspoon Dijon mustard
- 1 1/2 teaspoons dried oregano
- 1 teaspoon sweet paprika
- 2 teaspoons kosher salt
- 1 teaspoon freshly ground black pepper
- 4 ounces feta cheese, crumbled
- 1/4 cup fresh parsley, chopped
- 2 tablespoons fresh dill, chopped
- 1/2 teaspoon red pepper flakes (optional)
Instructions
- Preheat the oven to 425°F (220°C) and prepare a large sheet pan.
- In a large mixing bowl, whisk together olive oil, lemon zest, lemon juice, minced garlic, Dijon mustard, dried oregano, paprika, salt, and black pepper to create the marinade.
- Add the halved potatoes, lemon slices, and onion chunks to the sheet pan. Pour about one-third of the marinade over the vegetables and toss until evenly coated.
- Spread the potatoes cut-side down in a single layer to encourage crisp roasting.
- Roast the vegetables in the oven for 25 minutes until they begin to soften and lightly brown.
- While the vegetables roast, add the chicken thighs to the remaining marinade and toss well to coat.
- Remove the sheet pan from the oven after 25 minutes and flip the potatoes using a spatula.
- Nestle the marinated chicken thighs between the roasted vegetables, allowing excess marinade to drip off before placing them on the pan.
- Return the sheet pan to the oven and roast for another 15 to 20 minutes until the chicken is fully cooked and the potatoes are tender and golden.
- Remove from the oven and garnish with crumbled feta cheese, chopped parsley, fresh dill, and red pepper flakes if desired.
- Season with additional salt and pepper to taste and serve warm.
Notes
- Make sure the sheet pan is large enough so the ingredients cook in a single layer for even roasting.
- Flip the potatoes halfway through cooking to ensure they brown evenly.
- You can substitute Yukon Gold or red potatoes if fingerling potatoes are unavailable.
- Chicken breasts can be used instead of thighs, but monitor cooking time to prevent dryness.
- For a dairy-free version, simply omit the feta cheese garnish.
- Leftovers can be stored in an airtight container in the refrigerator for up to 4 days.
- Prep Time: 15 minutes
- Cook Time: 40 minutes
- Category: Dinner
- Method: Roasting
- Cuisine: Mediterranean
Nutrition
- Serving Size: 1 serving
- Calories: 555 kcal
- Sugar: 2.6 g
- Sodium: 780 mg
- Fat: 32.4 g
- Saturated Fat: 8.3 g
- Unsaturated Fat: 21 g
- Trans Fat: 0 g
- Carbohydrates: 24.9 g
- Fiber: 2.7 g
- Protein: 40.6 g
- Cholesterol: 155 mg