There’s something magical about the moment you take your first bite of a dessert that’s been sitting in the fridge overnight—creamy, cool, and bursting with flavor. The first time I made Oreo Delight was for a family barbecue when I didn’t want to turn on the oven in the middle of summer. I needed something simple, delicious, and impressive, and this no-bake dessert delivered on all fronts. Not only was it gone within minutes, but I also had friends and family asking for the recipe before dessert plates were even cleared.
This Oreo Layered Dessert is perfect for beginners because it’s as fuss-free as it gets. With no baking required and just a few familiar ingredients, it’s a quick and healthy (for the soul) treat that will boost your confidence in the kitchen. Whether you’re prepping for a party or simply craving a sweet indulgence after dinner, this easy sheet pan dessert is a reliable go-to.
Why This Recipe is Special
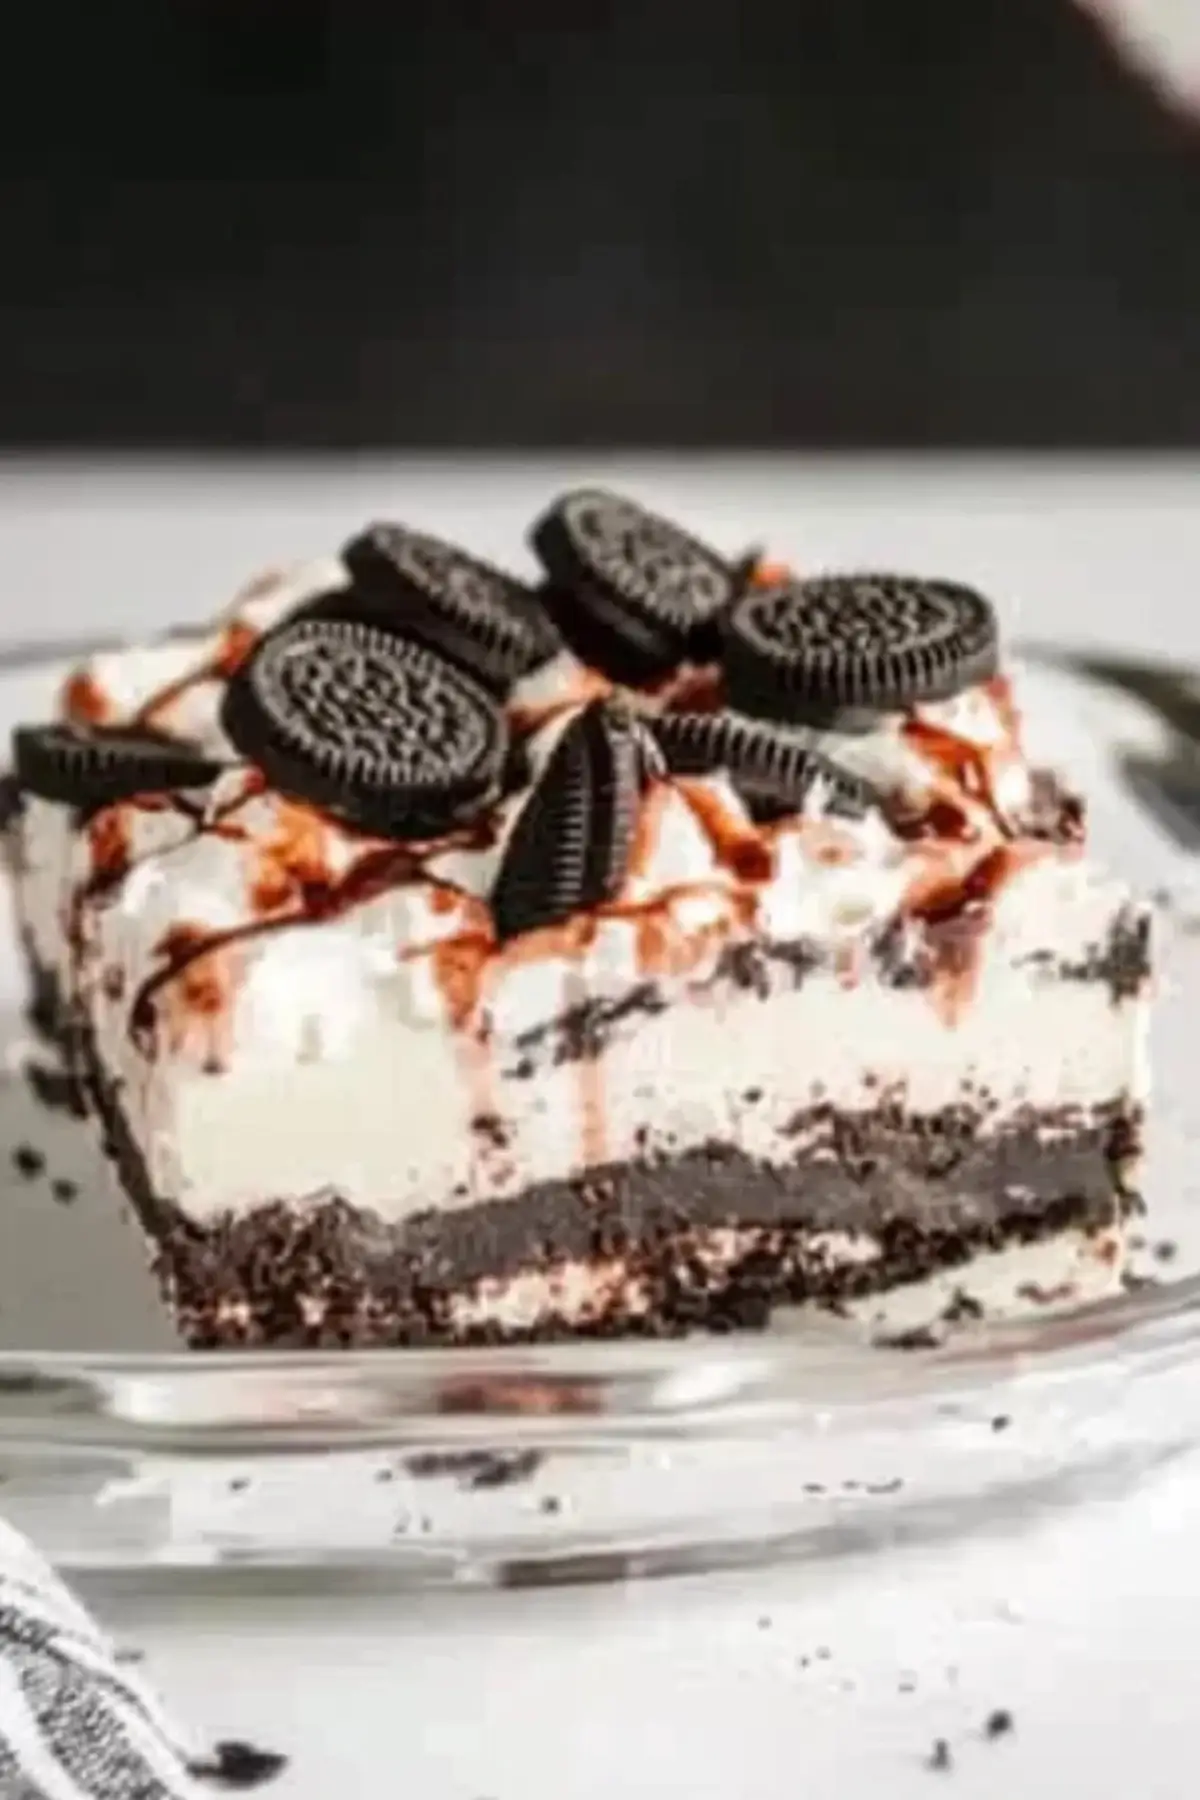
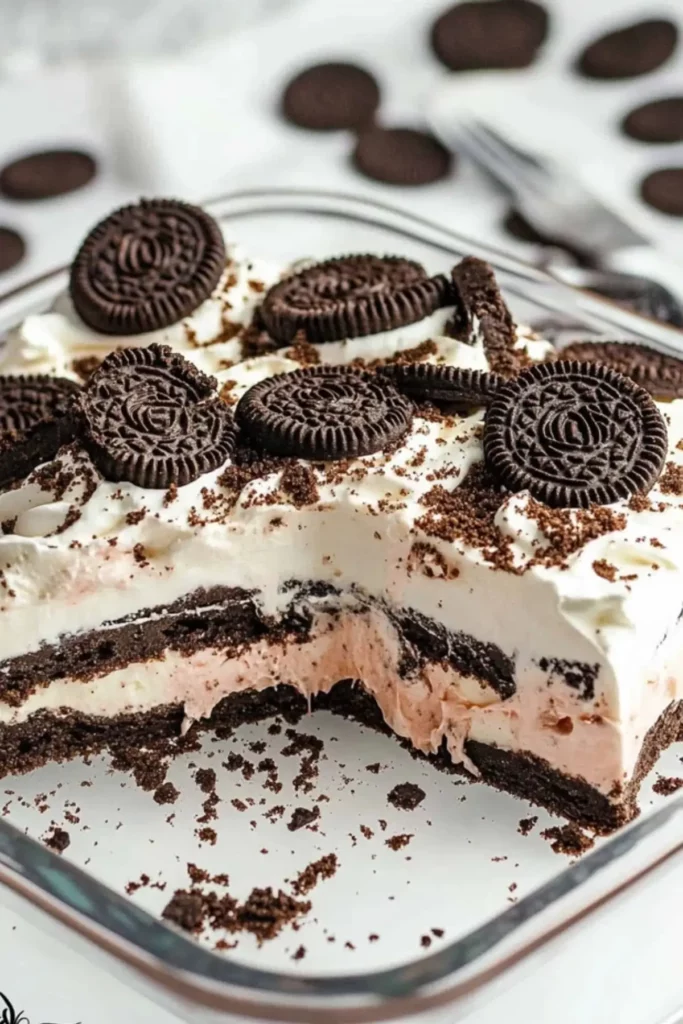
Oreo Layered Dessert isn’t just another chocolate dessert—it’s a textural masterpiece layered with crushed cookies, velvety cream cheese, rich chocolate pudding, and fluffy whipped topping. It’s beginner-proof and offers loads of flexibility with substitutions, making it ideal for those just starting out in the kitchen. Best of all, it’s one of those quick and healthy meals for your sweet tooth that requires zero baking skills and minimal prep time.
Ingredients and Preparation
Oreo Cookies
The star of the show, Oreos bring a chocolatey crunch and a nostalgic flavor. The cookie crumbs form the crust and the topping, adding texture and richness.
Unsalted Butter
Melted butter binds the Oreo crumbs together to form a firm base. It also enhances the overall flavor of the crust.
Cream Cheese
Smooth and tangy, cream cheese forms the luscious second layer. It balances the sweetness and adds richness.
Confectioners’ Sugar
This fine sugar blends easily into the cream cheese, sweetening it without a gritty texture. You can substitute with granulated sugar if needed, though it may alter the consistency slightly.
Cool Whip
This whipped topping gives the dessert its signature light and airy finish. If you prefer a more natural option, whip heavy cream until stiff peaks form.
Instant Chocolate Pudding
This adds the indulgent chocolate layer. Its creamy texture complements the crunch of the Oreo crust.
Milk
Used to prepare the pudding, 2% milk is ideal, but any milk (dairy or plant-based) will do.
Step-by-Step Instructions
Step 1 Line a 9×13-inch baking dish with parchment paper or lightly grease it to prevent sticking.
Step 2 Crush the Oreo cookies using a food processor until they form fine crumbs. Set aside ¾ cup of the crumbs for later.
Step 3 Mix the remaining crumbs with melted butter until evenly combined, then press the mixture firmly into the bottom of the prepared dish to form a crust. Place the crust in the freezer to set while you work on the next layer.
Step 4 In a large mixing bowl, beat the softened cream cheese and confectioners’ sugar together until smooth and creamy. Add one tub of Cool Whip and gently mix for about 30 seconds—avoid overmixing to keep the texture light.
Step 5 Carefully spread the cream cheese mixture over the chilled crust. Dollop it in multiple spots across the crust before spreading to avoid lifting the base.
Step 6 In a separate bowl, whisk the milk and instant chocolate pudding together for about 2 minutes until it thickens.
Step 7 Evenly spread the pudding mixture over the cream cheese layer, smoothing it out to the edges.
Step 8 Add the remaining tub of Cool Whip as the final layer, spreading it gently to cover the pudding completely.
Step 9 Sprinkle the reserved crushed Oreos on top as a finishing touch.
Step 10 Refrigerate for at least 6 hours, or ideally overnight, to let the layers set and develop a sliceable consistency.
Beginner Tips and Notes
If the pudding seems runny, let it sit for a few more minutes before layering—it should thicken quickly. For a smoother cream cheese layer, ensure your cream cheese is fully softened before mixing. If your crust feels too crumbly, try adding a bit more melted butter. Don’t rush the chilling process; it’s essential for clean slices.
Prep everything in stages: Crush your Oreos first, then set up your mixing bowls so each layer comes together smoothly. If you don’t have a food processor, a resealable bag and a rolling pin work well for crushing cookies. A rubber spatula will help you spread each layer evenly without tearing the one below it.
Serving Suggestions
Oreo Layered Dessert pairs beautifully with fresh berries on the side to balance the richness. A drizzle of chocolate or caramel sauce can take it over the top for special occasions. For drinks, offer cold milk, coffee, or even a sweet iced tea.
To store, cover tightly with plastic wrap or transfer to an airtight container. It keeps well in the fridge for up to 5 days. You can also freeze individual portions for up to 3 months—just thaw overnight in the refrigerator before serving.
Conclusion
If you’re a beginner in the kitchen looking for a no-fail dessert, this Oreo Layered Dessert is your new best friend. It’s fun to make, guaranteed to impress, and flexible enough to fit your pantry’s limits. I’d love to hear how your version turned out—did you add a twist or keep it classic? Drop your thoughts in the comments and let’s talk desserts!
FAQ About Oreo Layered Dessert
Q1: Can I make Oreo Layered Dessert ahead of time?
Yes, in fact, it’s best made a day in advance. Chilling overnight helps the layers set properly and enhances the flavor, making it easier to slice and serve.
Q2: What can I use instead of Cool Whip?
If Cool Whip isn’t available, you can use whipped heavy cream. Beat cold heavy cream until stiff peaks form, using the same volume as the recipe requires.
Q3: Do I need to separate the Oreo filling from the cookies?
No, there’s no need to remove the filling. Crush the entire Oreo, cream included—it helps with binding the crust and adds extra flavor.
More Relevant Recipes
Print
Oreo Layered Dessert
- Total Time: 6 hours 20 minutes (including chill time)
- Yield: 12 servings 1x
- Diet: Vegetarian
Description
This no-bake Oreo Layered Dessert is a creamy, layered dessert with crushed Oreos, chocolate pudding, cream cheese, and whipped topping. Easy and beginner-friendly.
Ingredients
- 50 Oreo cookies
- 1/2 cup unsalted butter, melted
- 8 ounces cream cheese, softened to room temperature
- 1 cup confectioners’ sugar
- 2 (8-ounce) containers of Cool Whip
- 2 1/2 cups 2% milk
- 2 (3.4-ounce) packages instant chocolate pudding
Instructions
- Line a 9×13-inch baking dish with parchment paper.
- Crush the Oreo cookies (filling included) into fine crumbs using a food processor. Set aside 3/4 cup of crumbs for topping.
- Mix the remaining Oreo crumbs with melted butter and press into the bottom of the dish to form the crust. Freeze while preparing the next layer.
- Beat softened cream cheese and confectioners’ sugar together until smooth. Mix in one tub of Cool Whip for about 30 seconds.
- Dollop the cream cheese mixture over the crust and gently spread it out evenly. Return dish to the freezer while preparing the pudding layer.
- In a separate bowl, whisk together milk and instant pudding mix for 2 minutes until thickened.
- Spread the pudding over the cream cheese layer, smoothing it evenly.
- Add the remaining tub of Cool Whip as the top layer, then sprinkle with the reserved crushed Oreos.
- Chill the dessert for at least 6 hours or overnight before slicing and serving.
Notes
- Make the dessert a day ahead for best results and easier slicing.
- Use full Oreos with filling when crushing for the crust.
- Don’t overbeat the cream cheese and Cool Whip mixture to maintain a light texture.
- For a natural alternative, substitute Cool Whip with whipped heavy cream.
- Prep Time: 20 minutes
- Cook Time: 0 minutes
- Category: Dessert
- Method: No-Bake
- Cuisine: American
Nutrition
- Serving Size: 1 slice
- Calories: 273
- Sugar: 25g
- Sodium: 267mg
- Fat: 13g
- Saturated Fat: 7g
- Unsaturated Fat: 6g
- Trans Fat: 0.2g
- Carbohydrates: 36g
- Fiber: 1g
- Protein: 3g
- Cholesterol: 25mg