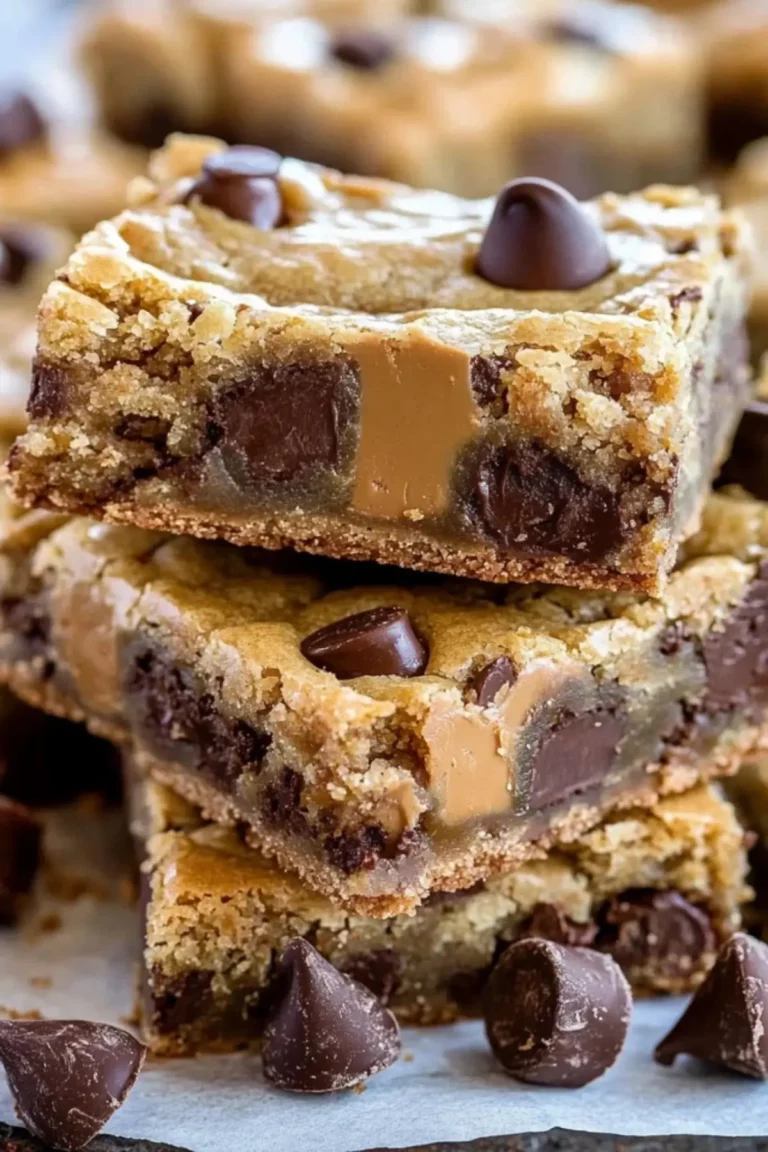
Sheet Pan Cherry Pie Bars are a delicious way to enjoy the classic flavor of cherry pie with a simpler baking method. Instead of preparing individual slices or dealing with a traditional pie crust, this easy dessert combines a buttery crust, sweet cherry filling, and a tender topping in one convenient pan. These homemade cherry bars are perfect for holidays, potlucks, family gatherings, or anytime you want a fruit-filled treat that looks impressive without complicated steps.
This recipe stands out because it delivers the nostalgic taste of a classic cherry dessert while making preparation faster and easier. With a soft crust, bright cherry flavor, and a simple sheet pan format, these bars are a practical choice for both beginner bakers and experienced cooks.

Table of Contents
Why These Sheet Pan Cherry Pie Bars Are a Must-Try Dessert
Sheet Pan Cherry Pie Bars bring together everything people love about a traditional cherry pie in a shareable dessert format. The buttery dough creates a rich foundation, while the cherry pie filling adds a sweet and slightly tart contrast that keeps every bite balanced.
One of the biggest advantages of these cherry dessert bars is how easy they are to serve. A single baking sheet creates multiple portions, making them ideal for parties and celebrations. There is no need to slice a delicate pie or worry about a messy presentation.
These Sheet Pan Cherry Pie Bars are also versatile. They can be prepared ahead of time, chilled until ready to serve, and customized with different fillings or toppings. Whether you enjoy classic fruit desserts or want a simple homemade treat, this recipe fits the occasion.
Ingredients That Create Perfect Cherry Pie Bars
The ingredients for these Sheet Pan Cherry Pie Bars are simple pantry staples combined with a flavorful fruit filling. Each ingredient plays an important role in creating the right texture and taste.
• All-purpose flour: Provides structure for the crust and topping while keeping the bars tender.
• Granulated sugar: Adds sweetness to the dough and enhances the natural flavor of the cherries.
• Butter: Creates a rich, buttery texture and gives the crust its classic homemade taste.
• Eggs: Help bind the dough together and contribute to a soft, cake-like consistency.
• Vanilla extract: Adds warmth and depth to the sweet flavor profile.
• Salt: Balances the sweetness and highlights the buttery notes.
• Cherry pie filling: Provides the signature fruity center with juicy cherries and a vibrant flavor.
• Almond extract: Adds a subtle bakery-style cherry pairing that complements the fruit filling.
• Powdered sugar: Creates a light finishing drizzle or dusting that adds extra sweetness and a beautiful appearance.
Ingredient Swaps for Different Dietary Needs
If you want to adjust this cherry pie bar recipe, there are several easy substitutions. For a slightly different flavor, you can replace part of the all-purpose flour with almond flour for a nutty taste and softer texture.
Fresh or frozen cherries can also be used to create a homemade cherry filling. Simply cook the cherries with sugar and a thickener until the mixture becomes glossy and spoonable. This creates a more from-scratch version of these easy cherry dessert bars.
For dairy-free baking, plant-based butter can often replace regular butter. Gluten-free flour blends may also work well when you want gluten-free cherry bars without losing the classic dessert experience.
How to Make Sheet Pan Cherry Pie Bars Step by Step
Making Sheet Pan Cherry Pie Bars is straightforward, especially when you prepare the ingredients before starting. Follow these steps for the best results.
- Begin by preheating your oven and preparing a large sheet pan with parchment paper or a light coating of cooking spray. This helps prevent sticking and makes removing the finished bars much easier.
- Prepare the buttery dough by combining the flour, sugar, butter, eggs, vanilla extract, and salt until a soft dough forms. The texture should be thick enough to spread but smooth enough to work with.
- Reserve a portion of the dough for the topping, then press the remaining dough evenly into the prepared pan. Creating an even base ensures every serving has a balanced crust-to-filling ratio.
- Spread the cherry pie filling over the crust layer. Use a spatula to distribute the filling gently so the crust remains intact underneath.
- Add small pieces of the reserved dough over the cherry filling. This creates a textured topping that bakes into a golden, tender layer.
- Bake the bars until the crust is lightly golden and the topping is set. The exact baking time may vary depending on your oven, so check that the center is no longer wet or loose.
- Allow the dessert to cool completely before slicing. Cooling helps the cherry filling firm up and allows you to create clean, attractive squares.
- Finish the cooled Sheet Pan Cherry Pie Bars with powdered sugar or a simple glaze before serving. This final touch adds sweetness and makes the dessert look bakery-worthy.
Tips for Better Cherry Dessert Bars Every Time
A few simple techniques can make your Sheet Pan Cherry Pie Bars turn out perfectly. Always measure flour carefully because adding too much can create a dry crust. Lightly spoon flour into a measuring cup instead of packing it down.
For clean slices, let the bars cool fully before cutting. If you cut them while warm, the cherry filling may spread and make the squares harder to serve.
Using parchment paper is another helpful trick. It allows you to lift the entire dessert from the pan before slicing, creating more uniform pieces.
For extra flavor, add a little lemon zest to the cherry filling. The citrus brightens the fruit flavor and adds a fresh homemade touch.
Store leftover cherry bars in an airtight container. They can stay fresh at room temperature for a short period or be refrigerated for longer storage. These Sheet Pan Cherry Pie Bars also freeze well when wrapped properly, making them a convenient make-ahead dessert.
Serving Ideas and Creative Cherry Bar Variations
These Sheet Pan Cherry Pie Bars are delicious on their own, but they can also be served with simple additions. A scoop of vanilla ice cream creates a classic warm-and-cold dessert combination. Whipped cream, fresh cherries, or a drizzle of vanilla glaze can also make each serving feel special.
For a holiday dessert table, arrange the bars on a decorative platter with other baked treats like cookies, brownies, or seasonal cakes. Their bright cherry color makes them especially appealing for celebrations.
You can also experiment with variations of this cherry pie dessert. Try replacing the cherry filling with blueberry, raspberry, apple, or peach filling for a different fruit flavor. A cream cheese layer can add richness and create a cheesecake-inspired version.
For a crunchier topping, sprinkle chopped almonds over the dough before baking. The almond flavor pairs naturally with cherries and adds a pleasant texture.
Why These Homemade Cherry Bars Are Perfect for Any Season
Cherry desserts are often associated with summer, but Sheet Pan Cherry Pie Bars can be enjoyed throughout the year. They are especially popular during spring gatherings, summer picnics, and winter holiday celebrations.
The combination of fruit filling and buttery pastry makes these bars feel comforting while still offering a bright, fruity flavor. They are easy enough for everyday baking but special enough for guests.
Unlike traditional pies that require shaping and careful handling, these bars simplify the process while keeping the classic cherry pie taste. This makes them a reliable recipe when you need a dessert that serves many people.
Conclusion
Sheet Pan Cherry Pie Bars are the perfect combination of classic comfort and easy homemade baking. They deliver the sweet, fruity flavor of traditional cherry pie while offering the convenience of a simple sheet pan dessert that can feed a crowd. With a buttery crust, rich cherry filling, and tender topping, these bars are a reliable recipe for holidays, family dinners, potlucks, and everyday sweet cravings.
Whether you use store-bought cherry pie filling for a quick dessert or create your own homemade version, these cherry dessert bars are easy to customize and enjoy. Their simple preparation, beautiful presentation, and delicious flavor make Sheet Pan Cherry Pie Bars a recipe worth keeping in your collection.
Frequently Asked Questions About Sheet Pan Cherry Pie Bars
How do I keep Sheet Pan Cherry Pie Bars from becoming soggy?
To prevent soggy cherry pie bars, make sure the crust is baked until it is properly set and avoid adding too much filling. Allowing the bars to cool completely before slicing also helps the crust maintain its texture while the cherry layer firms up.
Can I use fresh cherries instead of canned cherry pie filling?
Yes, fresh cherries can be used to make Sheet Pan Cherry Pie Bars. Cook the cherries with sugar and a thickening ingredient until the mixture reaches a pie filling consistency. This creates a fresh cherry flavor while keeping the same delicious dessert structure.
How long do Sheet Pan Cherry Pie Bars stay fresh?
These cherry pie bars can stay fresh for several days when stored in an airtight container. Keep them at room temperature for short-term storage or refrigerate them to maintain the best texture and flavor for a longer period.
More Relevant Recipes
Print
Sheet Pan Cherry Pie Bars
- Total Time: 55 minutes
- Yield: 24 bars 1x
- Diet: Vegetarian
Description
Sheet Pan Cherry Pie Bars are an easy homemade dessert featuring a buttery crust, sweet cherry pie filling, and a tender topping baked together in one convenient pan. This crowd-friendly cherry dessert is perfect for holidays, potlucks, family gatherings, or any occasion that calls for a simple and delicious fruit-filled treat.
Ingredients
- 3 cups all-purpose flour: Provides structure for the buttery crust and topping.
- 1 cup unsalted butter: Creates a rich, tender, and flavorful base.
- 1 3/4 cups granulated sugar: Adds sweetness and enhances the cherry flavor.
- 4 large eggs: Helps bind the dough and creates a soft texture.
- 1 teaspoon vanilla extract: Adds warm and sweet flavor.
- 1/2 teaspoon salt: Balances the sweetness and enhances the overall taste.
- 2 cans cherry pie filling (about 42 ounces total): Creates the juicy fruit center of the bars.
- 1/2 teaspoon almond extract: Adds a classic bakery-style flavor that pairs well with cherries.
- 1/2 cup powdered sugar: Used for a sweet finishing drizzle or topping.
Instructions
- Preheat the oven and prepare a large sheet pan with parchment paper or cooking spray to prevent sticking.
- Mix the flour, sugar, butter, eggs, vanilla extract, and salt until a soft dough forms.
- Reserve some dough for the topping and spread the remaining dough evenly across the prepared sheet pan.
- Spread the cherry pie filling over the crust layer, making sure it is evenly distributed.
- Add small pieces of the reserved dough over the cherry filling to create the topping.
- Bake until the crust is golden and the topping is fully set.
- Allow the bars to cool completely before slicing into squares for the cleanest presentation.
- Dust with powdered sugar or add a glaze before serving.
Notes
- Allow the bars to cool completely before slicing to prevent the cherry filling from spreading.
- Parchment paper makes it easier to remove the bars from the pan and create even slices.
- Fresh, frozen, or canned cherries can be used depending on availability.
- Store leftovers in an airtight container for up to several days.
- These cherry pie bars can be frozen and thawed before serving.
- Prep Time: 20 minutes
- Cook Time: 35 minutes
- Category: Dessert
- Method: Baking
- Cuisine: American
Nutrition
- Serving Size: 1 bar
- Calories: 260 kcal
- Sugar: 22 g
- Sodium: 120 mg
- Fat: 12 g
- Saturated Fat: 7 g
- Unsaturated Fat: 4 g
- Trans Fat: 0 g
- Carbohydrates: 36 g
- Fiber: 1 g
- Protein: 3 g
- Cholesterol: 55 mg