Baking bread can seem like an intimidating task for many home cooks, but the smell of fresh, warm bread is undeniably enticing. One of the most satisfying recipes to master is sourdough sandwich bread. It’s not only versatile but also a perfect introduction to the world of sourdough. The best part? This Sourdough Sandwich Bread recipe is no-knead! Imagine making your own soft, flavorful loaf of bread without the stress of kneading. It’s simple, rewarding, and will impress anyone who tries it.
If you’re new to baking or sourdough, this recipe is perfect. It’s forgiving and doesn’t require any special equipment or advanced skills. With just a bit of patience for the dough’s rise, you’ll have a loaf that’s perfect for sandwiches, toast, or just a fresh slice with butter.
Why This Recipe is Special
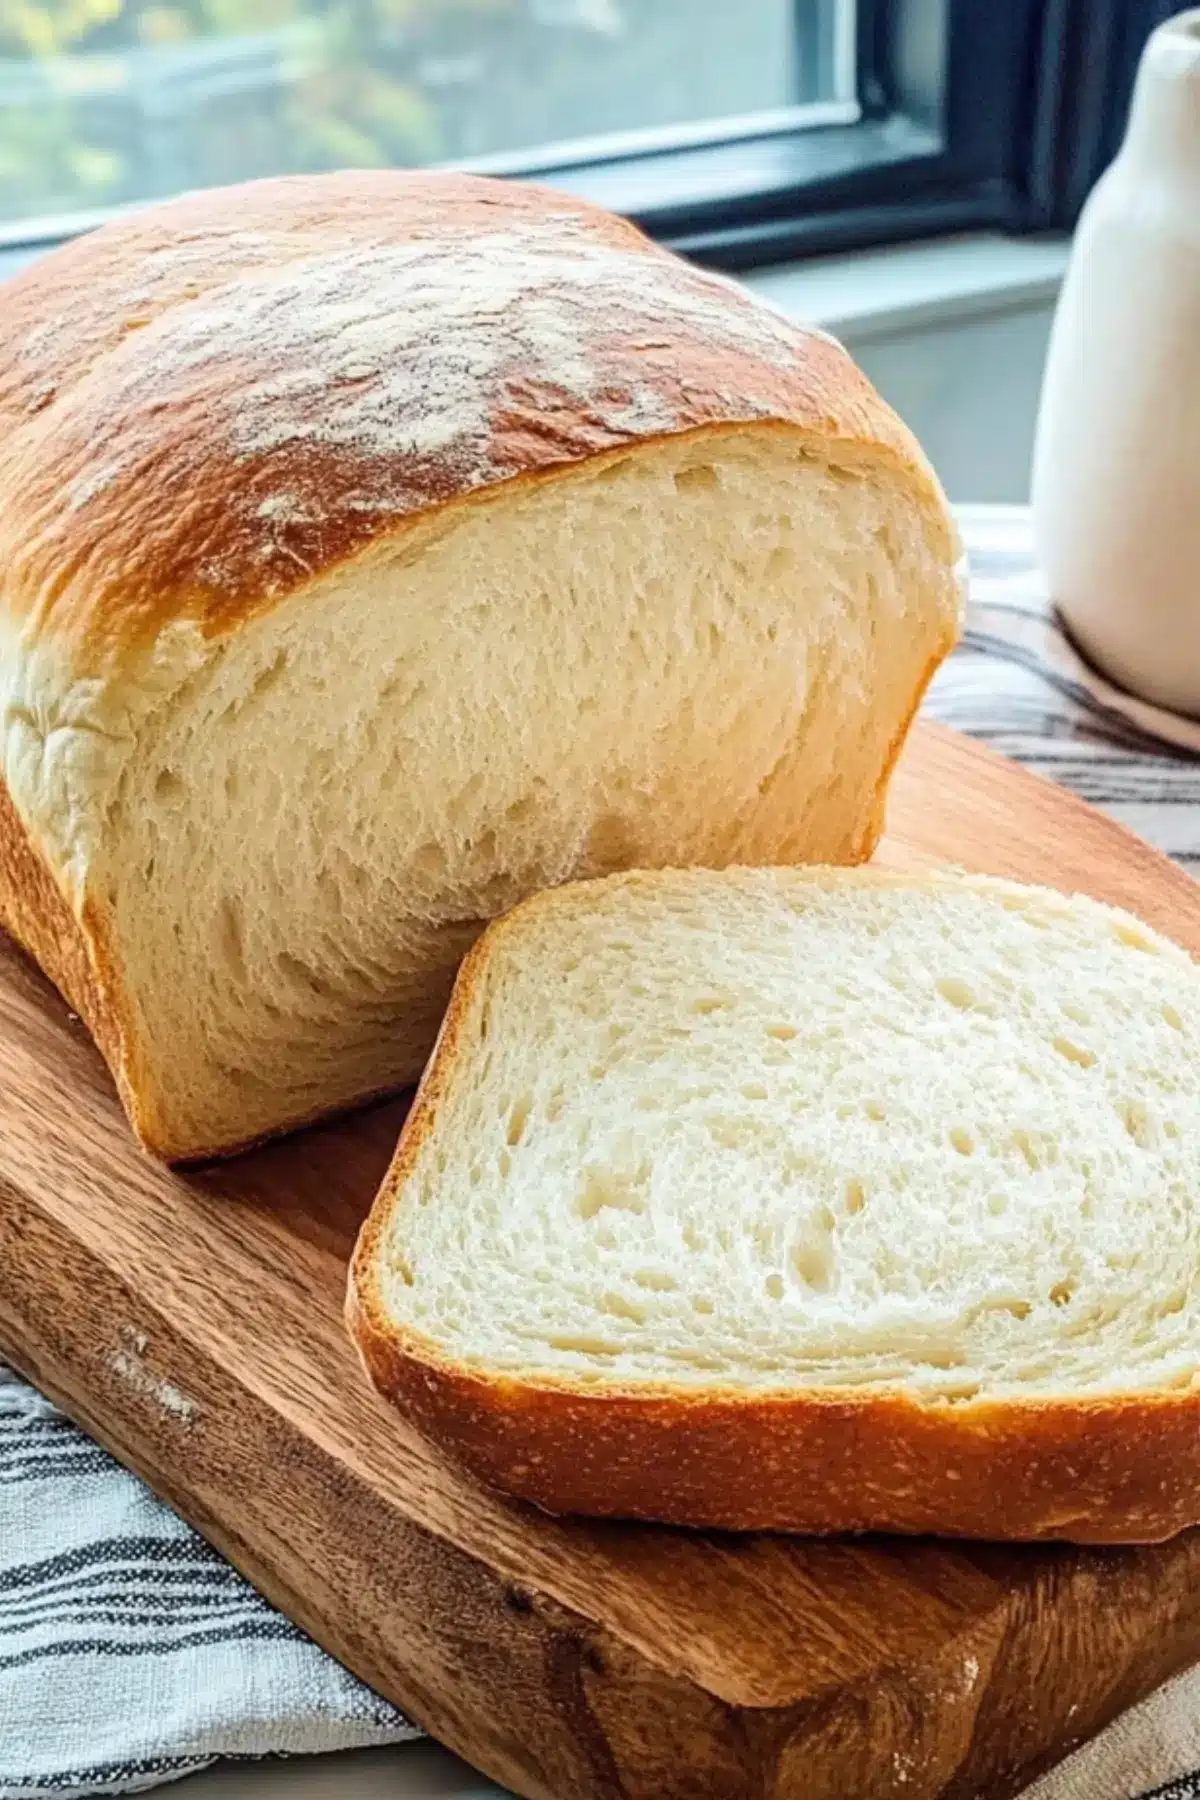
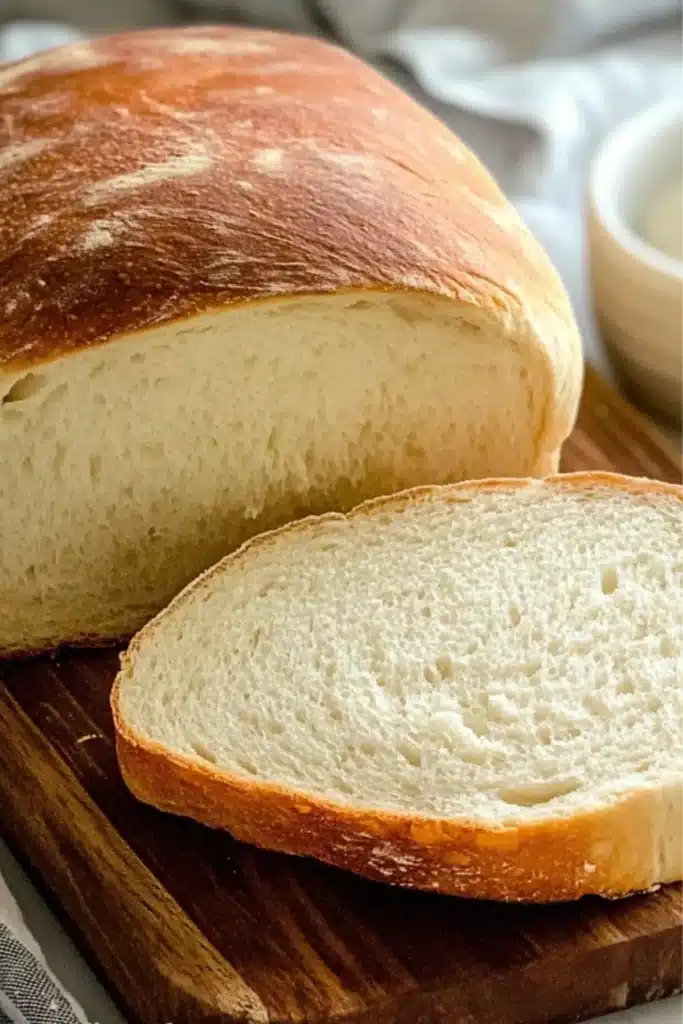
This Sourdough Sandwich Bread is unique because it combines the best qualities of sourdough with the soft texture and mild flavor of traditional sandwich bread. Unlike many sourdough recipes, which can be too chewy or tangy for some, this loaf is mild in flavor with a soft, airy interior and a slightly golden, light crust. It’s the ideal base for everything from grilled cheese to classic PB&J.
Even if you’ve never worked with sourdough before, this no-knead recipe takes away the stress. You don’t need to worry about overworking the dough or perfecting the rise. The long fermentation process works its magic, giving you a delicious loaf of bread with minimal effort. Once you taste it, you’ll wonder why you ever bought bread from the store!
Ingredients and Preparation
Before diving into the baking process, let’s take a look at the ingredients that make this Sourdough Sandwich Bread special. Each one plays a crucial role in creating the perfect loaf.
- Active sourdough starter: This is the heart of the recipe. A well-fed starter gives the bread its characteristic flavor and lightness without the need for commercial yeast. Make sure your starter is fed 12-24 hours before use for the best results.
- Bread flour: Bread flour has a higher protein content than all-purpose flour, which helps to give the bread its soft, chewy texture. If you don’t have bread flour, all-purpose flour can be used as an alternative.
- Sugar: A small amount of sugar helps feed the yeast in the sourdough starter and contributes to the bread’s mild sweetness.
- Olive oil: Olive oil adds moisture and a subtle richness to the bread, helping to keep it soft.
- Salt: Essential for flavor, salt also controls yeast activity, ensuring the bread rises at the right pace.
Step-by-Step Instructions
Step 1: Prepare your starter by ensuring it’s been fed 12-24 hours before you start baking. In a large bowl, mix the sourdough starter with warm water and sugar, stirring until dissolved.
Step 2: Gradually add bread flour, olive oil, and salt. Stir the mixture with a dough whisk or a wooden spoon until you have a thick, shaggy dough. Don’t worry about lumps—the dough will come together with time.
Step 3: Use wet or floured hands to finish mixing the dough, ensuring all the flour is absorbed. Cover the bowl with a damp towel and let the dough rest for 30-45 minutes. This resting period helps the dough hydrate.
Step 4: After the rest, gently coax the dough from the bowl and place it on a lightly floured surface. Perform a series of “stretch and fold” motions with the dough, then return it to the bowl, cover it, and let it rise at room temperature overnight for 8-10 hours.
Step 5: In the morning, flour your countertop and remove the dough. Shape it into a rough rectangle, dimpling it with your fingers to release air pockets. Roll the dough tightly into a log shape and let it rest for 10 minutes.
Step 6: Spray a 9” x 5” loaf pan with nonstick spray and transfer the dough to the pan, seam-side down. Cover with a towel and let it rise for another 1-2 hours until it has doubled in size.
Step 7: Preheat your oven to 375ºF (190ºC). Once the dough has risen sufficiently, bake it for 40 minutes or until the top is golden brown. For extra golden crust, brush the top with an egg wash before baking.
Step 8: Let the bread cool for at least one hour before slicing to avoid deflation. Once cooled, slice and enjoy!
Beginner Tips and Notes
- What to do if your dough is too sticky: If the dough feels too sticky or difficult to work with, you can add a small amount of flour, but be careful not to add too much as it can make the bread dense.
- What if your dough doesn’t rise properly?: If your dough doesn’t seem to double in size overnight, it could be due to a cooler room temperature. Try placing the dough in a warm spot, like an oven with the light on or a sunny windowsill.
- How to check if the bread is done: To check if the bread is done baking, tap the top lightly—if it sounds hollow, it’s ready. Alternatively, use a kitchen thermometer to check the internal temperature; it should be around 200ºF (93ºC).
Serving Suggestions
This sourdough sandwich bread is incredibly versatile. You can serve it as the foundation for a variety of sandwiches, from a simple avocado spread to a classic BLT. Try making a grilled cheese for a comforting snack or pair it with your favorite soup for a wholesome meal. For a sweet twist, serve slices toasted with a bit of cinnamon sugar for breakfast.
If you have leftovers, store the bread in a plastic bag at room temperature for up to five days. To keep it fresh longer, freeze the bread and slice it as needed.
Conclusion
Sourdough sandwich bread is a perfect recipe for beginner bakers, offering a flavorful and soft loaf without the need for kneading or complicated techniques. The long fermentation gives it depth and character while keeping it simple to prepare. If you’re looking for a bread recipe that will impress your family and friends, this is it! I encourage you to give it a try and share your baking experiences in the comments below. Whether you’re new to baking or an experienced cook, this bread will quickly become a favorite in your kitchen.
FAQ About Sourdough Sandwich Bread
1. Can I use all-purpose flour instead of bread flour?
Yes, you can use all-purpose flour, but bread flour is recommended for a lighter, airier texture. The higher protein content in bread flour helps the dough rise better, resulting in a softer loaf.
2. How can I tell if my sourdough starter is active enough?
Your sourdough starter should double in size within 4-6 hours after feeding. It should be bubbly and have a slightly tangy smell, indicating it’s fully activated and ready for baking.
3. What if my dough doesn’t rise properly overnight?
If your dough hasn’t risen enough, try placing it in a warmer location like an oven with just the light on or a sunny spot. Room temperature plays a crucial role in fermentation, so ensure it’s warm enough for the dough to rise.
More Relevant Recipes
Print
Sourdough Sandwich Bread
- Total Time: 13 hours 45 minutes
- Yield: 16 slices 1x
- Diet: Vegetarian
Description
Learn how to make soft, flavorful no-knead sourdough sandwich bread. This beginner-friendly recipe is perfect for homemade sandwiches with minimal effort.
Ingredients
- ⅓ cup sourdough starter (fed 12–24 hours prior)
- 1⅓ cups warm water (95º to 100º F)
- ¼ cup granulated sugar (or 2 rounded tablespoons of honey)
- 3½ – 4 cups bread flour (or all-purpose flour)
- 1½ tablespoons extra-virgin olive oil
- 2 teaspoons salt
Instructions
- Feed your starter 12-24 hours before starting the recipe. In a large bowl, mix the starter with warm water and sugar, stirring until dissolved.
- Gradually add bread flour, olive oil, and salt. Stir until you have a thick, shaggy dough.
- Use wet or floured hands to finish mixing the dough, ensuring all flour is absorbed. Cover the bowl with a damp towel and let it rest for 30-45 minutes.
- After resting, gently coax the dough from the bowl and stretch and fold the dough several times. Return to the bowl, cover it, and let it rise for 8-10 hours overnight.
- In the morning, flour your countertop and remove the dough. Shape it into a rectangle, dimpling it with your fingers to release air pockets. Roll it tightly into a log shape and let it rest for 10 minutes.
- Spray a 9” x 5” loaf pan with nonstick spray and transfer the dough to the pan, seam-side down. Cover it and let it rise for another 1-2 hours.
- Preheat your oven to 375ºF (190ºC). Bake the dough for 40 minutes or until the top is golden brown.
- Allow the bread to cool for at least one hour before slicing.
Notes
- If your dough is too sticky, add a small amount of flour but avoid overdoing it to prevent a dense loaf.
- If the dough doesn’t rise properly, place it in a warmer location like an oven with the light on or a sunny spot to encourage fermentation.
- Check if the bread is done by tapping it lightly—if it sounds hollow, it’s ready. You can also check the internal temperature; it should be around 200ºF (93ºC).
- Let the bread cool completely before storing to avoid deflation.
- Prep Time: 1 hour
- Cook Time: 45 minutes
- Category: Bread
- Method: Baking
- Cuisine: American
Nutrition
- Serving Size: 2 slices
- Calories: 215
- Sugar: 2g
- Sodium: 181mg
- Fat: 3g
- Saturated Fat: 1g
- Unsaturated Fat: 2g
- Trans Fat: 0g
- Carbohydrates: 40g
- Fiber: 1g
- Protein: 6g
- Cholesterol: 0mg