Making bread at home always felt like a task reserved for seasoned bakers, especially when you imagine kneading, proofing, and complicated rising techniques. I remember the first time I tried baking bread—I had no mixer, no thermometer, and absolutely no clue. But then I discovered this unbelievably easy artisan roll method, and everything changed. With just a few pantry staples and an overnight rest, I made rolls that looked and tasted like they came straight from a bakery. This recipe is not only beginner-proof but also delicious, flexible, and incredibly rewarding.
These Unbelievably Easy Artisan Rolls easy artisan rolls are perfect for beginner cooks because they eliminate the most intimidating parts of baking: kneading and complicated timing. The dough is stirred together in one bowl, left to rise overnight, and shaped in minutes the next day. Whether you’re trying your hand at bread for the first time or just want a no-fuss recipe, this one delivers crusty, chewy, golden perfection every time—with minimal effort. Plus, it’s a healthier alternative to store-bought rolls, with no preservatives and customizable ingredients.
Why This Recipe is Special
The beauty of these rolls lies in their simplicity. You don’t need a mixer, a thermometer, or any special equipment—just a bowl, a spatula, and a little patience. The overnight fermentation gives the dough a deep flavor and airy texture usually only found in bakery bread. But what really makes this recipe shine for beginners is that it’s nearly impossible to mess up. The dough is forgiving, the baking process is straightforward, and the results are consistently excellent. This recipe is also versatile: you can tweak the ingredients to suit your preferences and still end up with fantastic results.
Ingredients and Preparation
Flour
The backbone of the rolls. Bread flour is ideal for its higher protein content, which helps develop gluten and gives the rolls a chewy texture. If you don’t have bread flour, all-purpose flour will still work well.
Salt
Essential for flavor. Salt enhances the dough and brings out the natural taste of the flour. Kosher or sea salt is recommended, but regular table salt is fine in a pinch.
Yeast
The rising agent. Active dry yeast is used here because it provides a consistent rise and is easy to store. You don’t need to proof it—just mix it directly into the dry ingredients. Instant yeast or rapid-rise yeast can also be used.
Water
Hydrates the flour and activates the yeast. Room temperature tap water works perfectly. Cold water can be used if you’re planning for a long, slow rise. If you’re short on time, warm water can speed up the fermentation.
Optional Add-Ins
Feel free to add dried herbs like rosemary or thyme, grated cheese like Parmesan, or spices like cracked black pepper or garlic powder for added flavor and aroma.
Step-by-Step Instructions
Step 1
In a large mixing bowl, whisk together flour, salt, and yeast until evenly distributed. Create a small well in the center and pour in the water. Using a sturdy spatula or wooden spoon, stir until all the flour is absorbed. The dough will look wet, sticky, and shaggy—this is exactly what you want.
Step 2
Cover the bowl tightly with plastic wrap or a clean towel and let it sit at room temperature for 10 to 12 hours. Overnight is perfect. During this time, the dough will rise and develop bubbles as the yeast works its magic.
Step 3
After the rise, dust a clean work surface generously with flour. Turn the dough out onto the floured surface and fold it over a few times using your hands or a bench scraper. This helps to make it less sticky and easier to shape.
Step 4
Cut the dough into 12 to 16 equal portions, depending on the size you want. For uniformity, use a bench scraper or sharp knife. Lightly dust each piece with flour to make handling easier.
Step 5
Shape each portion by gently pulling the edges under and pinching them together to form a smooth ball. Place each roll pinched-side-up on a parchment-lined baking sheet. This side-up method gives them a rustic, artisan look.
Step 6
Let the shaped rolls rest for about 20 minutes while you preheat your oven to 425°F (220°C). They may not rise much during this time, but that’s okay—the oven spring will take care of it.
Step 7
Bake for 15 minutes, then rotate the pan and bake for another 5 minutes, or until the rolls are deeply golden and sound hollow when tapped on the bottom. Transfer to a wire rack and cool slightly before serving.
Beginner Tips and Notes
If your dough is too sticky to handle, don’t panic—just add more flour to your hands and work surface. A bench scraper can be a lifesaver for lifting sticky dough and keeping your counter clean.
To speed up the rising time, use warm water (not hot!) and let the dough sit in a warmer spot, like inside a turned-off oven with the light on. But for the best flavor and texture, the overnight rise is worth it.
Avoid overbaking by keeping a close eye during the last few minutes. The rolls should be golden brown but not too dark.
A silicone baking mat or quality parchment paper will make clean-up easy and prevent sticking.
Serving Suggestions
These easy artisan rolls pair beautifully with soups, stews, and salads. For a quick and healthy meal, slice a roll and stuff it with roasted veggies and hummus or turkey and avocado.
Want to take things up a notch? Brush the warm rolls with melted garlic butter or sprinkle with sea salt and herbs before baking.
To store leftovers, let the rolls cool completely, then place them in a sealed container or zip-top bag. They keep at room temperature for 2-3 days or can be frozen for up to a month. Reheat in the oven for 10 minutes at 325°F for that fresh-baked feel.
Conclusion
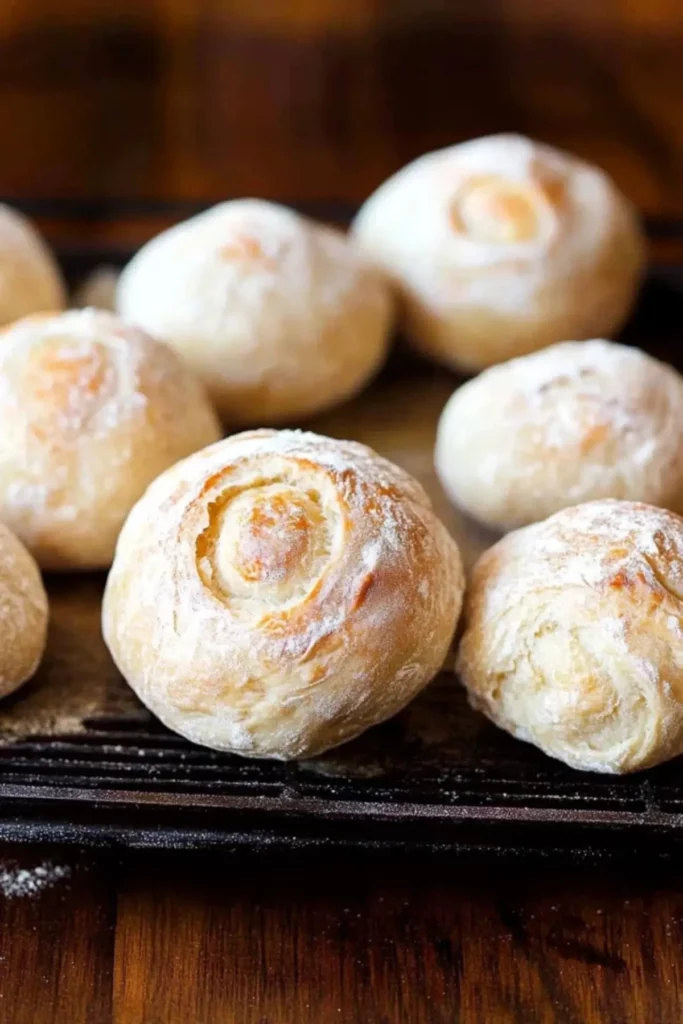
There’s something deeply satisfying about pulling a tray of golden, crusty artisan rolls out of your oven—especially when it took less than 20 minutes of hands-on time to get there. Whether you’re brand new to baking or just looking for a reliable, no-fuss recipe, this lemon-herb-inspired variation on an easy sheet pan dinner roll is exactly what your kitchen needs. I hope you give it a try and let me know how your first batch turns out. Drop a comment below—I’d love to hear your stories, questions, and creative add-ins. Happy baking!
FAQ About Unbelievably Easy Artisan Rolls
Q1: Can I use all-purpose flour instead of bread flour?
Yes, all-purpose flour works well if you don’t have bread flour. The texture may be slightly less chewy, but the rolls will still rise and taste great.
Q2: Do I need to activate the yeast before mixing?
No, there’s no need to proof or activate the yeast beforehand. Just mix it directly into the dry ingredients—this method keeps it simple for beginners.
Q3: How can I add flavor variations to this recipe?
You can mix in herbs like rosemary, thyme, or oregano, or sprinkle Parmesan, garlic powder, or cracked pepper on top before baking for added flavor.
More Relevant Recipes
- Cheeseburger Sliders with Hawaiian Rolls
- Herb and Garlic Swirl Rolls
- Garlic Cream Cheese Hawaiian Rolls

Unbelievably Easy Artisan Rolls
- Total Time: 40 minutes (plus 10–12 hours rising time)
- Yield: 12–16 rolls 1x
- Diet: Vegetarian
Description
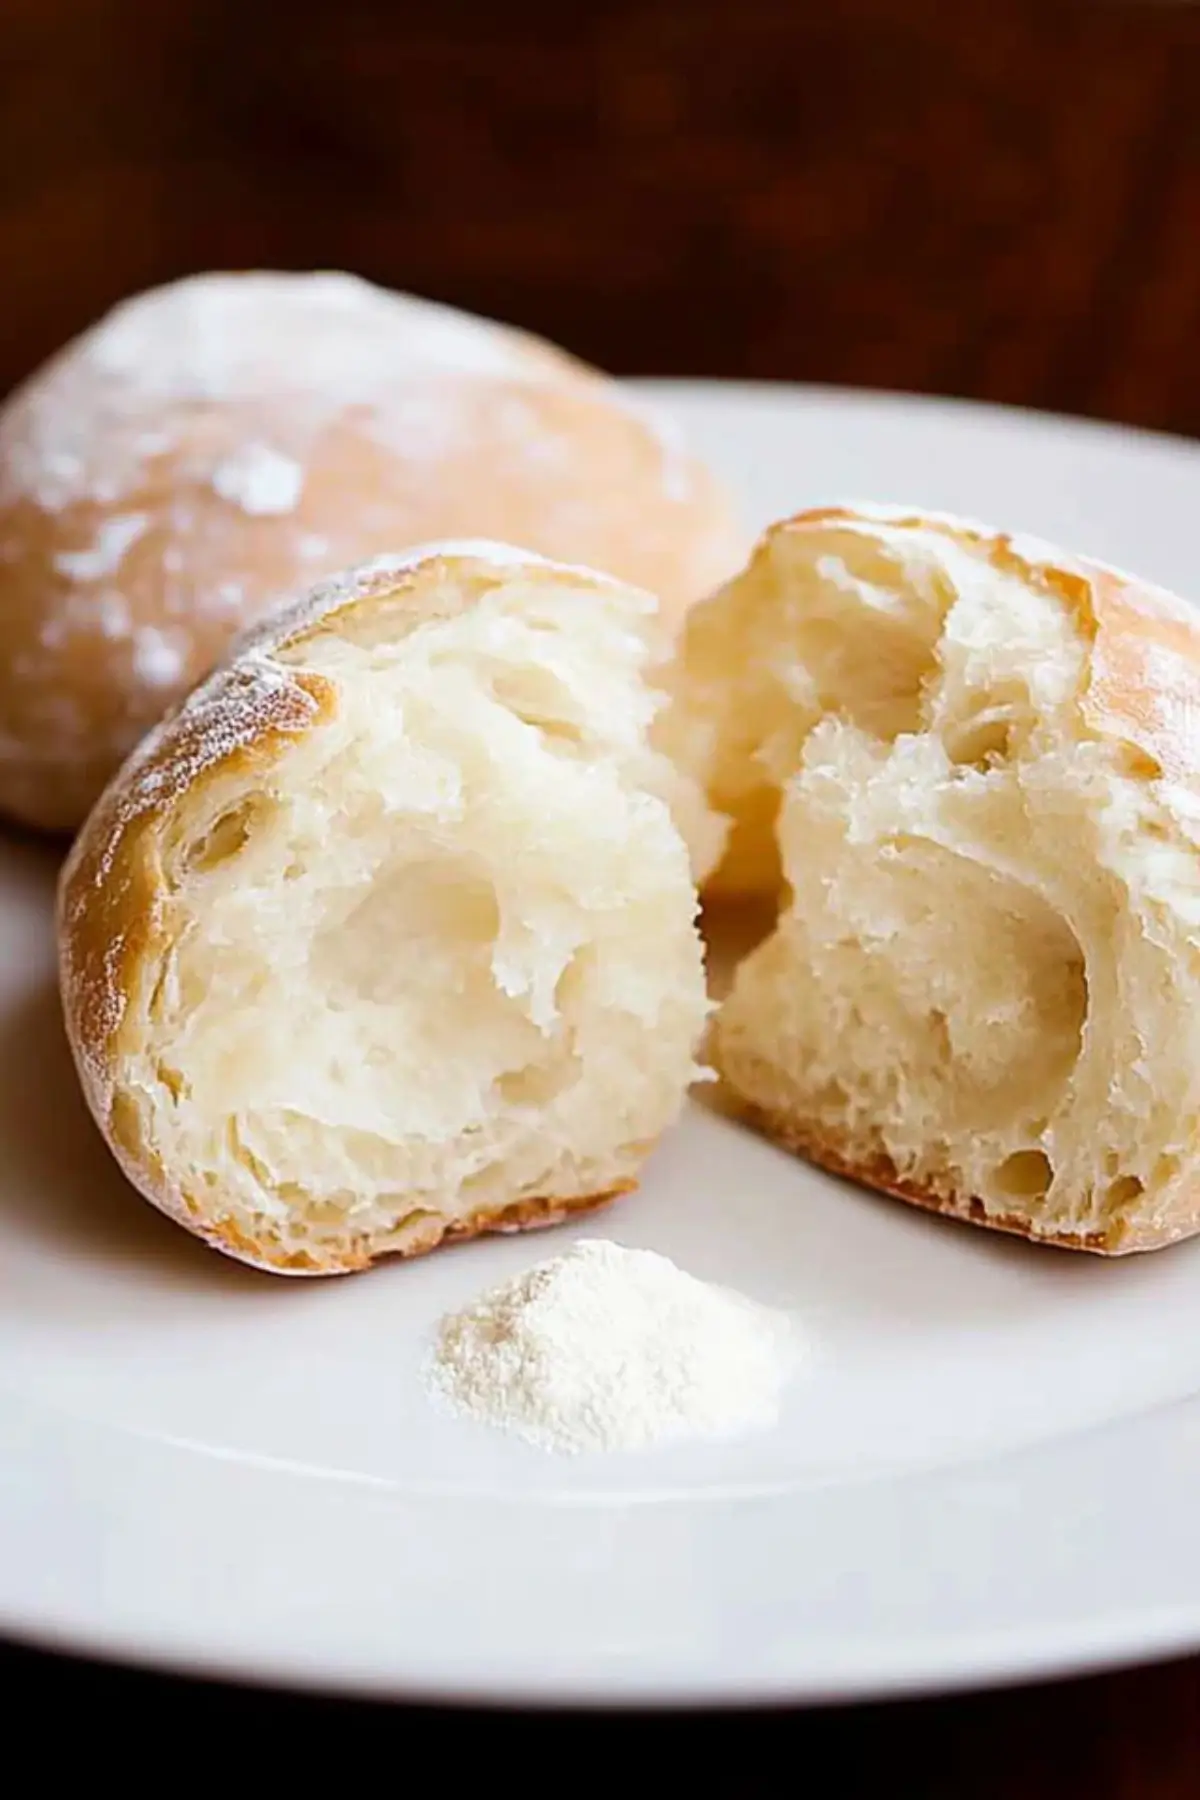
Unbelievably Easy Artisan Rolls with a crispy crust and chewy interior—perfect for beginner bakers using just four basic ingredients and no kneading.
Ingredients
- 4 cups bread flour, plus extra for shaping
- 2 teaspoons kosher salt
- 1 teaspoon active dry yeast
- 2 cups room-temperature tap water
Instructions
- In a large mixing bowl, whisk together the bread flour, salt, and yeast. Make a well in the center and pour in the water. Stir with a spatula until fully combined into a sticky, shaggy dough.
- Cover the bowl with plastic wrap or a clean towel and let it rest at room temperature for 10–12 hours, or overnight.
- After rising, generously flour your work surface and turn the dough out. Fold it over several times with floured hands or a bench scraper to make it manageable.
- Divide the dough into 12–16 equal pieces. Shape each piece into a ball by pulling the edges under and pinching together. Place pinched-side-up on a parchment-lined baking sheet.
- Let the rolls rest for 20 minutes while preheating your oven to 425°F (220°C).
- Bake for 15 minutes, rotate the pan, then bake for another 5 minutes or until golden brown. Cool on a wire rack before serving.
Notes
- Use a bench scraper to easily manage sticky dough and reduce mess.
- If dough is too sticky to handle, add more flour as needed during shaping.
- To speed up rising, use warm water and a warmer environment, though the overnight rise gives the best flavor.
- Rolls can be frozen after a slight underbake and reheated for fresh-baked taste.
- Prep Time: 20 minutes
- Cook Time: 20 minutes
- Category: Bread
- Method: Baking
- Cuisine: American
Nutrition
- Serving Size: 1 roll
- Calories: 115
- Sugar: 0g
- Sodium: 291mg
- Fat: 0g
- Saturated Fat: 0g
- Unsaturated Fat: 0g
- Trans Fat: 0g
- Carbohydrates: 22g
- Fiber: 1g
- Protein: 4g
- Cholesterol: 0mg