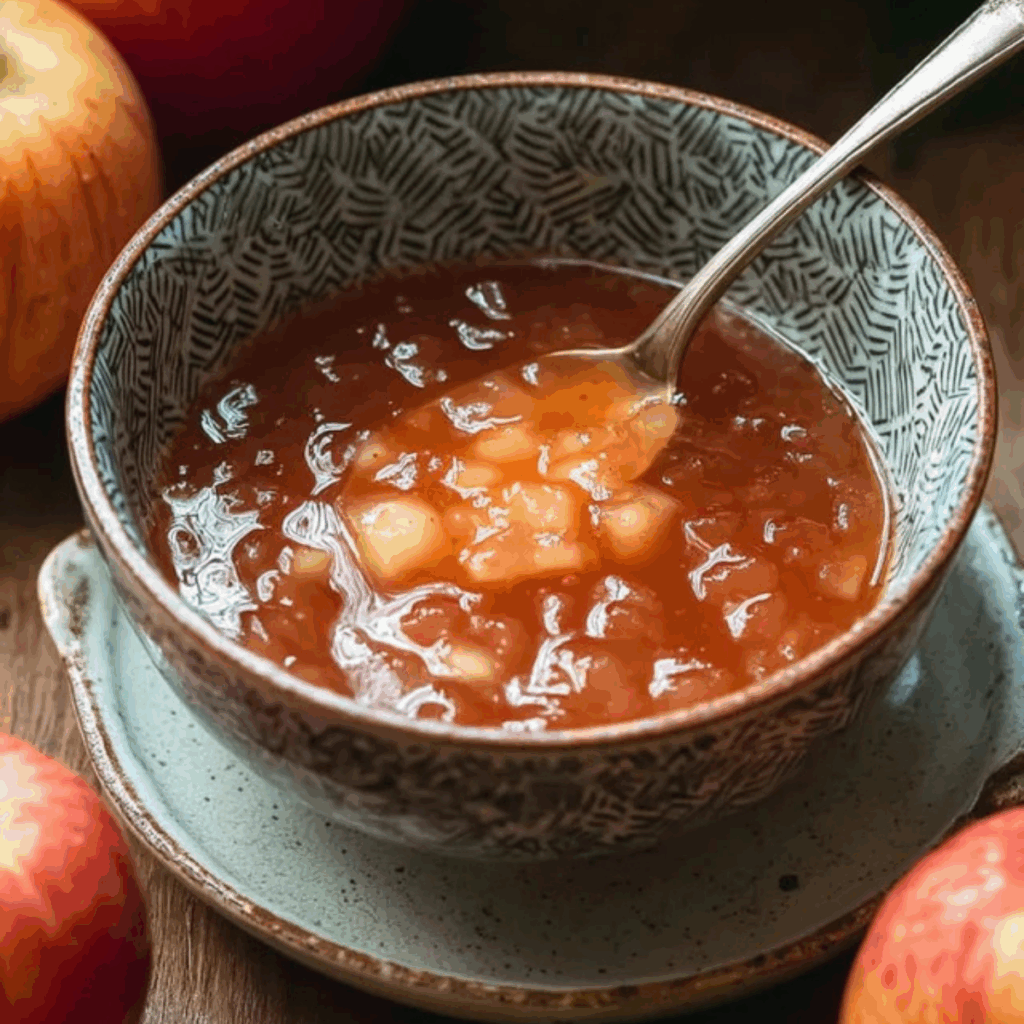
Apple jam is a delightful homemade preserve that captures the essence of autumn in every jar. With just three simple ingredients – apples, sugar, and lemon juice – you can create a chunky, flavorful spread that is perfect for a variety of uses. Whether slathered on toast, dolloped onto yogurt, or used as a glaze for meats, homemade apple jam offers versatility and a unique flavor profile that makes it stand out from other fruit preserves. Not only does it taste great, but it’s also packed with nutritional benefits, including antioxidants, fiber, and vitamins.

Table of Contents
Why Choose Homemade Apple Jam?
Homemade apple jam is the perfect recipe for anyone looking to preserve the flavors of autumn in a jar. It’s incredibly easy to make, requiring minimal ingredients, and it’s a fun project for beginners and seasoned canners alike. Unlike store-bought jams, this homemade version is free from artificial preservatives and additives, ensuring you enjoy only natural, wholesome goodness.
What makes homemade apple jam stand out is its chunky texture. Unlike apple jelly, which is smooth and clear, apple jam retains small apple pieces, giving it a satisfying bite and a robust apple flavor. The addition of lemon juice not only enhances the flavor but also provides a boost of vitamin C, making this spread a nourishing treat for your family.
Ingredients for Homemade Apple Jam
To make this delicious homemade apple jam, you’ll need just a few simple ingredients:
• Apples: These provide the base for the jam, giving it both texture and flavor. Apples are naturally high in pectin, which helps the jam to set without the need for added pectin.
• Granulated Sugar: Sugar acts as a natural preservative and sweetener, balancing the tartness of the apples. It also helps in creating the desired gel consistency.
• Lemon Juice: Lemon juice adds a burst of brightness to the jam and contributes to the gelling process. It also provides a helpful dose of vitamin C.
Alternative Ingredient Suggestions
If you have dietary preferences or need to make substitutions, here are a few alternatives for some of the ingredients in your homemade apple jam:
• Apples: If you prefer a different flavor profile, try using pears, peaches, or a mix of other fruits. Pears especially have a similar texture and sweetness.
• Sugar: You can substitute white sugar with honey, maple syrup, or a sugar substitute like stevia. Keep in mind that these alternatives may slightly alter the texture and sweetness.
• Lemon Juice: If you don’t have fresh lemons, bottled lemon juice can be used as a substitute. Alternatively, apple cider vinegar can offer a different tartness while maintaining the desired acidity.
Step-by-Step Instructions for Homemade Apple Jam
Follow these easy-to-follow instructions to make your homemade apple jam:
- Prepare the Apples: Start by peeling, coring, and dicing 4 lbs of apples into 1/4 to 1/2-inch pieces. You should end up with about 16 cups of chopped apples.
- Mix the Ingredients: In a large bowl, combine the diced apples, 4 cups of granulated sugar, and 1/2 cup of lemon juice. Mix gently to combine.
- Refrigerate: Let the apple mixture sit in the refrigerator for at least 4 hours or overnight. This step, known as maceration, helps the apples release their juices, which will become part of the jam.
- Prepare for Cooking: Before you start cooking, place a small plate in the freezer to test the jam’s consistency later.
- Cook the Jam: Transfer the macerated apples to a saucepan, strain out the liquid, and reserve it. Boil the liquid over medium-high heat for 20-30 minutes, stirring occasionally to prevent burning.
- Check for Gel Consistency: To check if your jam is ready, remove the frozen plate and drop a small amount of jam onto it. Return the plate to the freezer for 1 minute. If the jam wrinkles when pushed with your finger, it’s done. If not, continue cooking and test every 5 minutes until the desired consistency is reached.
- Fill the Jars: Once your apple jam has reached the correct consistency, remove it from the heat. Carefully fill sterilized jars with the hot jam, leaving 1/4-inch of headspace at the top.
- Process the Jars: Seal the jars and process them in a boiling water bath for 10 minutes. Allow the jars to sit in the hot water for another 5 minutes before removing them to cool completely.
Tips & Tricks for Perfect Homemade Apple Jam
To ensure your homemade apple jam turns out perfectly, consider these helpful tips:
- Test for Gel Consistency: Don’t skip the gel test. The frozen plate test is the most reliable method to ensure your jam is thick enough.
- Avoid Overcooking: Keep an eye on the jam as it cooks. If you cook it for too long, it may become too thick or burn.
- Store Properly: Once your jam is sealed in jars, store it in a cool, dark place for up to a year. Once opened, refrigerate the jam and use within a few weeks.
- Flavor Variations: For a fun twist, try adding spices like cinnamon or nutmeg to the jam. A bit of ginger or vanilla extract can also complement the apple flavor beautifully.
Pairing Ideas and Variations
Homemade apple jam is incredibly versatile. Here are a few ways you can enjoy it:
- Spread on Toast: Classic and comforting, apple jam makes an excellent topping for your morning toast or English muffin.
- Use as a Filling: Use the jam as a filling for pastries or thumbprint cookies. It’s a great addition to pies and tarts too.
- Glaze for Meats: Apple jam works wonderfully as a glaze for roasted meats, particularly pork, chicken, or turkey. Its sweet and tangy profile complements the savory flavors perfectly.
- Pair with Cheese: Apple jam pairs wonderfully with soft cheeses like brie or goat cheese. Spread it on crackers or crostini for a delightful appetizer.
Why You Should Make Homemade Apple Jam
Homemade apple jam offers much more than just a sweet treat. It’s a nutritious, delicious preserve that is simple to make and highly versatile. From breakfast spreads to savory glazes, the possibilities are endless with homemade apple jam. By making your own, you can control the ingredients and enjoy a more natural alternative to store-bought varieties.
This homemade apple jam recipe captures the essence of autumn and is sure to become a family favorite. Whether you are enjoying it on toast, using it in baked goods, or pairing it with your favorite meats, this easy-to-make spread is a delightful way to enjoy the flavors of the season all year long.
Conclusion
In conclusion, homemade apple jam is the perfect way to capture the essence of autumn in a jar. This simple yet flavorful preserve can be enjoyed in a variety of ways, from spreading it on toast to glazing meats. Its versatility, combined with its natural sweetness and nutrition, makes it a must-have in every kitchen. Whether you’re new to canning or a seasoned pro, this recipe offers a satisfying and delicious way to make use of fresh apples. So gather your ingredients, follow the easy steps, and create a jar full of fall’s finest flavors today!
Frequently Asked Questions (FAQs)
Can I make homemade apple jam without sugar?
Yes, you can substitute sugar with other sweeteners like honey, maple syrup, or stevia. Keep in mind that using alternative sweeteners may alter the flavor and texture slightly. Make sure to adjust the quantity according to the sweetness level you desire.
How do I know when the homemade apple jam is ready to jar?
To check if the jam is at the right consistency, place a small amount on a frozen plate and return it to the freezer for a minute. If the jam wrinkles when pushed with your finger, it is ready to be jarred. If not, continue cooking and test every few minutes.
Can I use green apples for homemade apple jam?
Yes, you can use green apples, like Granny Smith apples, for a more tart flavor. The natural pectin in green apples will still help the jam set, although the flavor will be tangier compared to sweeter varieties.
More Relevant Recipes
- Homemade Pumpkin Jam: A Cozy Fall Spread Bursting with Flavor
- Rhubarb Cinnamon Jam Recipe
- Goat Cheese Appetizer with Fig Jam & Pecans: A Perfect Holiday Treat

Homemade Apple Jam
- Total Time: 6 hours
- Yield: Approximately 6–8 jars (depending on jar size) 1x
- Diet: Vegetarian
Description
Homemade apple jam is a delicious and versatile preserve made with just three simple ingredients: apples, sugar, and lemon juice. This jam captures the sweet and tart flavors of autumn and can be used on toast, as a filling for pastries, or as a glaze for meats.
Ingredients
- 4 lbs chopped apples (about 16 cups when peeled, cored, and diced)
- 4 cups granulated sugar
- 1/2 cup lemon juice
Instructions
- Prepare the apples by peeling, coring, and chopping them into 1/4 to 1/2-inch pieces.
- Combine the diced apples, sugar, and lemon juice in a large bowl. Mix gently and refrigerate for at least 4 hours or overnight.
- Before cooking, place a small plate in the freezer to test the gel consistency.
- Strain the macerated apples, reserving the liquid. Boil the liquid in a saucepan for 20-30 minutes.
- Add the apple pieces to the boiling liquid and cook over medium-high heat, stirring occasionally.
- Test the jam’s consistency by placing a small amount on the frozen plate and letting it cool for 1 minute. If the jam wrinkles when touched, it’s ready. If not, continue cooking and test every 5 minutes.
- Once the desired consistency is reached, remove the jam from heat and fill sterilized jars, leaving 1/4-inch of headspace.
- Process the jars in a boiling water bath for 10 minutes, then let them sit in the hot water for an additional 5 minutes.
- Remove the jars and let them cool completely before checking the seals.
Notes
- Ensure the jam is cooked to the right consistency by testing it with the frozen plate method.
- Store unopened jars in a cool, dark place for up to a year. Once opened, refrigerate the jam and use within a few weeks.
- Feel free to add spices like cinnamon or nutmeg for a different flavor twist.
- If the jam is too thick after cooling, you can reheat it and add a bit more lemon juice or water to adjust the consistency.
- Prep Time: 5 hours
- Cook Time: 1 hour
- Category: Jam, Preserve
- Method: Canning, Boiling
- Cuisine: American
Nutrition
- Serving Size: 1 tablespoon
- Calories: 50
- Sugar: 13g
- Sodium: 0mg
- Fat: 0g
- Saturated Fat: 0g
- Unsaturated Fat: 0g
- Trans Fat: 0g
- Carbohydrates: 13g
- Fiber: 1g
- Protein: 0g
- Cholesterol: 0mg