There is something incredibly comforting about the aroma of freshly baked bread wafting through your kitchen. I remember the first time I attempted to bake bread—I was intimidated by the thought of kneading, proofing, and getting the perfect crust. But then, I discovered a no-knead, Rustic Italian Crusty Bread recipe that changed everything. If you’ve ever wanted to bake bread at home but felt overwhelmed, this recipe is for you. It requires minimal effort, no special equipment, and delivers a crusty, golden loaf perfect for sandwiches, soups, or simply enjoying with a slather of butter.

Why This Bread Recipe is Special
This rustic bread recipe is perfect for beginners because it eliminates the most daunting part of bread-making: kneading. Instead, it relies on time and hydration to develop gluten, resulting in a chewy interior and crisp crust. Here’s why you’ll love this recipe:
- No Kneading Required: Just mix and let time do the work.
- Short Rise Time: Unlike sourdough, this bread only needs about two hours to rise.
- Simple Ingredients: Only a handful of pantry staples.
- Crispy, Artisan-Style Crust: The high moisture content creates a beautiful, crunchy exterior.
- Versatile and Adaptable: Add herbs, garlic, or cheese for a flavorful twist.
Ingredients and Their Roles
To make this rustic crusty bread, you’ll need just a few simple ingredients:
- Flour: The backbone of the bread, providing structure and chewiness.
- Water: Hydrates the flour and helps create steam for a crispy crust.
- Yeast: The leavening agent responsible for the bread’s rise.
- Salt: Enhances flavor and strengthens the gluten network.
Alternative Ingredient Suggestions:
- Flour Substitutions: Use bread flour for extra chewiness or whole wheat flour for a denser texture.
- Yeast Options: Instant yeast can be swapped for active dry yeast; just dissolve it in warm water first.
- Flavor Enhancements: Try adding rosemary, garlic, or grated cheese for a gourmet touch.
Step-by-Step Instructions
Step 1: In a large mixing bowl, combine the flour, salt, and yeast. Stir everything together until well-distributed.
Step 2: Gradually add lukewarm water, mixing with a wooden spoon or your hands until a shaggy dough forms. The dough will be sticky, which is perfectly normal.
Step 3: Cover the bowl with a clean kitchen towel or plastic wrap. Let the dough rise in a warm spot for about 2 hours, or until it has doubled in size and is full of bubbles.
Step 4: Once risen, lightly flour a clean surface and gently turn the dough out. Handle it carefully to retain as much air as possible.
Step 5: Shape the dough into a round or oval loaf. If desired, place it in a floured proofing basket for a more uniform shape.
Step 6: Preheat your oven to 450°F (230°C). If using a Dutch oven, place it inside to heat up for at least 30 minutes.
Step 7: Transfer the dough onto parchment paper. If baking in a Dutch oven, carefully place the parchment with the dough inside and cover with the lid.
Step 8: Bake covered for 30 minutes, then uncover and bake for another 10-15 minutes until golden brown and crisp.
Step 9: Let the bread cool on a wire rack for at least 20 minutes before slicing.

Beginner Tips and Notes
- Sticky Dough? Don’t add extra flour. The high hydration is what gives the bread its chewy texture.
- Bread Not Rising? Make sure your yeast is active. If using dry yeast, proof it in warm water before adding to the flour.
- Crust Too Hard? Wrap the bread in a towel while cooling to soften the exterior slightly.
- Storage Tip: Store in a paper bag at room temperature to maintain crispness. For longer storage, freeze slices and toast when needed.
Serving Suggestions
This rustic bread pairs beautifully with:
- Dipping Oils & Spreads: Serve with olive oil and balsamic vinegar, butter, or homemade garlic spread.
- Soups & Stews: Perfect for dipping into tomato soup, minestrone, or beef stew.
- Sandwiches: Use it for gourmet grilled cheese or a rustic bruschetta.
Try It and Share Your Experience
Homemade bread is a rewarding experience, and this beginner-friendly recipe makes it easy to succeed. Give it a try, and let me know how it turned out in the comments. Did you add any special ingredients? Share your favorite way to enjoy it! Happy baking!
FAQ About Rustic Italian Crusty Bread
Can I make this bread without a Dutch oven?
Yes, you can bake it on a preheated baking sheet or in a cast-iron skillet. To create steam for a crispy crust, place a tray of hot water on the bottom rack of the oven.
Why is my bread not rising properly?
This could be due to expired yeast or a cold environment. Make sure your yeast is fresh and allow the dough to rise in a warm spot, around 75–80°F.
How do I get a crunchier crust?
For an extra crispy crust, bake the bread uncovered for the last 10–15 minutes, and let it cool completely on a wire rack before slicing.
More Relevant Recipes
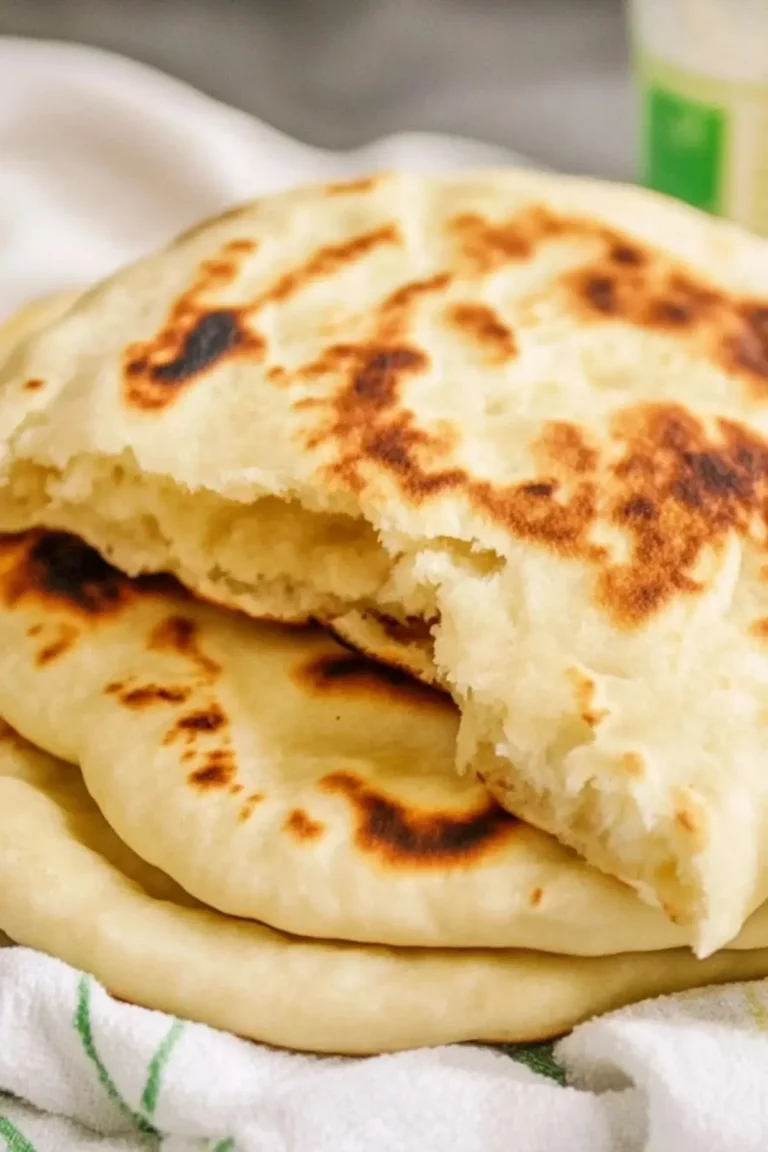
- Yogurt Flatbreads. 2 basic ingredients. So easy & ready in minutes!
- FOCACCIA
- Milk and Sugar Mini Buns

Rustic Italian Crusty Bread
- Total Time: About 3 hours (including rising time)
- Yield: 1 loaf (about 6–8 slices) 1x
- Diet: Vegetarian
Description
This Rustic Italian Crusty Bread is perfect for beginners, requiring just a few simple ingredients and minimal effort. With a crunchy, golden crust and a soft, airy interior, this homemade artisan-style bread is perfect for soups, sandwiches, or enjoying on its own. The best part? It comes together in just a few hours with no need for special equipment.
Ingredients
- 3 cups all-purpose or bread flour
- 1 ½ teaspoons salt
- ½ teaspoon instant yeast
- 1 ¼ cups warm water (about 110°F)
Instructions
- Mix the Dough: In a large mixing bowl, combine the flour, salt, and yeast. Stir to distribute evenly. Gradually add warm water, mixing with a wooden spoon until a sticky dough forms.
- Let the Dough Rise: Cover the bowl with a clean kitchen towel or plastic wrap and let it sit at room temperature for about 2 hours, or until the dough has doubled in size and looks bubbly.
- Prepare for Baking: Preheat the oven to 450°F (230°C). If using a Dutch oven, place it inside the oven to heat up for at least 30 minutes. Meanwhile, lightly flour a clean surface and gently turn out the dough without deflating it too much.
- Shape the Dough: Form the dough into a round or oval shape. Place it on a piece of parchment paper for easy transfer. If desired, let it rest for 15 minutes while the oven finishes preheating.
- Bake the Bread: Carefully place the parchment paper and dough inside the hot Dutch oven. Cover with the lid and bake for 30 minutes. Remove the lid and continue baking for another 10–15 minutes, or until the crust is deep golden brown.
- Cool Before Slicing: Transfer the bread to a wire rack and allow it to cool for at least 20 minutes before slicing to ensure the best texture.
Notes
- For extra flavor, mix in dried herbs, garlic, or shredded cheese before the first rise.
- If you don’t have a Dutch oven, bake on a preheated baking stone or baking sheet with a tray of hot water on the lower rack.
- Avoid cutting the bread while hot, as it will continue to set as it cools.
- Prep Time: 10 minutes
- Cook Time: 40–45 minutes
- Category: Bread
- Method: Baking
- Cuisine: European, Italian
Nutrition
- Serving Size: 1 slice (1/8 of loaf)
- Calories: 120
- Sugar: 0g
- Sodium: 290mg
- Fat: 0.5g
- Saturated Fat: 0g
- Unsaturated Fat: 0.5g
- Trans Fat: 0g
- Carbohydrates: 24g
- Fiber: 1g
- Protein: 4g
- Cholesterol: 0mg